Guide
Start Wizard Mode
When you start a new project, Wizard mode automatically opens. This Wizard mode is a method that allows you to easily create videos from default input or a blog URL. If you want to do it yourself, you can cancel the Wizard mode by clicking [Start Immediately].
The method to start a project in wizard mode is to follow the [Follow the Wizard] section to practice.
Various ways to request a video
Videostew allows you to use various materials to create and edit videos for everyone.
Start with an idea
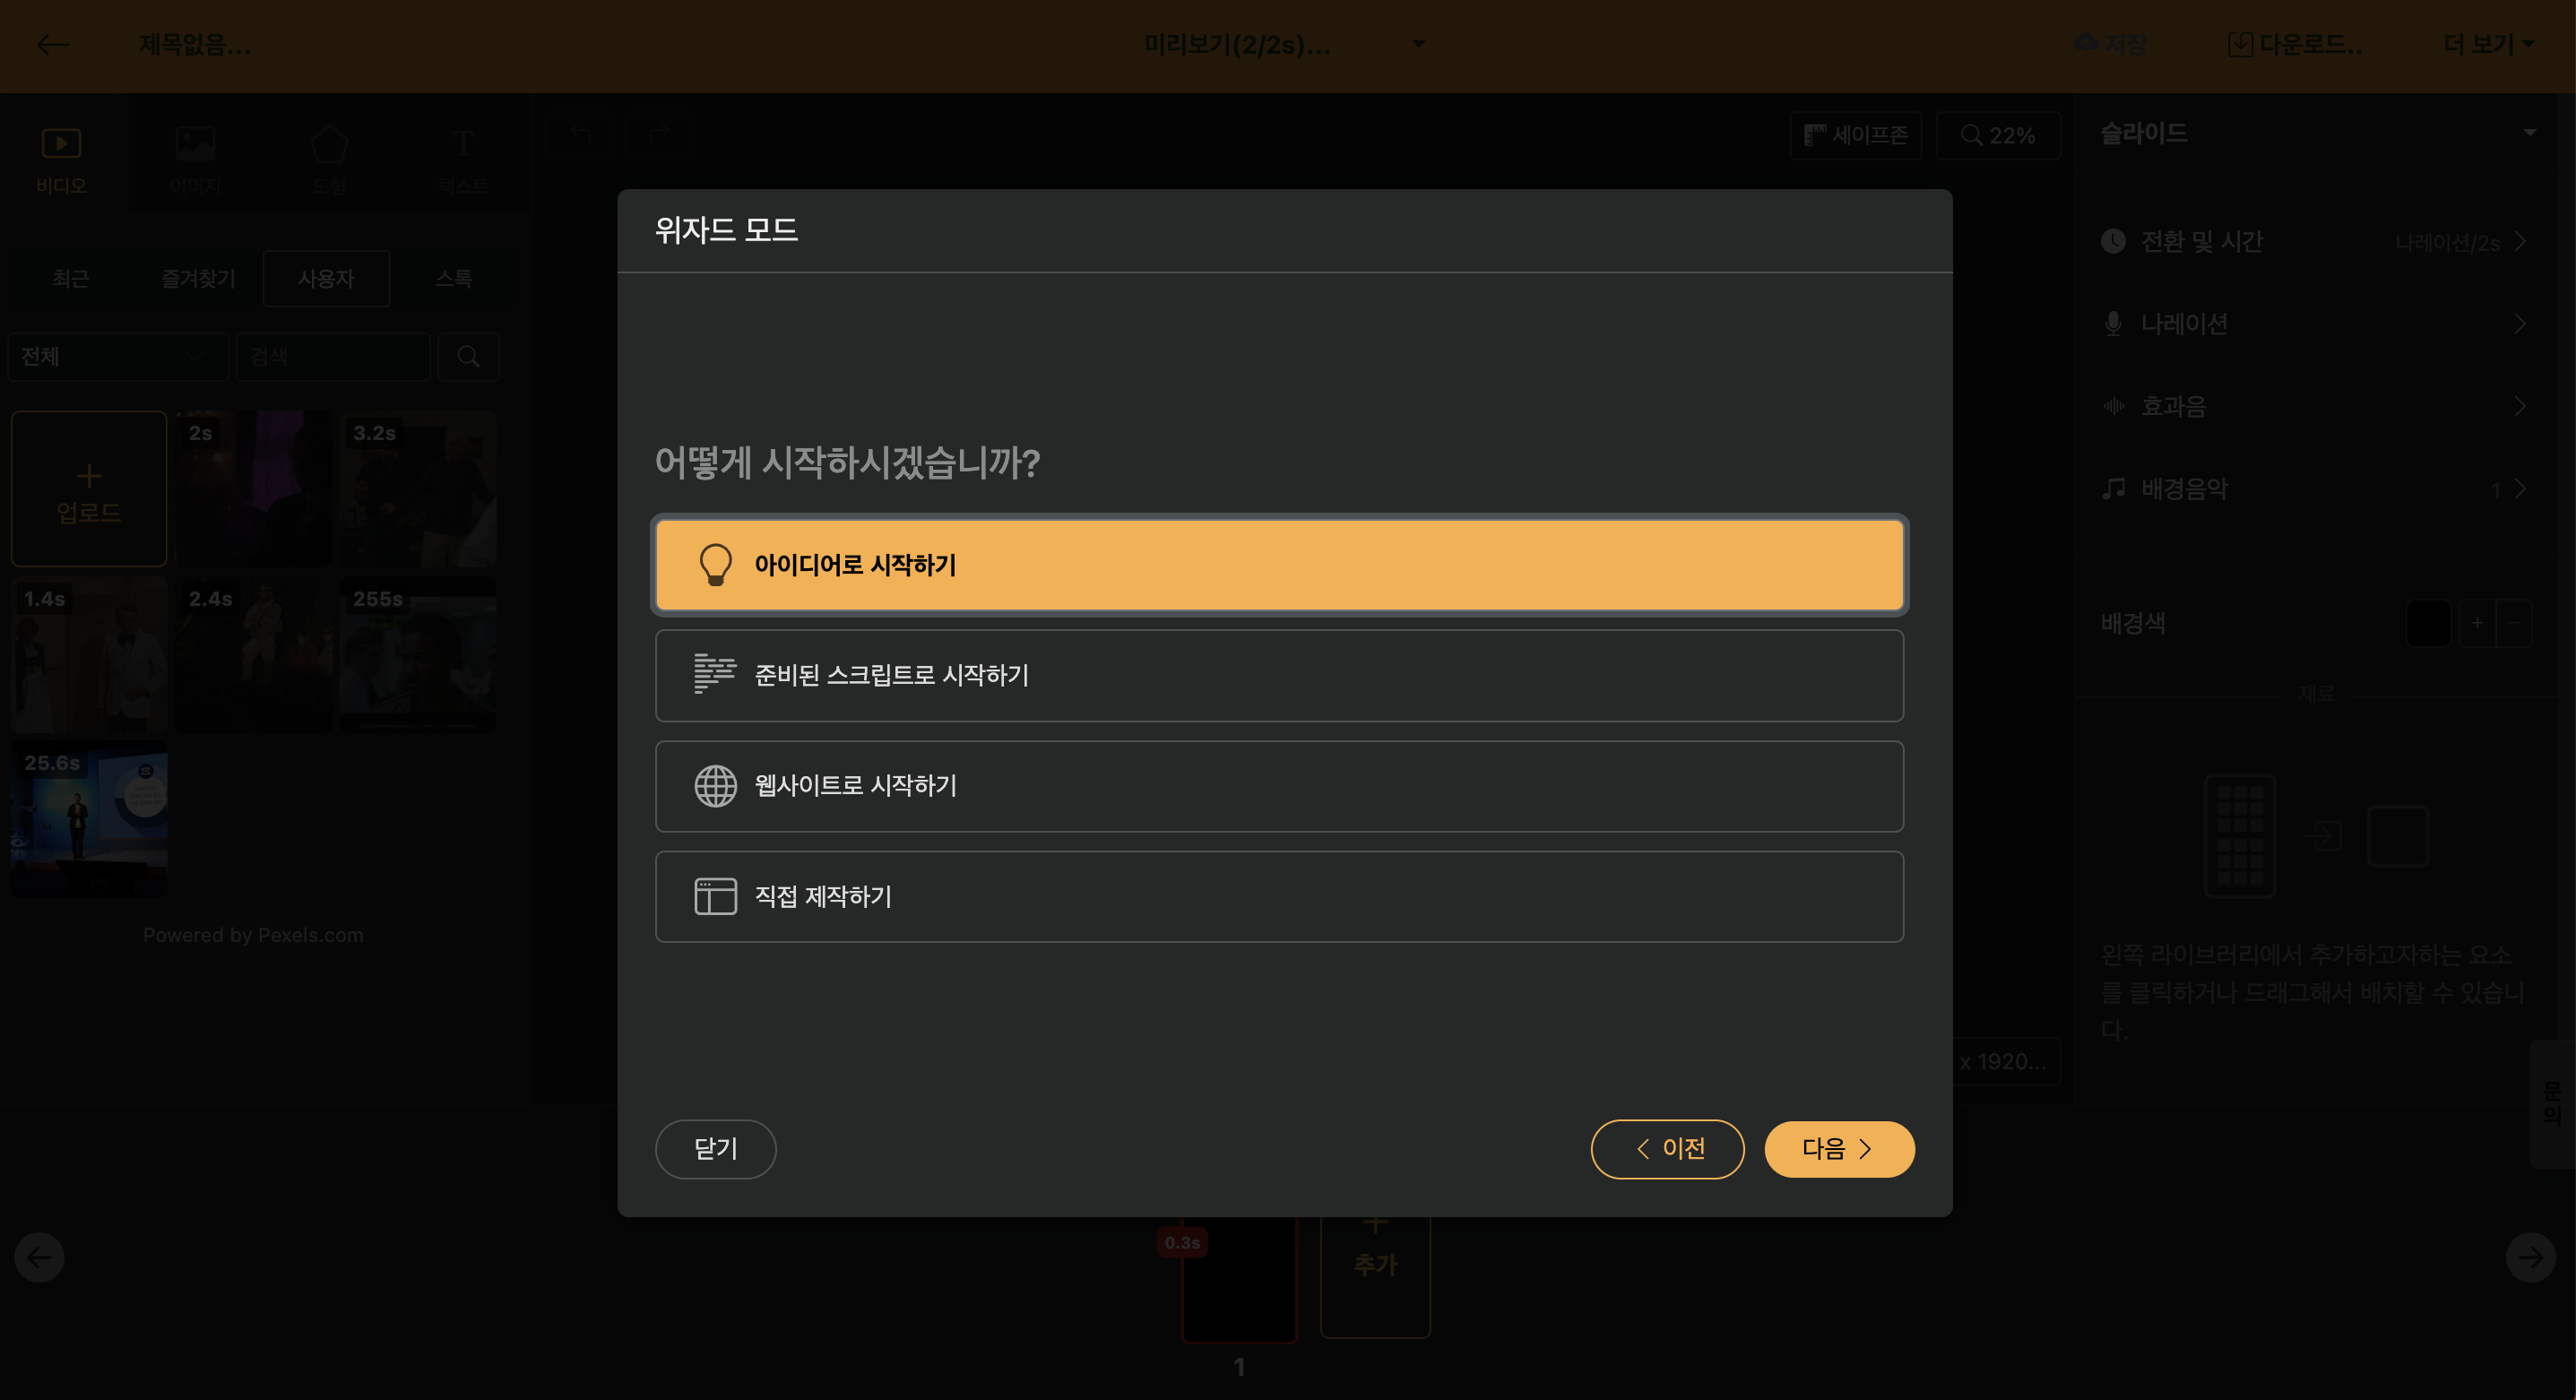
With this option, you can create a script for a short film or a long film with simple text input. You can specify 'target segment' and 'style' with the supported styles being as follows.
| Style | Detailed Description |
|---|---|
| Informational Content | Creates a script that conveys fun knowledge and information easily and accurately. |
| Insight Column | Creates a high-quality script with specialized knowledge and communication skills in a specific field. |
| Tutorial Video | Creates a systematic script that accurately explains step-by-step guides and tips. |
| Brand Story | Creates a script that emotionally conveys the value and vision of a brand with a storytelling approach. |
| Customer Participation Event | Creates an attractive event promotion video script that encourages customer participation. |
| Case Study | Creates a professional script that analyzes and conveys successful case studies effectively. |
| Our Company News | Creates a news-type script that effectively conveys the latest news and achievements of the company. |
| Photo Essay | Creates a beautiful video script with images and emotional narration. |
< Style Specification and Keyword Creation Preview >
Select each style and move to the next step to prepare a team for the best results. Refer to the relevant content and create the content with keywords or short sentences, then move to the next step to complete the script.
Of course, you can recreate the completed script or edit only the desired parts.
Start with a prepared script
If you have prepared a draft video through Word or Memo, you can use Copy & Paste to utilize it.
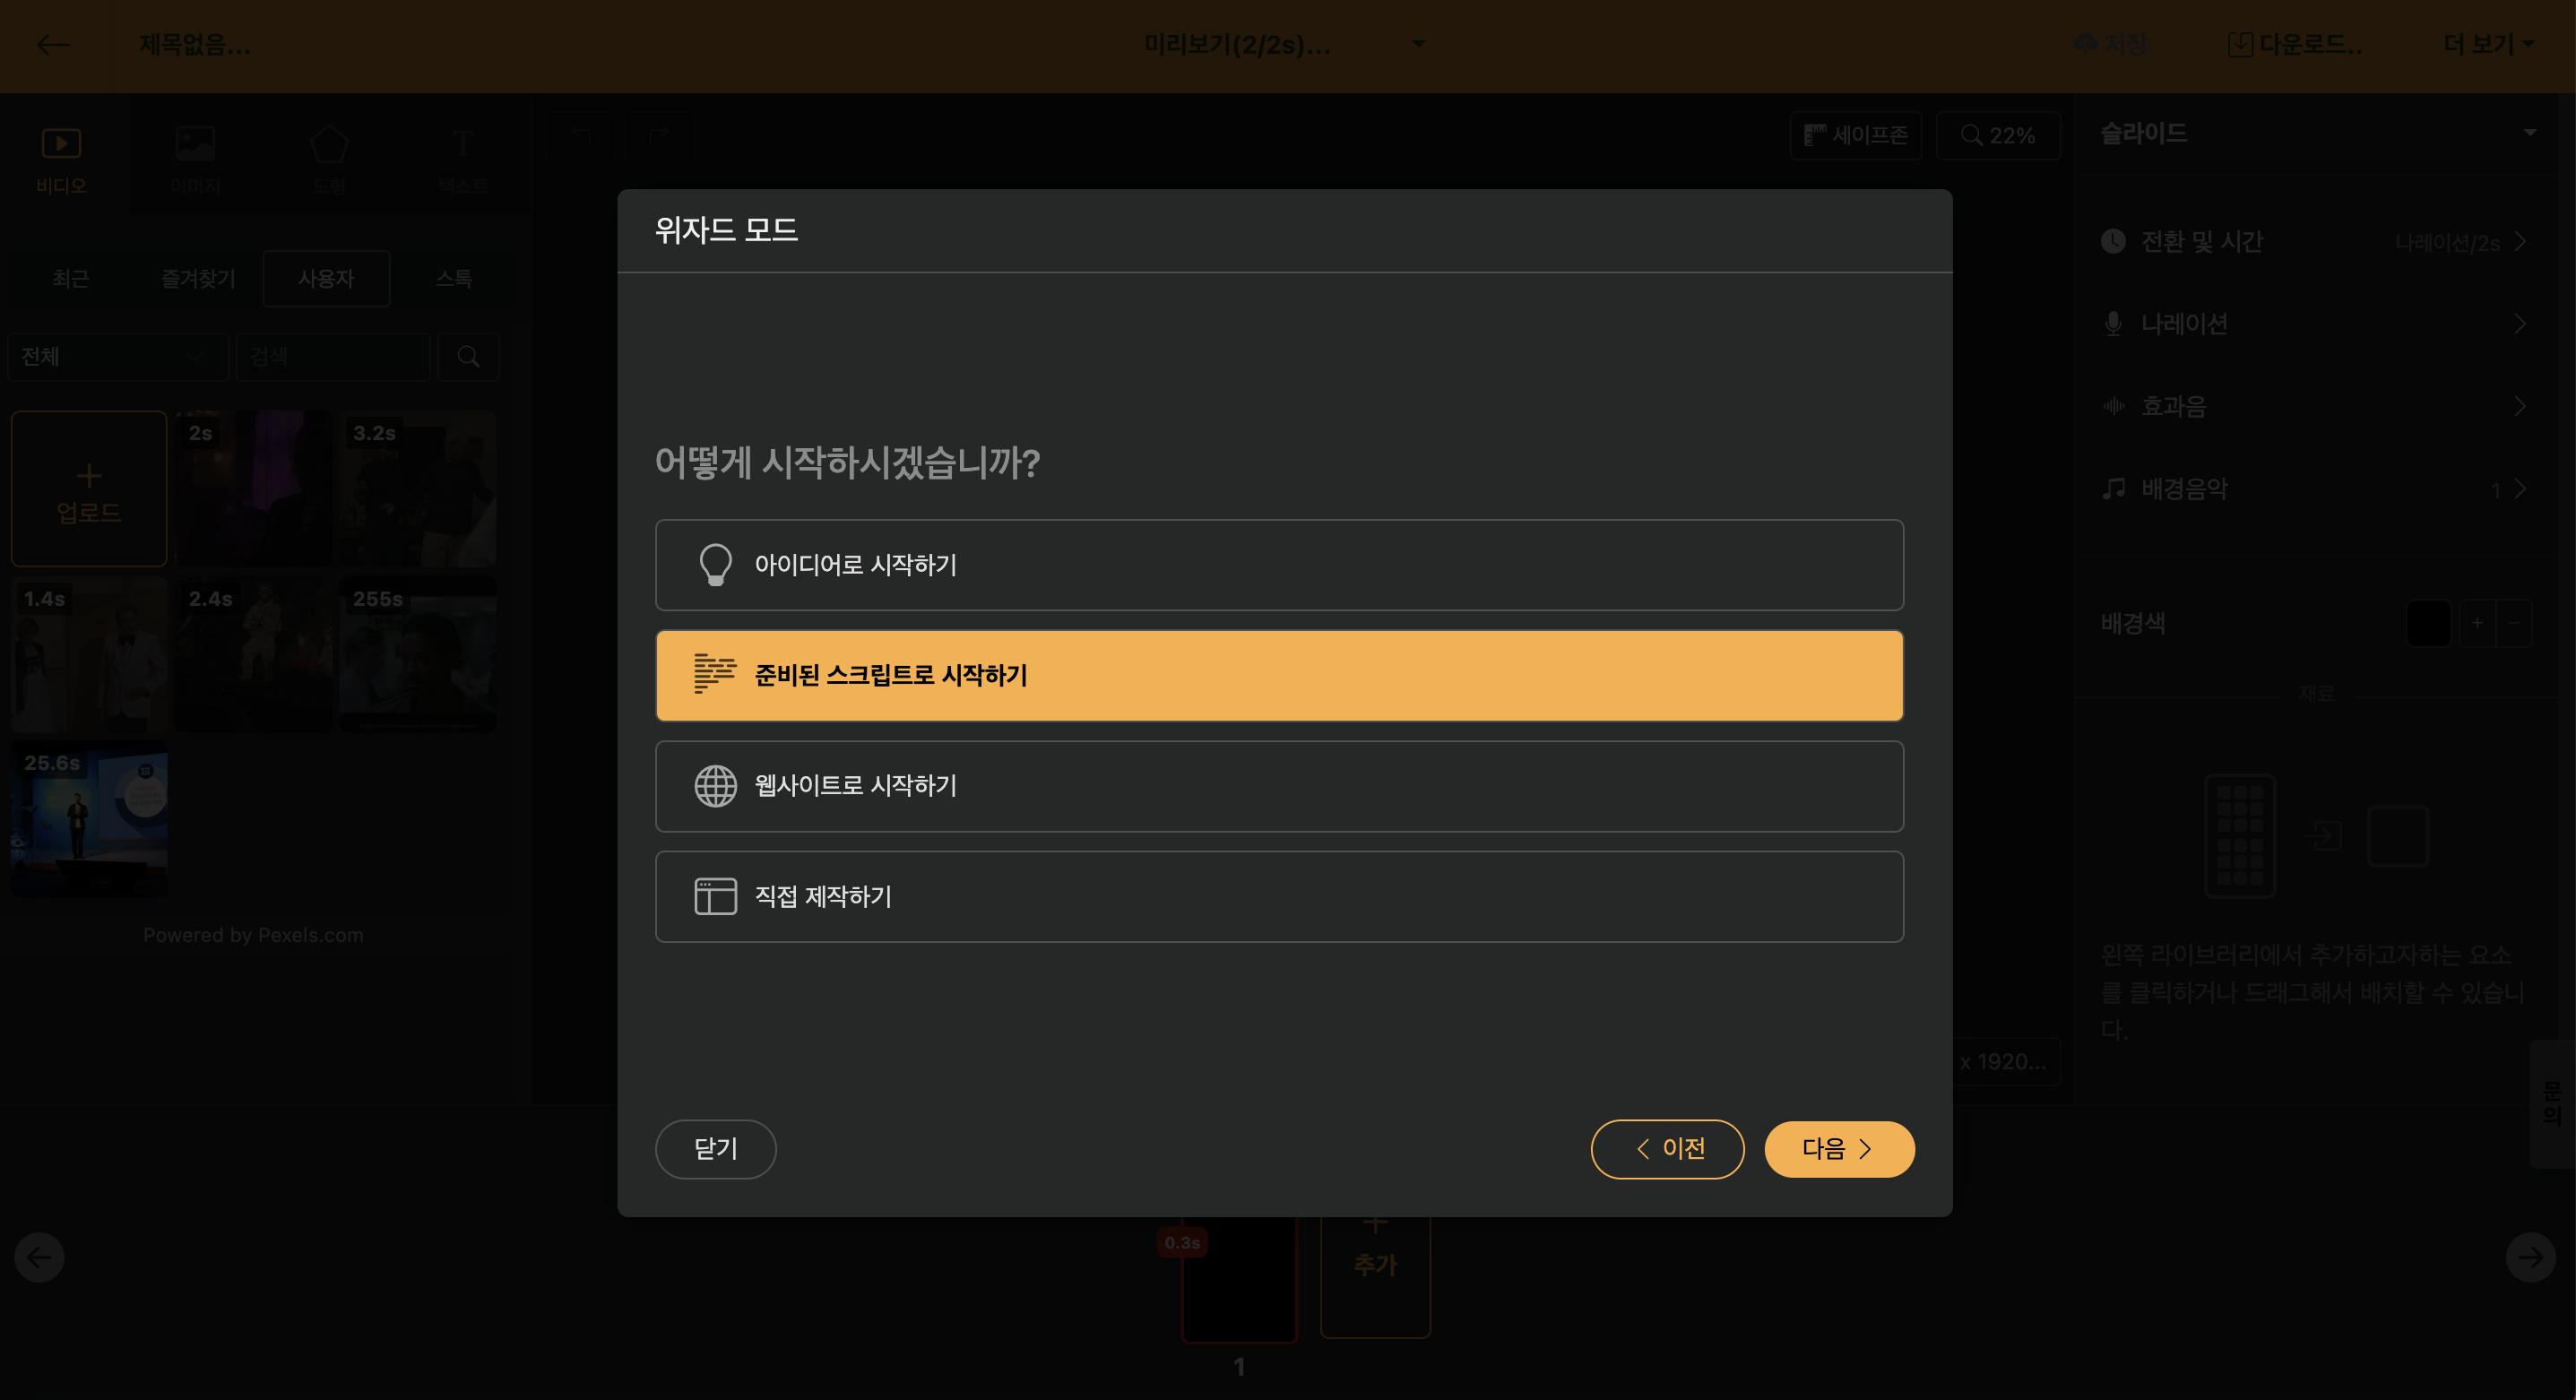
If you want to change the length, you can use the [Trim] function at the top right. This function changes the length while maintaining the style of the script entered by the user as much as possible.
Start with the website
You can start editing videos with the URL of a blog content or news article URL.
When you enter the URL, it fetches the text and images included on the website, and if needed, you can change the length through the [Trim] function.
Create directly
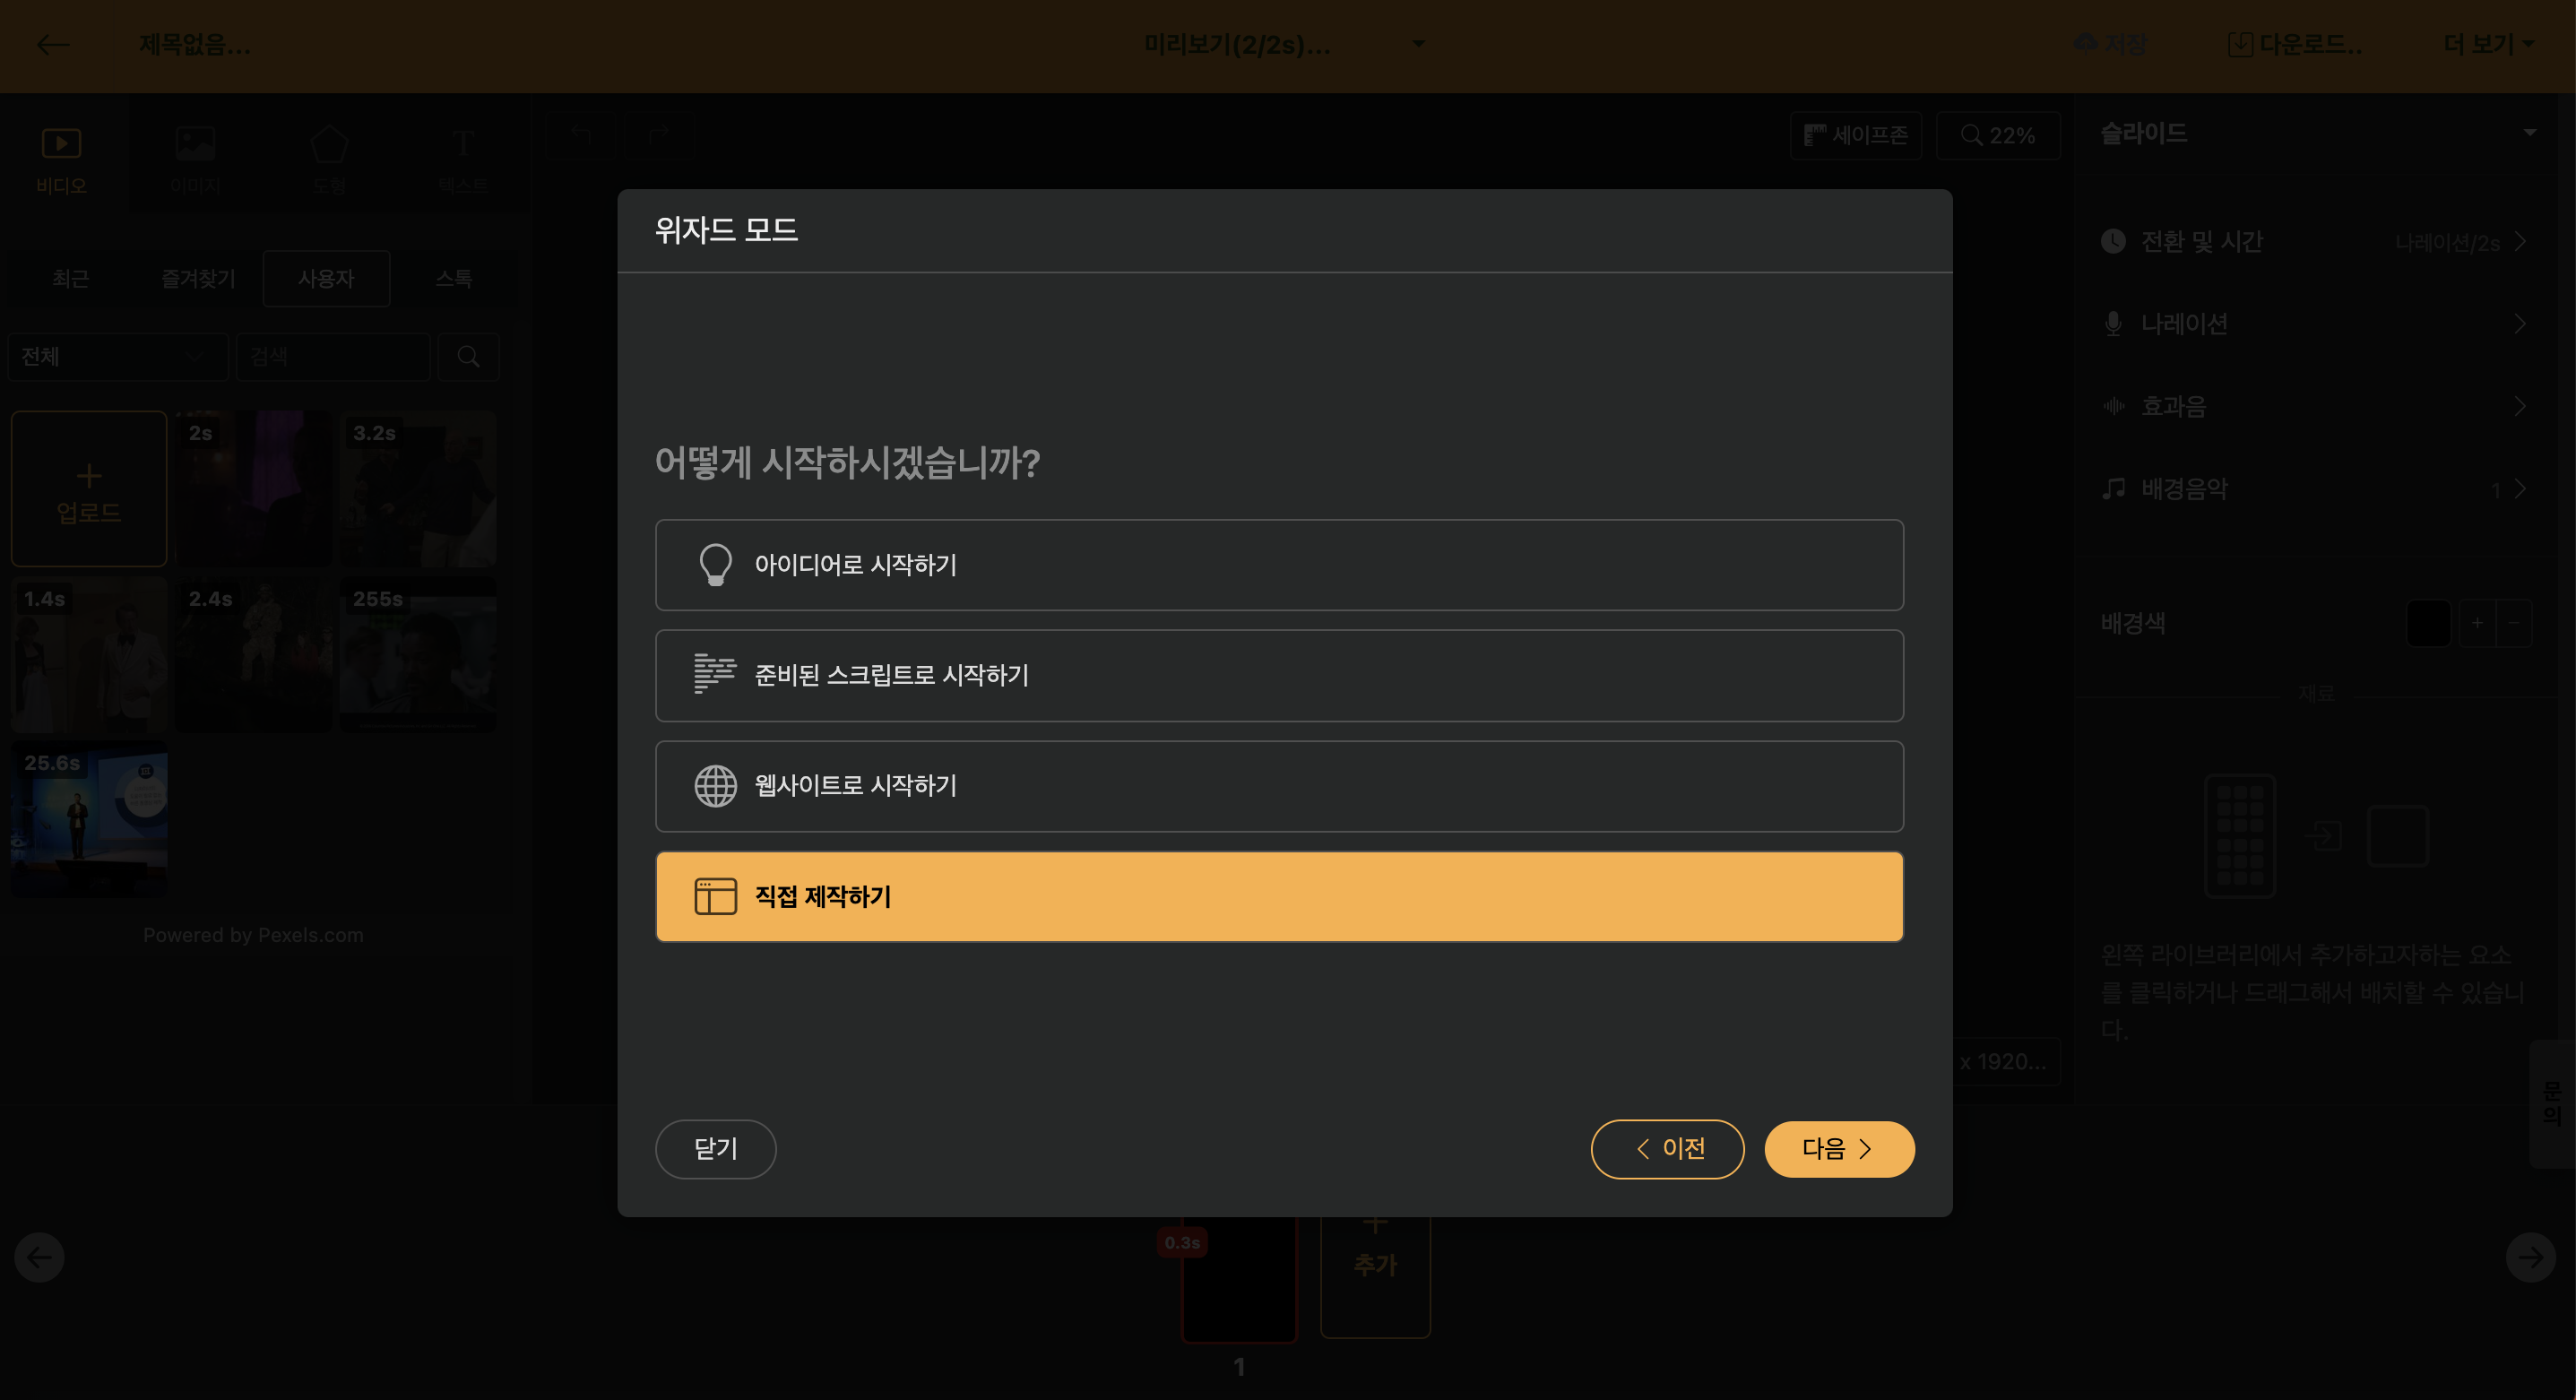
You can end wizard mode and start working directly in the editing screen. It is useful when creating intro and outro videos using Auto Animation or Language Learning Videos.
Select Widget Mode Template
If multiple scripts have been created, the screen that allows you to select the template that will be applied afterward appears. After creating a script, the template, or stage, to which the script will be uploaded, is displayed.
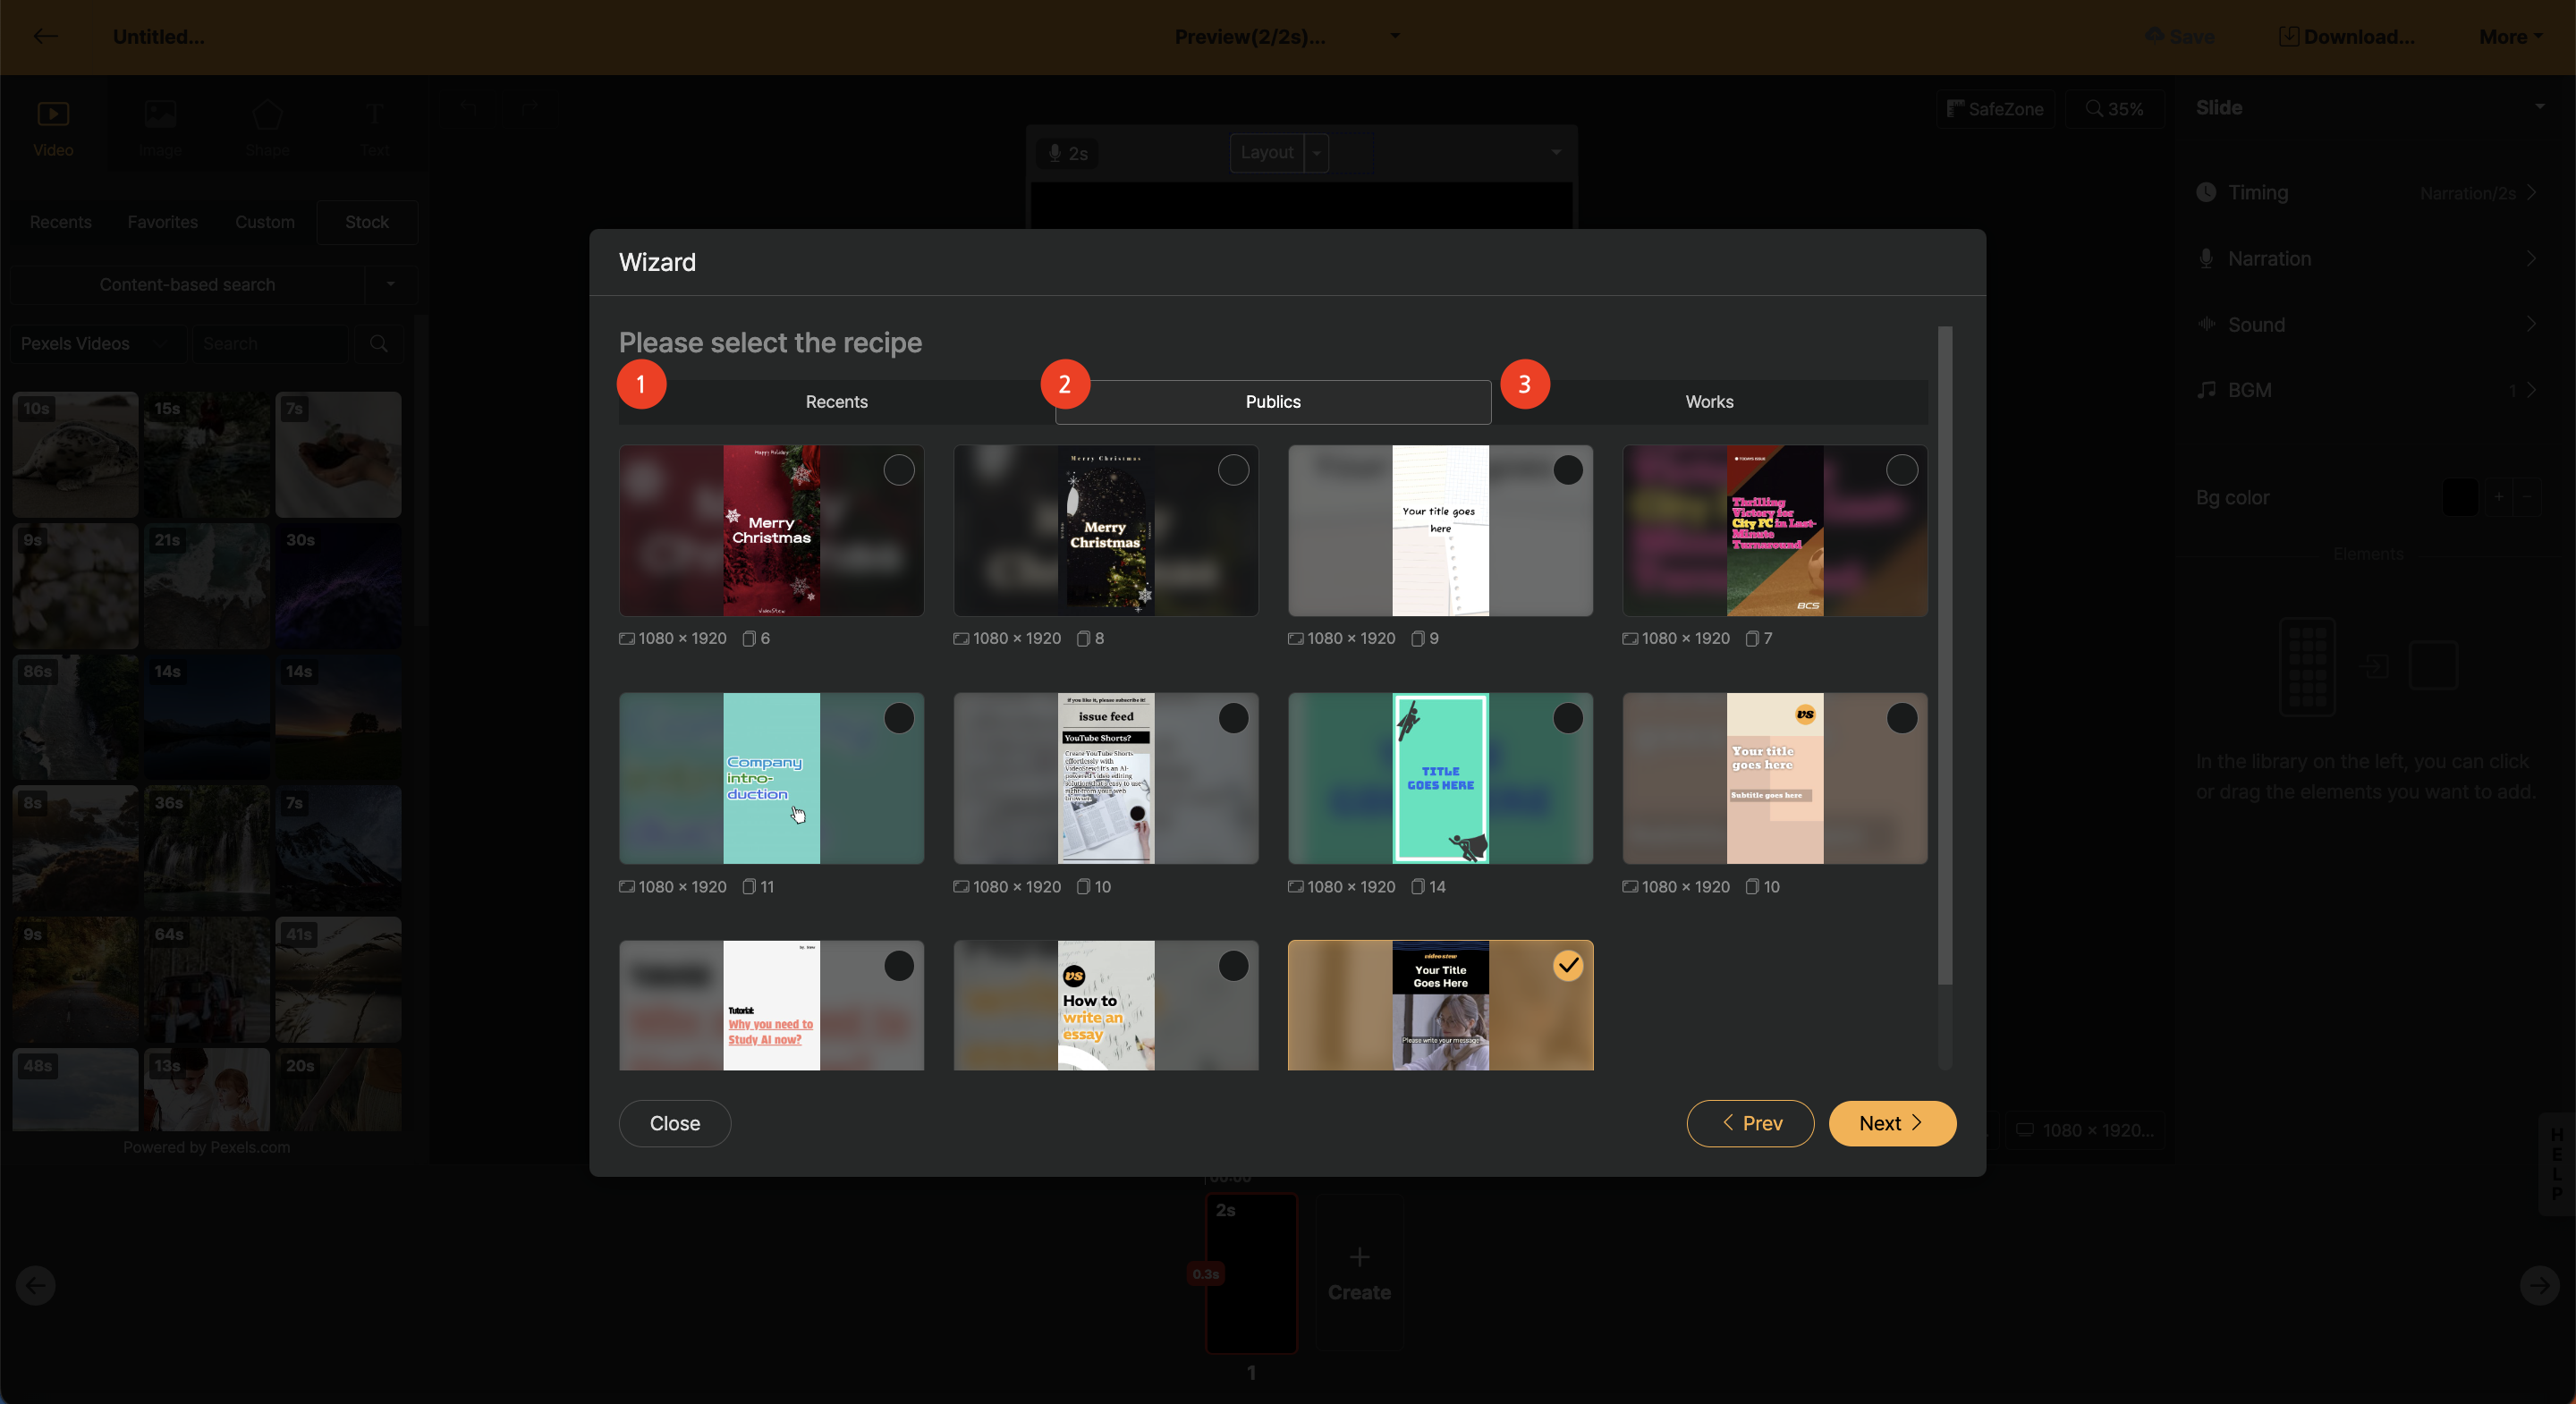
< Selecting a Template in Widget Mode >
- Recent: The most recently worked projects list is output.
- Basic Template: A list of basic templates provided by Videostew.
- My History: If you create and repeatedly use [My Template], all the projects you create will be listed here.
Detailed Settings for Widget Mode Template
In the final stage, you can view detailed information of the template to be applied and directly modify the necessary elements before proceeding to the editing screen.
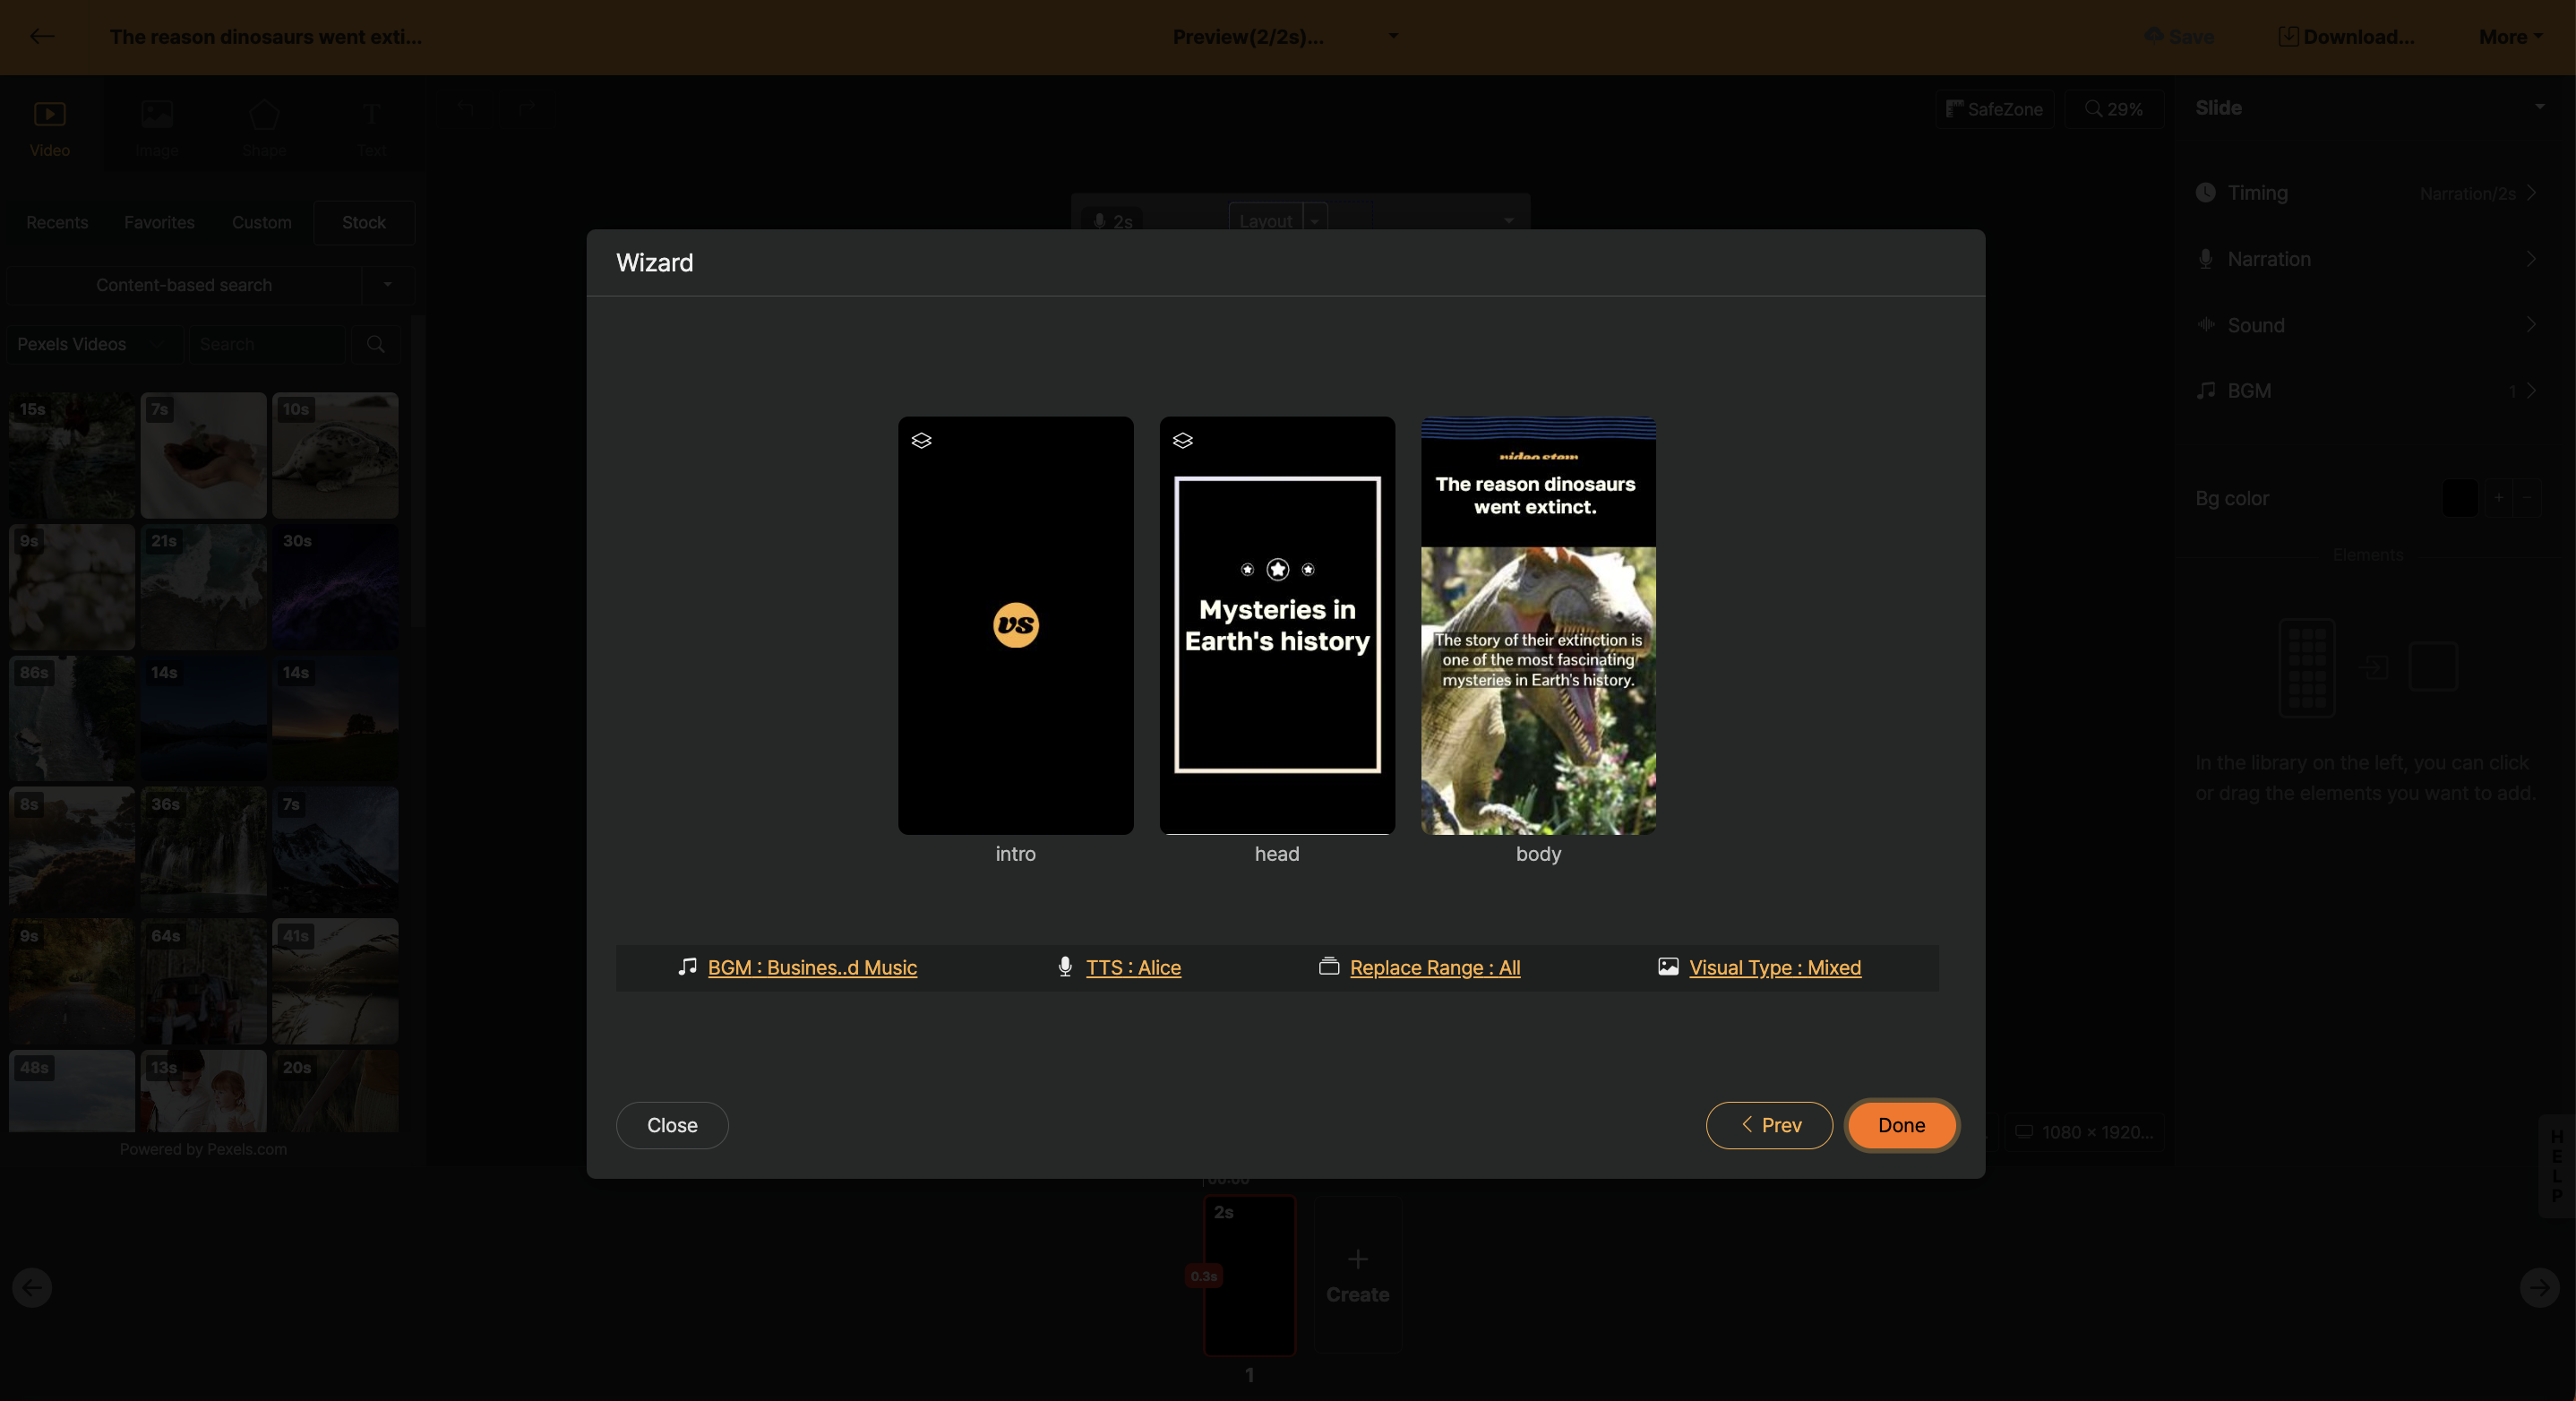
< Detailed Settings Screen for Template >
- Background music change: Replace the background music used in the generated project.
- Change AI Voice Actor: Change the AI voice actor to be used in the project to be created.
- Replacement range: Choose whether to change the entire template or just the actual text part. For example, if the template is an intro animation commonly used by your brand, it is recommended to set it to change only the text.
- Visual type: Select the type of video/image library that matches the content. By default, it is set to 'mixed', which uses both video and image libraries.