Guide
Screen Composition
The editing screen is structured with functions necessary for managing projects, such as previews and features for managing slides/elements to construct content.
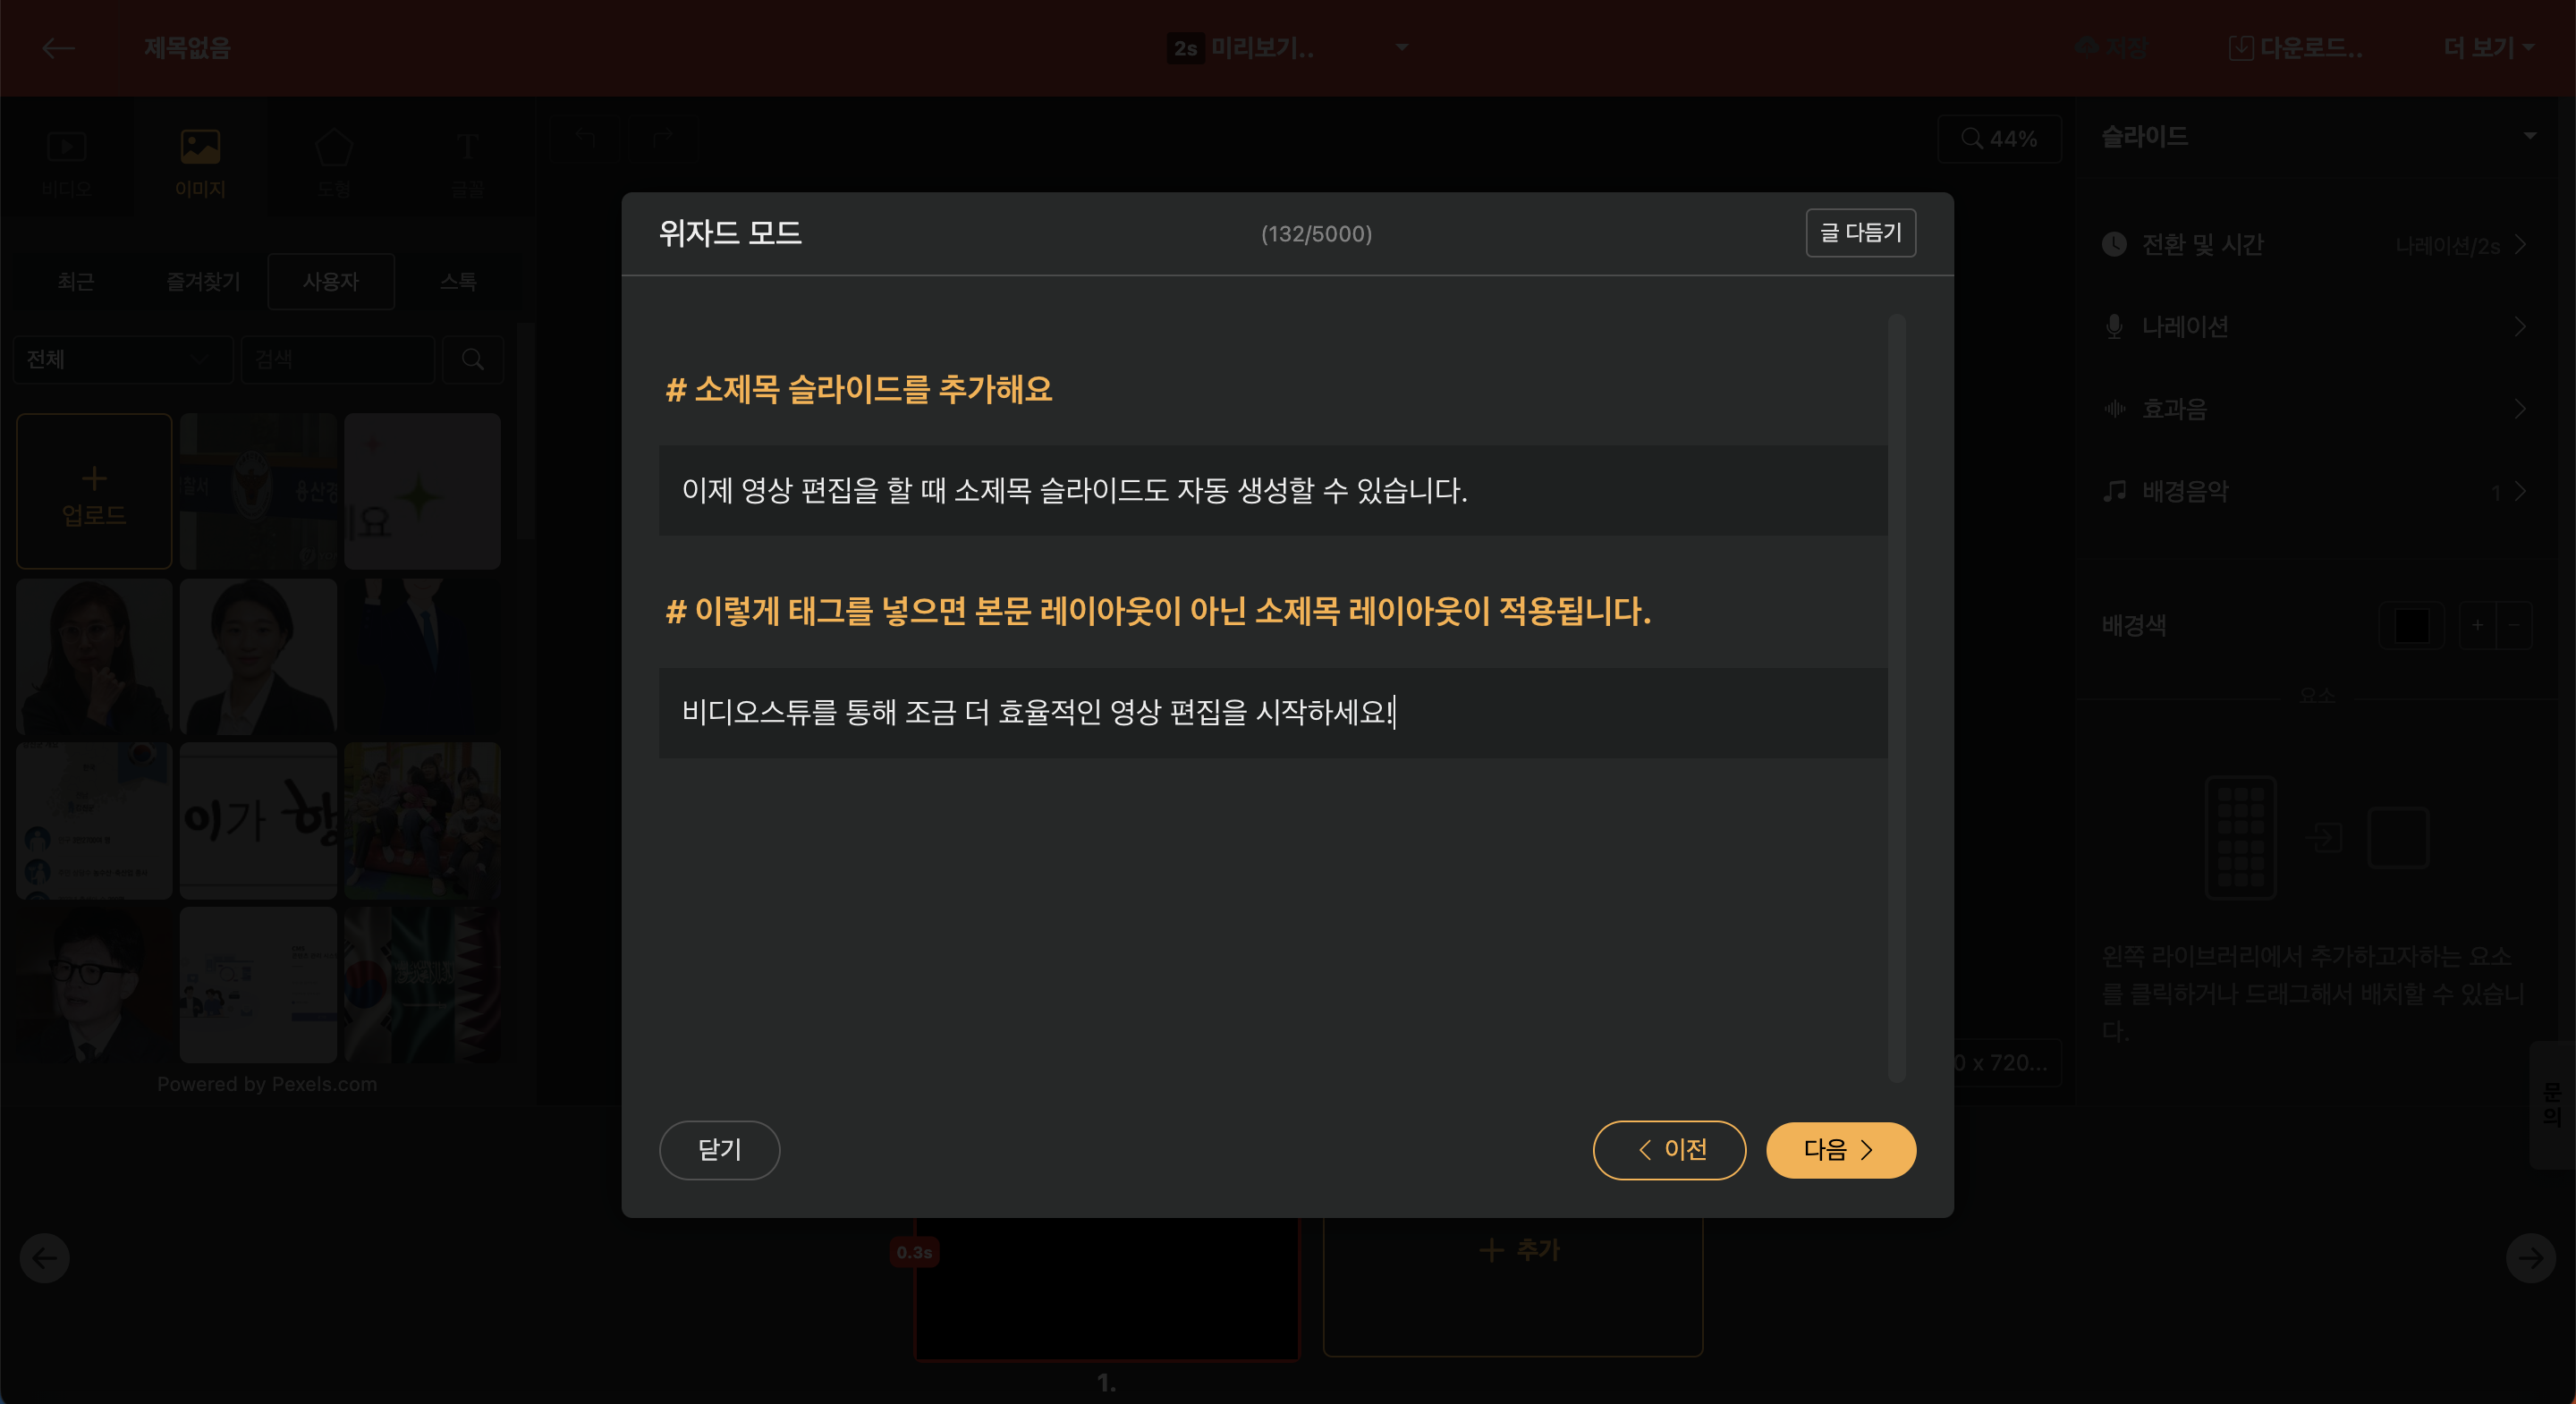
Wizard Mode
As soon as a new project starts, you enter the Edit Screen where the wizard window pops up immediately. Here, you can set the title by default, and if you continue by clicking "Next", you can start creating content more easily. For detailed explanation about the wizard, refer to [Getting Started with Wizard Mode].
When entering text directly, you can include up to 10,000 characters. You can also paste up to 20,000 characters by copying and pasting external text or starting from a blog URL.
After that, if you use the "Add Text" function, AI will regenerate the text according to the desired video format.
The software reconstructs the text to fit a maximum length of 60 seconds. However, the content entered can exceed 60 seconds to preserve the naturalness and completeness of the input.
Title Settings
When using the merge feature, you can automatically add relevant content to the title.
When entering the original text directly into the text editor, using the "#" tag will automatically convert it into a subtitle slide. (Make sure to leave a space after "#".)
Editor Screen Top Navigator
The editing top panel contains tools for general management of the project.
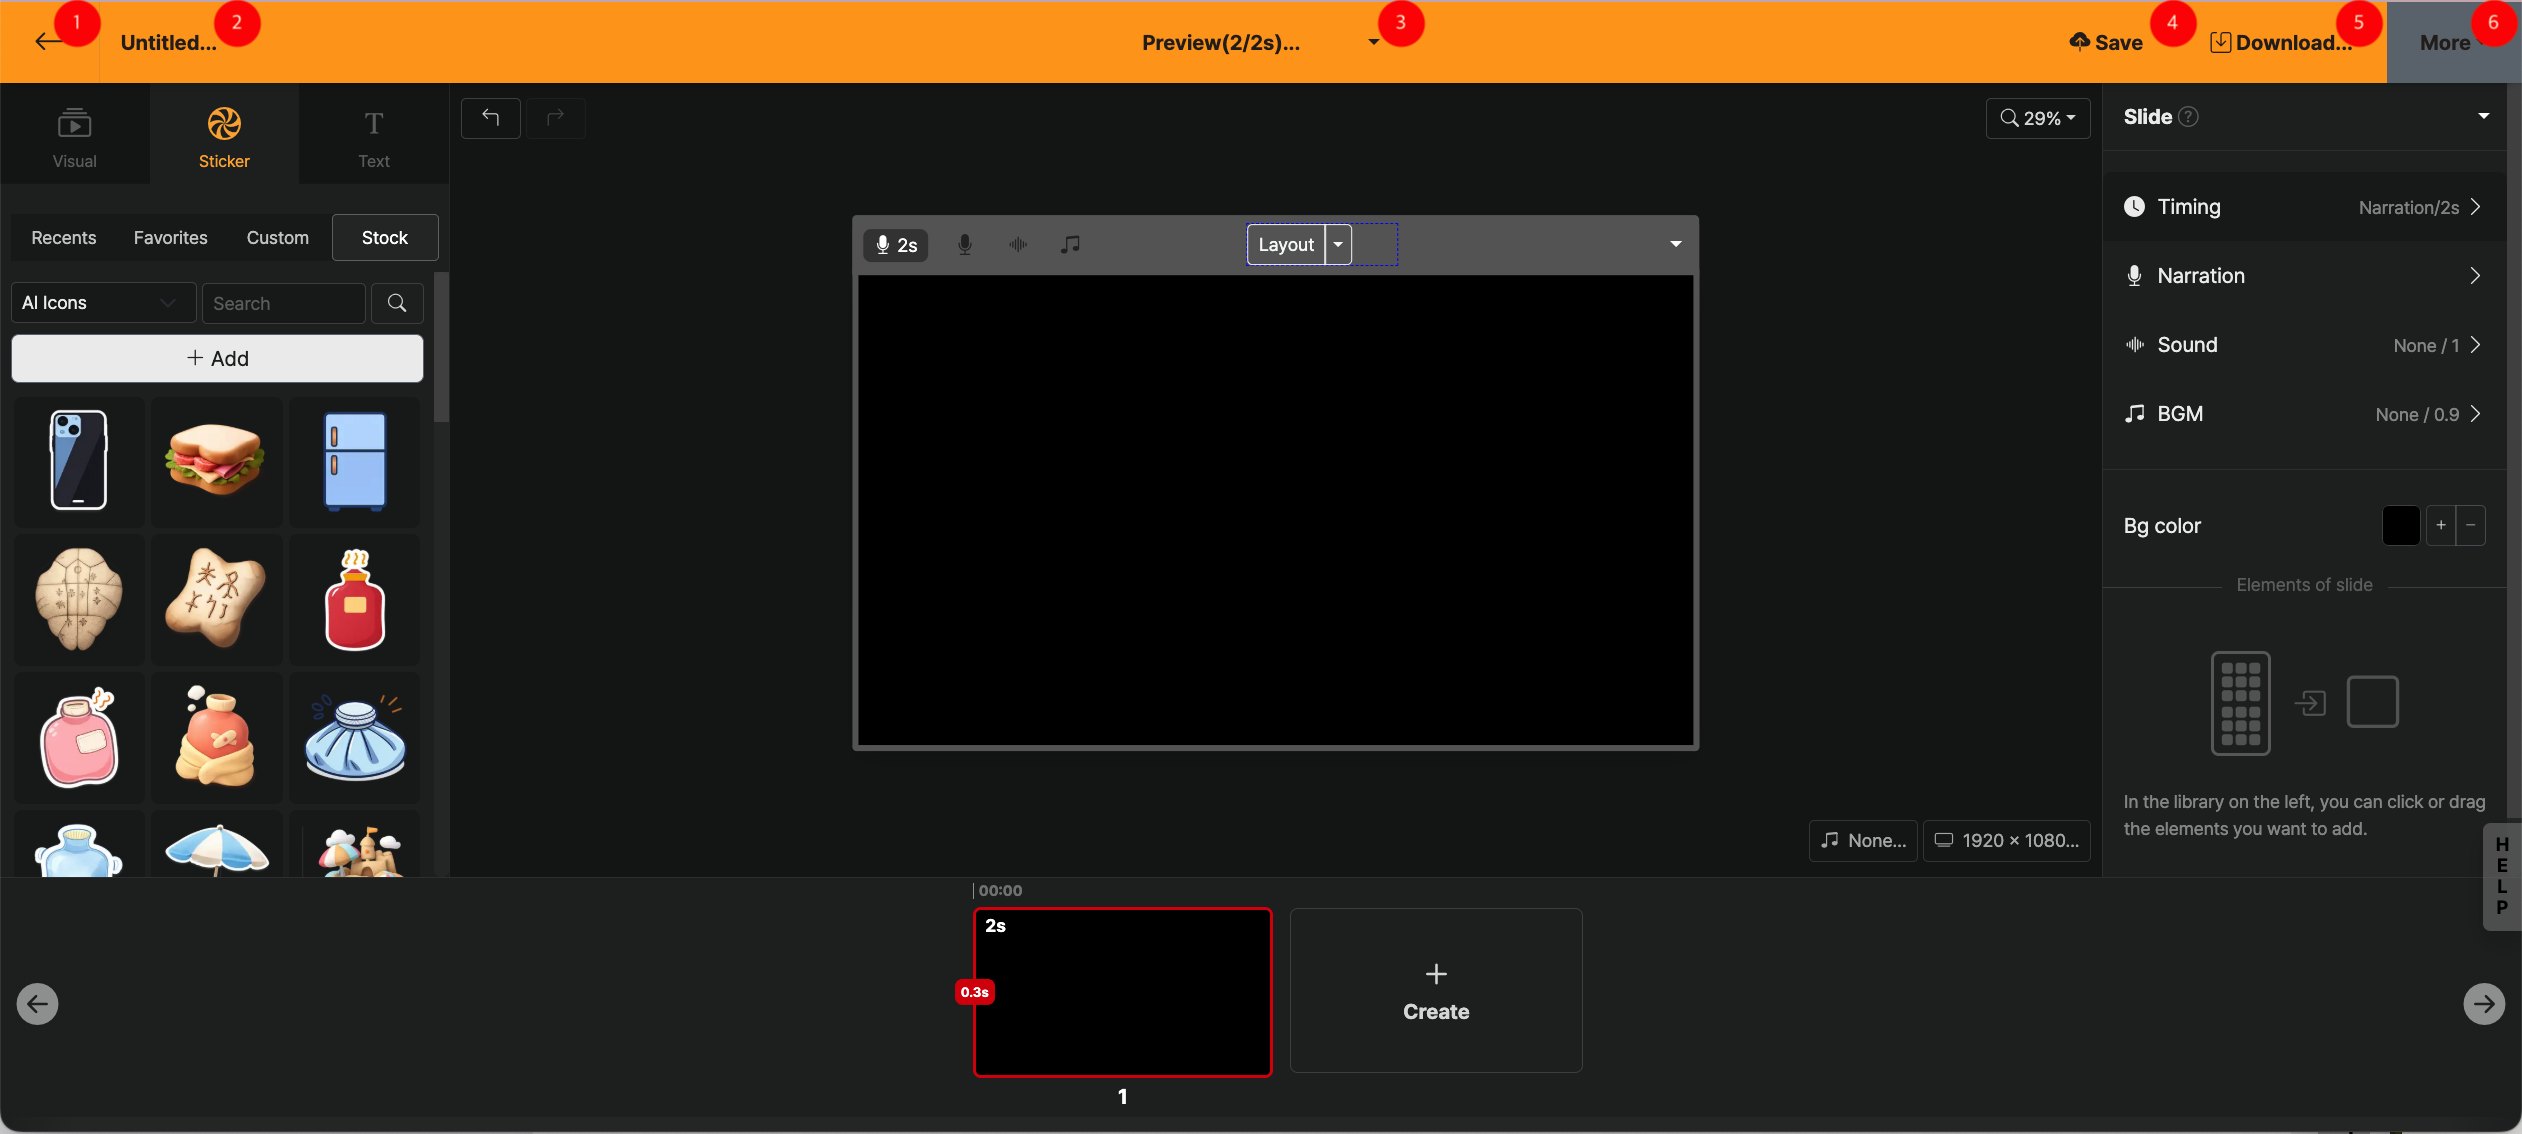
Return to Home Screen (←)
Pauses the work and returns to the home screen. If there is unsaved content, a warning window appears. In such cases, click [Cancel] then Save to save all work progress to the server.
Changing the Title (No Title)
You can set the project title and description. If you insert a URL into the description field, it can be used as a link in the Share screen. Also, the title and description fields are automatically generated according to the content of the created project.
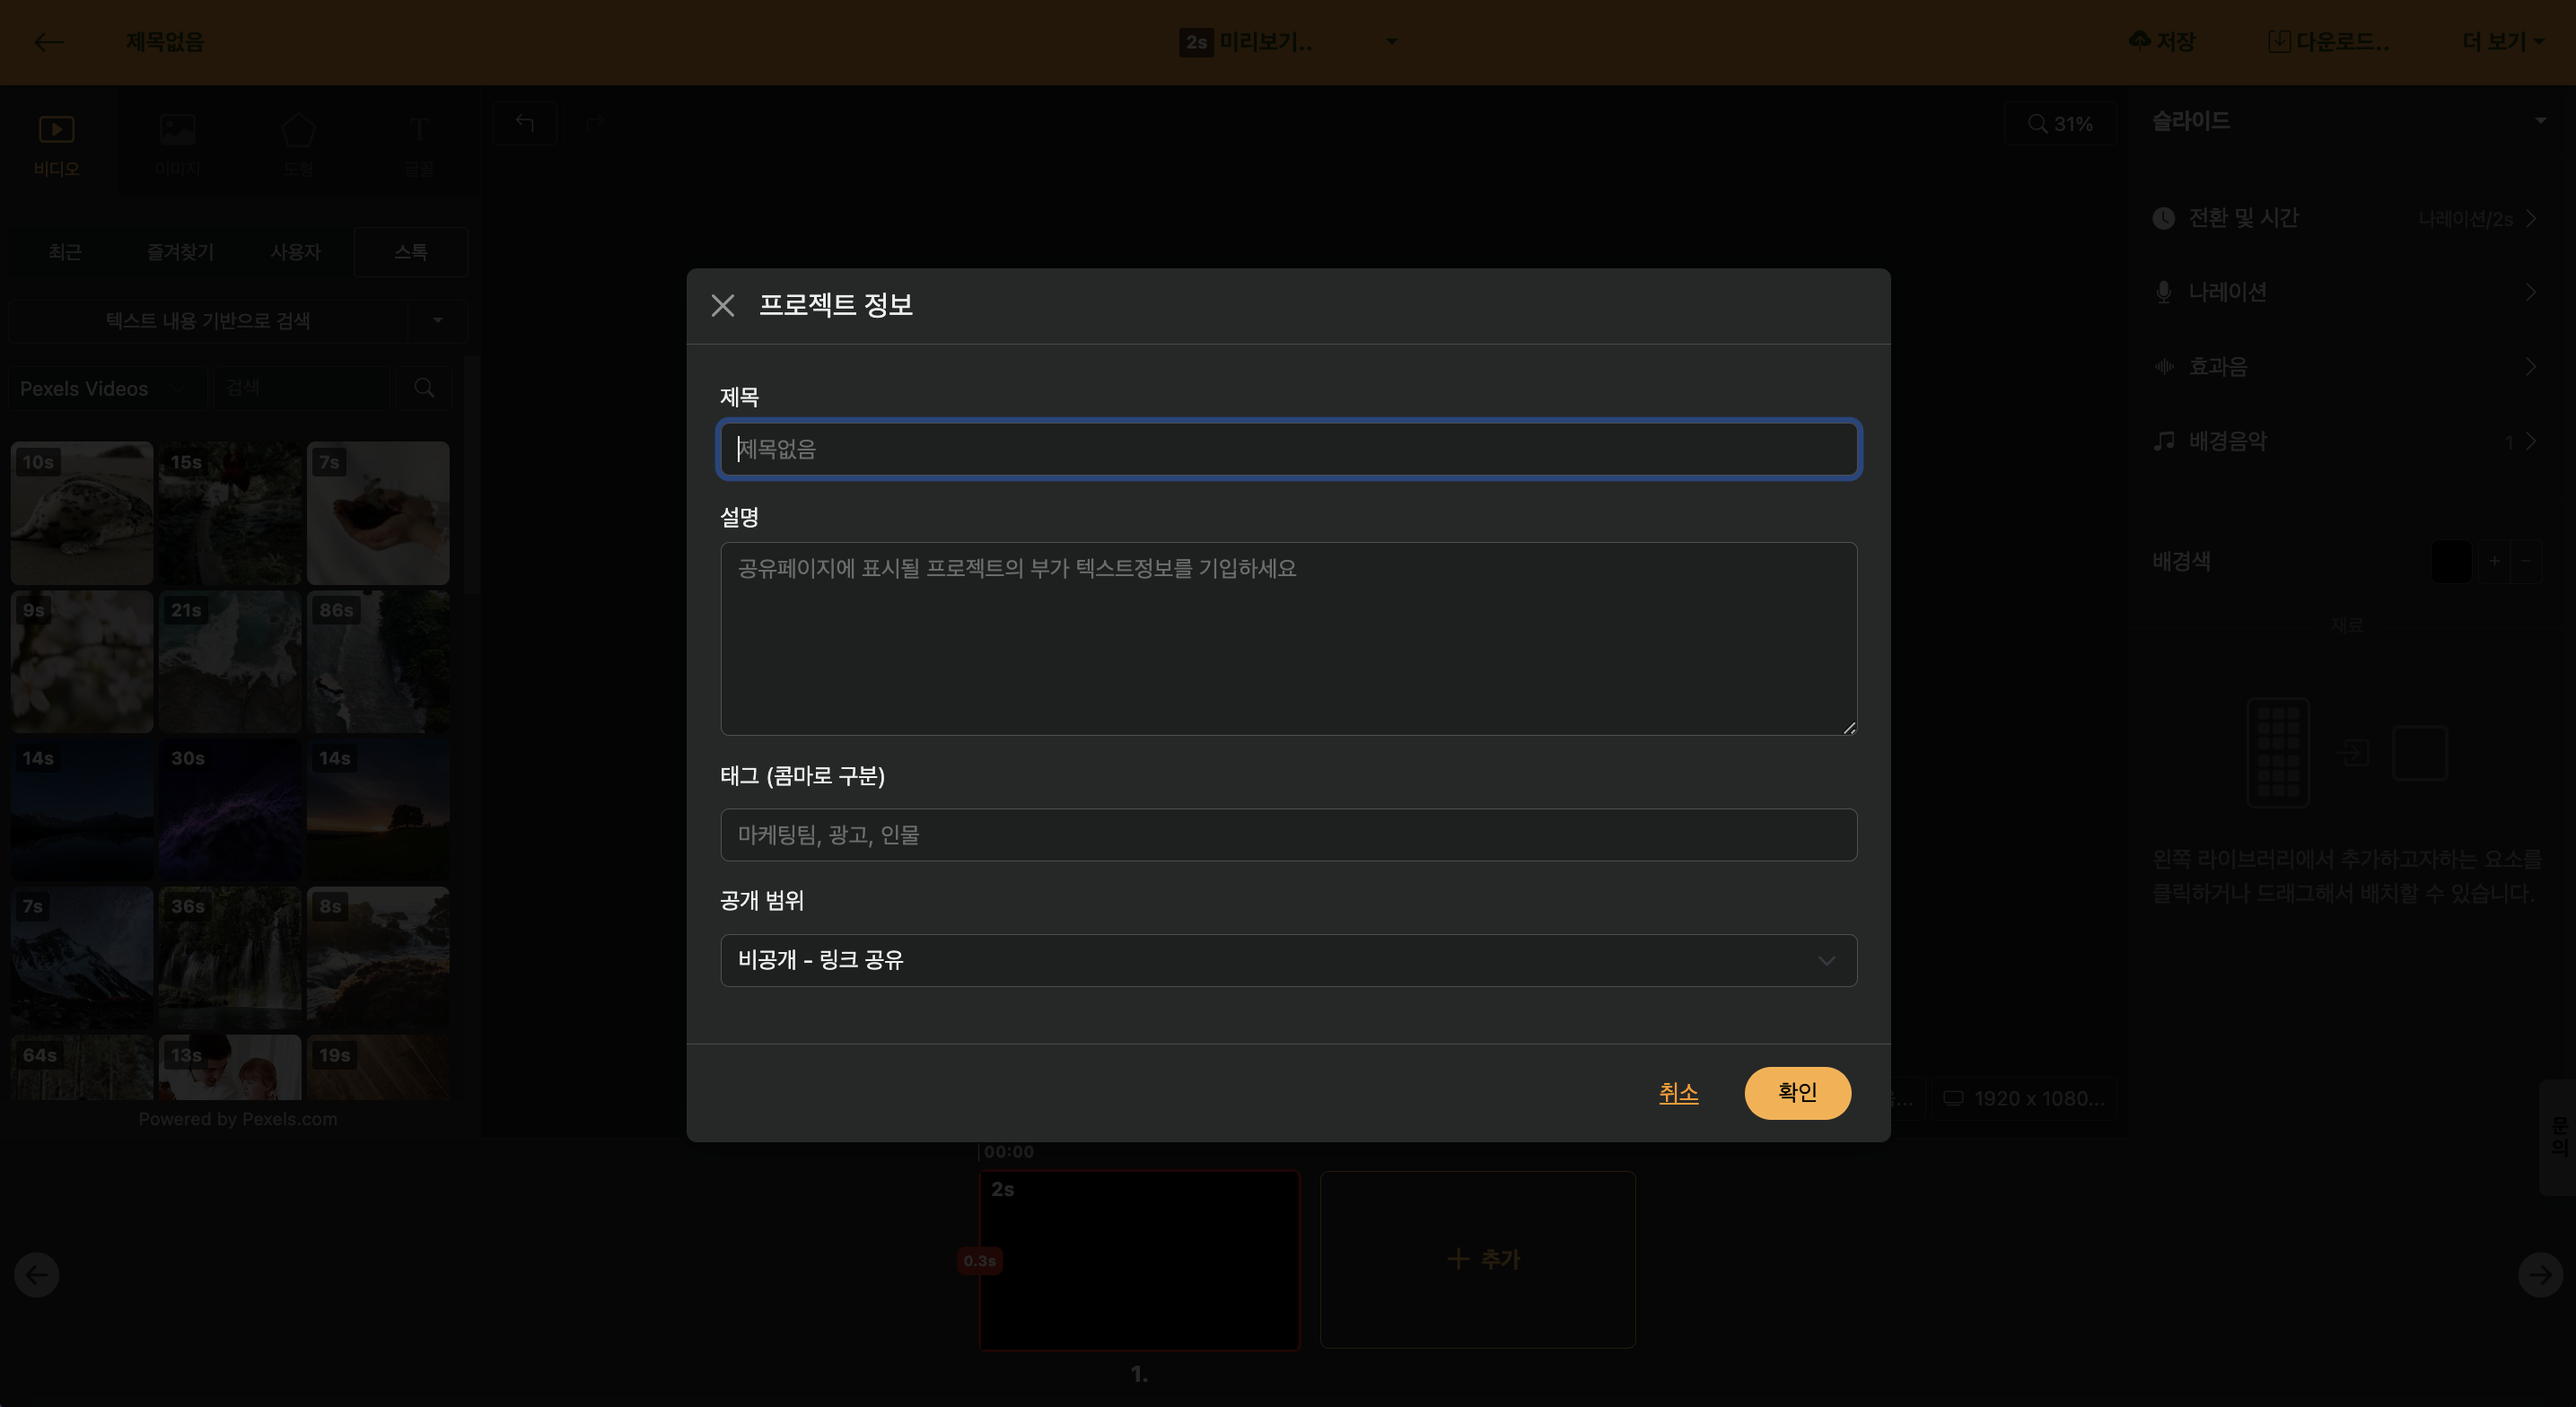
< Edit Project Information >
Description
Editing screen > Click project info in header
You can add a brief summary of the project content; when the project is published on the web, this information will appear on the website.
Time Information Included
Editing screen > Click project info in header
When you upload a slide-based script, the slide’s duration is automatically added to the description. If you embed it on a replay platform like YouTube, you can click the time to change the replay point, and the functions are linked.
Tag
Editing screen > Project info in header
When you enter tag information separated by commas, you can use it conveniently by tag when searching on the home screen.
Publish Scope
Editing screen > Project info in header
All projects are created in a private state by default, where they can only be accessed if the address is known. When this setting is changed, it can be configured to appear in web search results.
To use it as "My Own Template", you must set it to the "Published" status; for instructions on creating a template, please refer to the [Create My Own Template] guide.
Preview
Editing screen > Preview in header
You can preview the currently selected slide. When you select multiple slides, only that section will regenerate. Click the play settings (▼) button to preview the entire video.
Save
Editing screen > Save in header
Saves the content of the project that is in progress to the server. Even if the user does not manually press it during the work, if a modification is made, it will be automatically saved to the server. For those who do not feel comfortable not pressing save manually, we also provide the option to manually save.
Shortcut key: Ctrl + S
Download
Editing screen > Download in header
You can render the completed project into a file.
Video File (MP4)
Editing screen > Download in header > Download video after rendering request
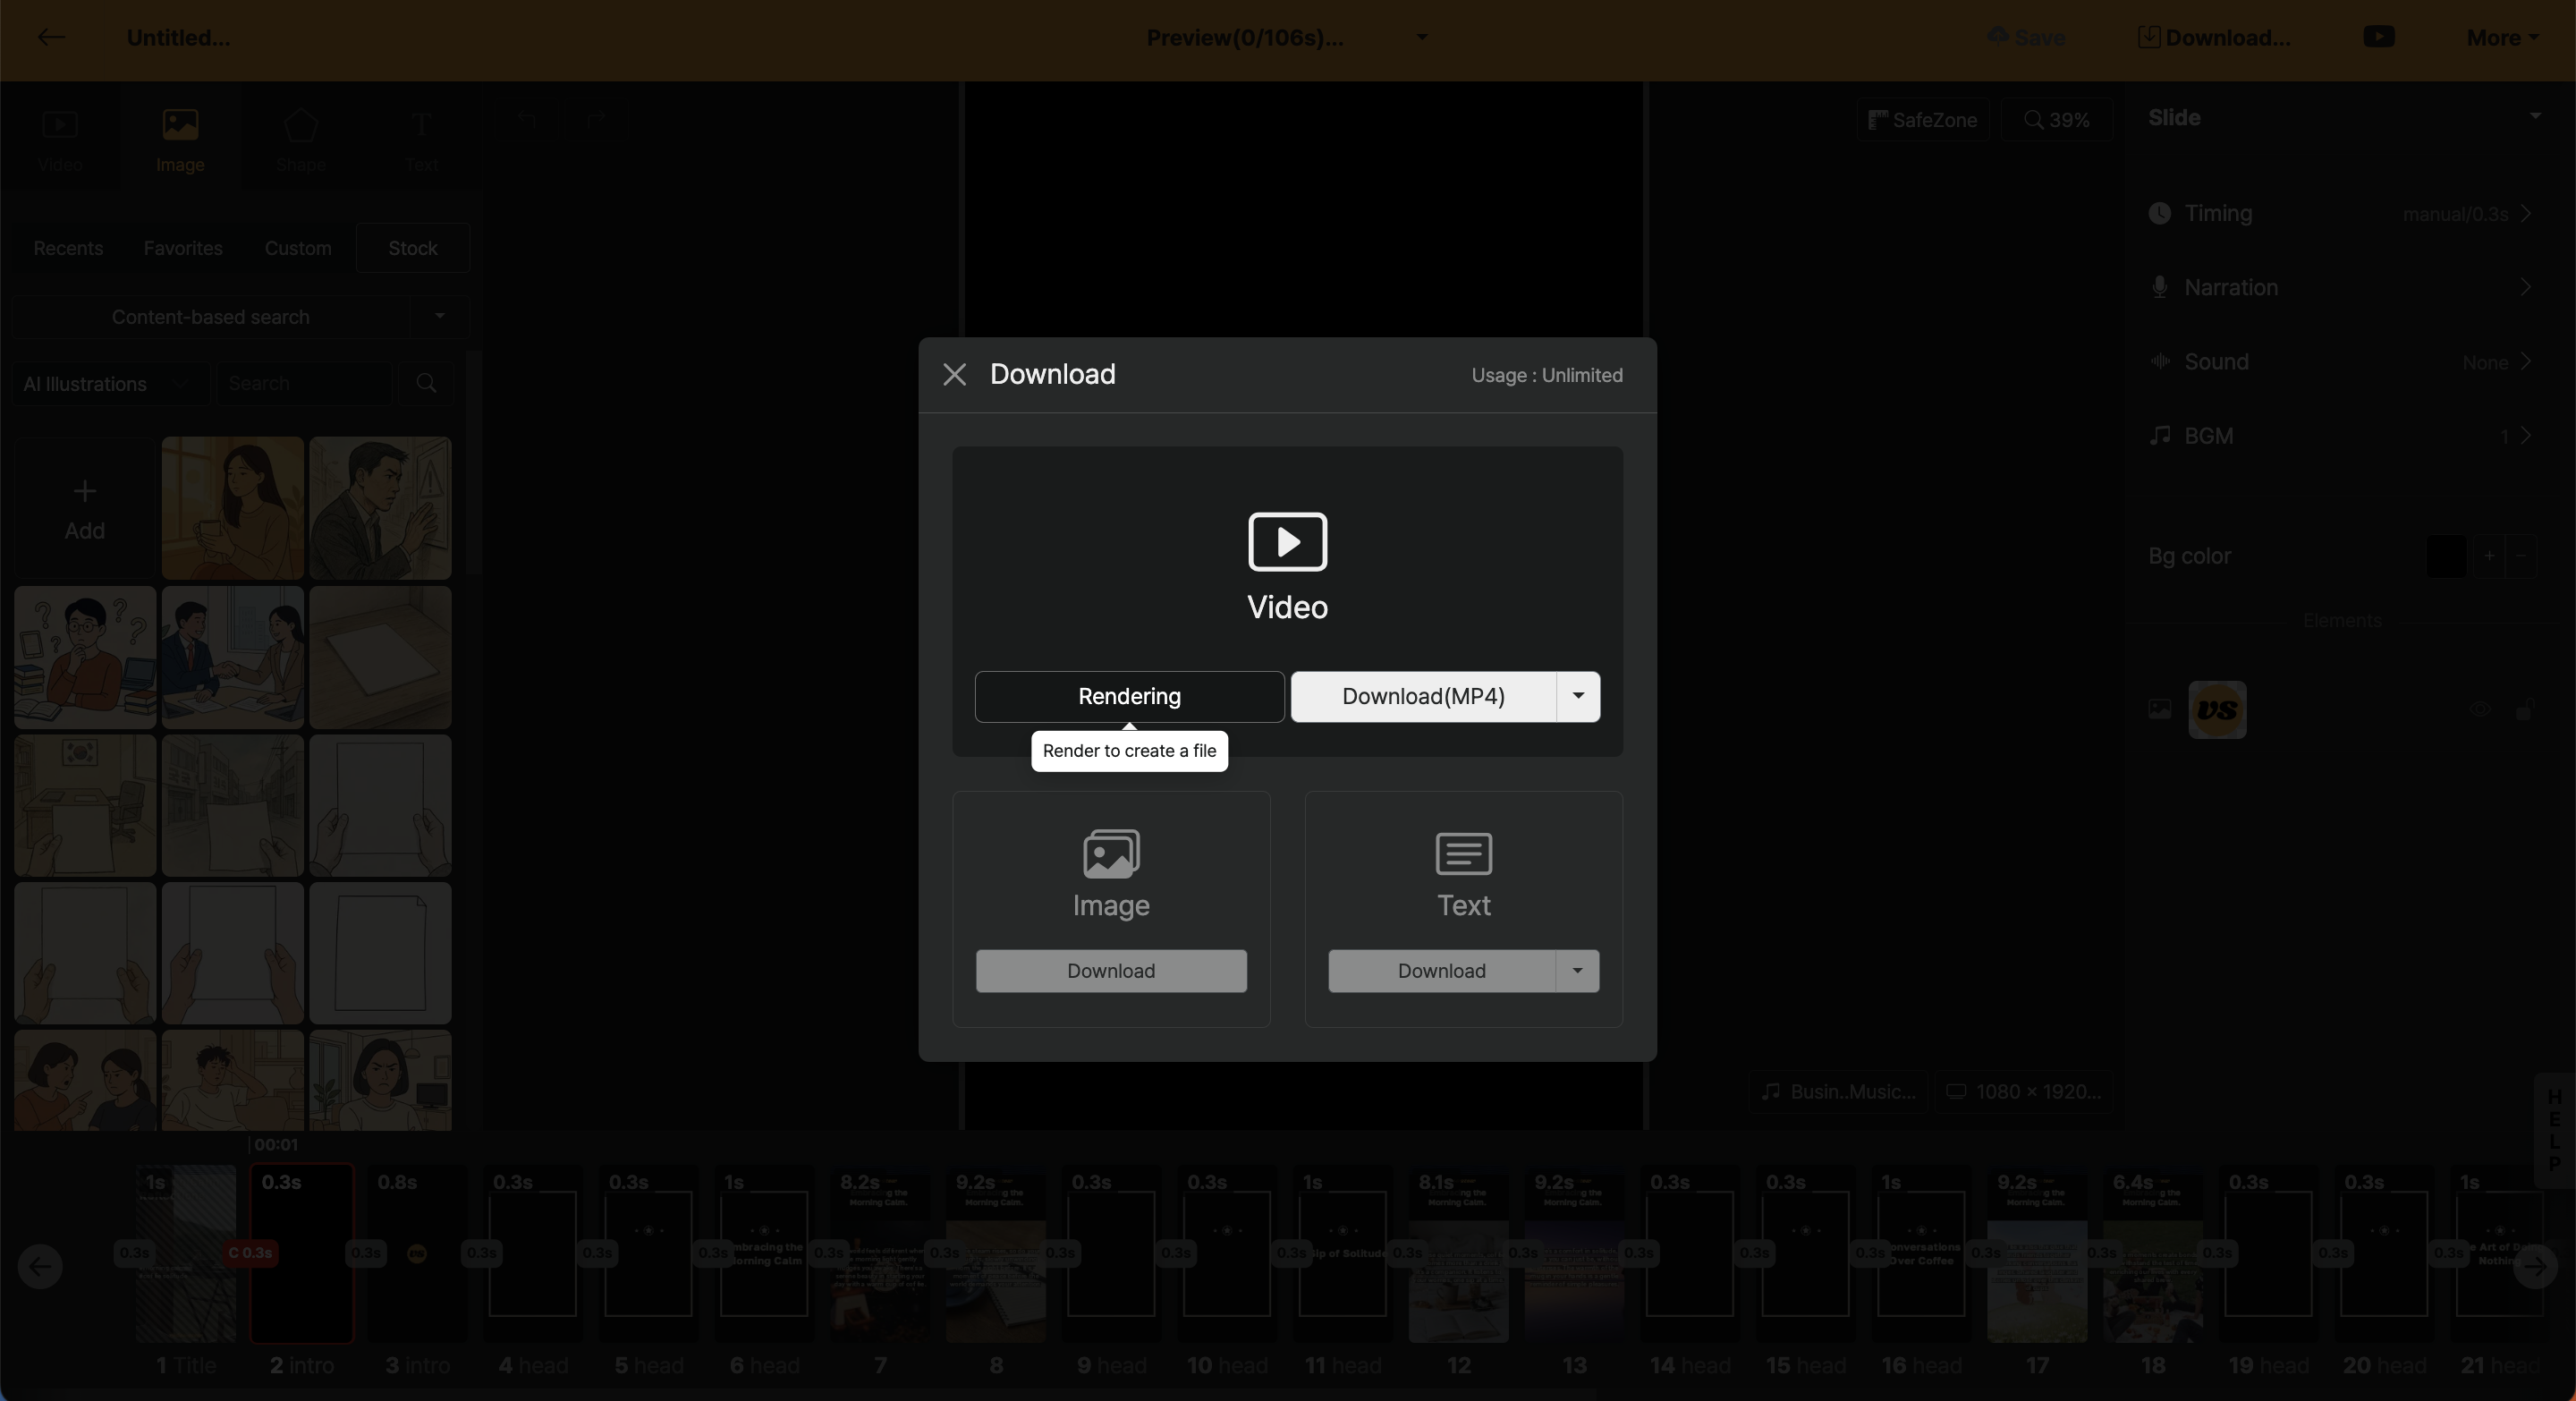
First, press the "Rendering" button, then a rendering request is submitted. Rendering request means converting the project you made into a video file. After a while, once the file is added, the Download button becomes active, and by clicking the button, you can download the MP4 file to your computer.
Audio File (MP3)
Editing screen > Download in header > Download audio after rendering request
You can click the drop-down (▼) button at the top of the download button to download as an MP3 file. All sounds included in the video are included as is.
Image File (PNG)
Editing screen > Download in header > Download image
Saves every slide as individual image files. You can use this to download results in a card news style that are not videos.
Text File (TXT)
Editing screen > Download in header > Download text
You can download all texts used in the project as a document format. It is useful to save as a text format again when the content has changed a lot during the work.
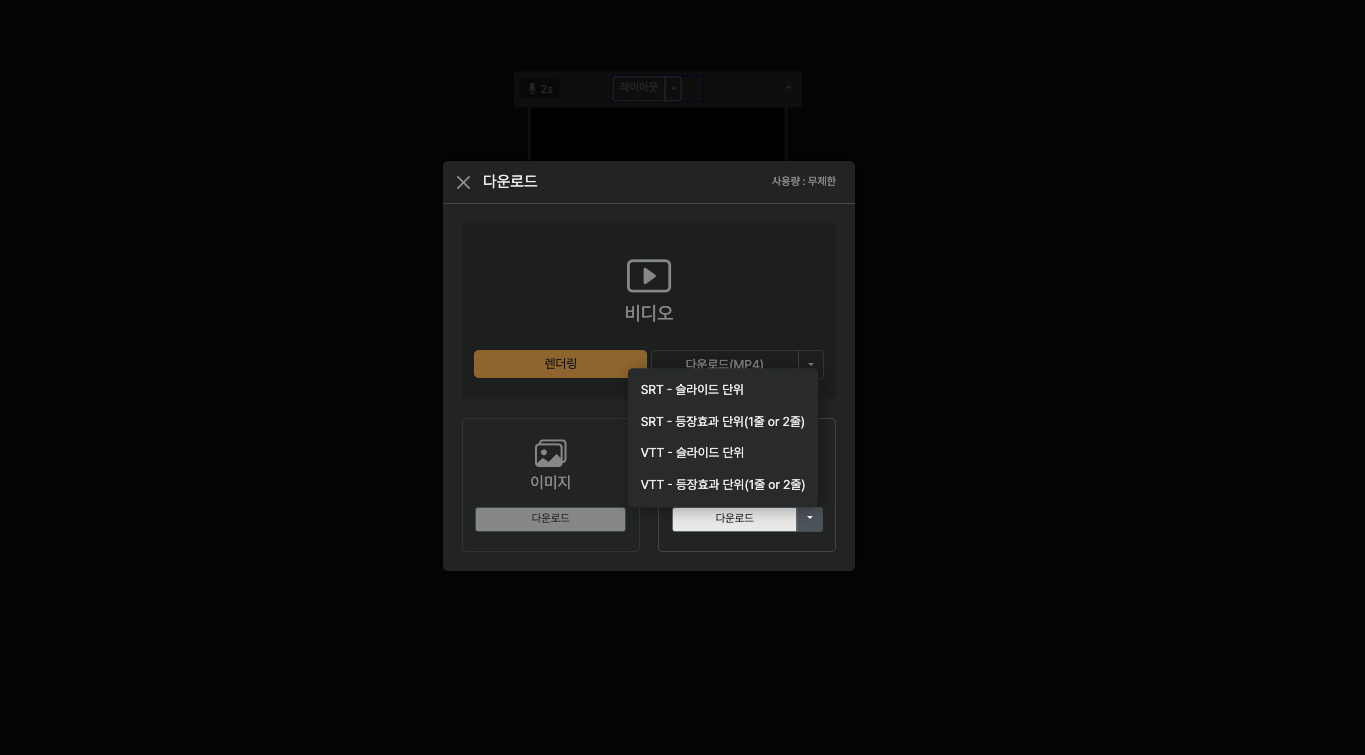
Additionally, by clicking the settings (▼) button, you can download subtitles in SRT and webVTT file formats.
| Section | Detailed Description |
|---|---|
| Slide Unit | Add subtitle files based on all text within a slide in the project |
| Application Unit | Add subtitle files including timeline information when line breaks are applied within slide text |
More
Share
Editing screen > More in header > Share
You can share the rendered project on the web. You can copy the address and paste it into messengers such as KakaoTalk, and you can check the rendered video by [Open in new tab].
If you've inserted a link in the project description field, you can click on the link address to utilize it as a Call To Action (CTA) button.
The sharing feature is valid for one month after video rendering, and the saved video will be deleted after one month. Therefore, please be sure to download the rendered video file within the period from Videostew.
Start with this template
Editing screen > More in header > Start with this template
Delete the selected project as a template, then create a new project with fresh content. By reusing the layout of the intro and outro, etc., according to the project settings, you can build a new-content project.
To create a template that keeps the same tone and manner and reuse it easily, please refer to the [Create My Own Template] guide.
Restore
Editing screen > More in header > Restore
You can revert the project to a previous point. Refer to 'Save view' and 'Slide number' in the list and use 'Restore' to call up the project from a past point.
Copy
Editing screen > More in header > Duplicate
The current project you are working on is copied exactly as it is in the current workspace.
Send to Trash (Delete)
Editing screen > More in header > Send to trash
Deletes the current project. Projects moved to the trash can are not completely deleted until you empty the trash can.
Environment Settings
Editing screen > More in header > Environment settings
You can change settings for dark mode and the style of thumbnails, as well as the wizard mode.
General
Editing screen > More in header > Environment settings > Common tab
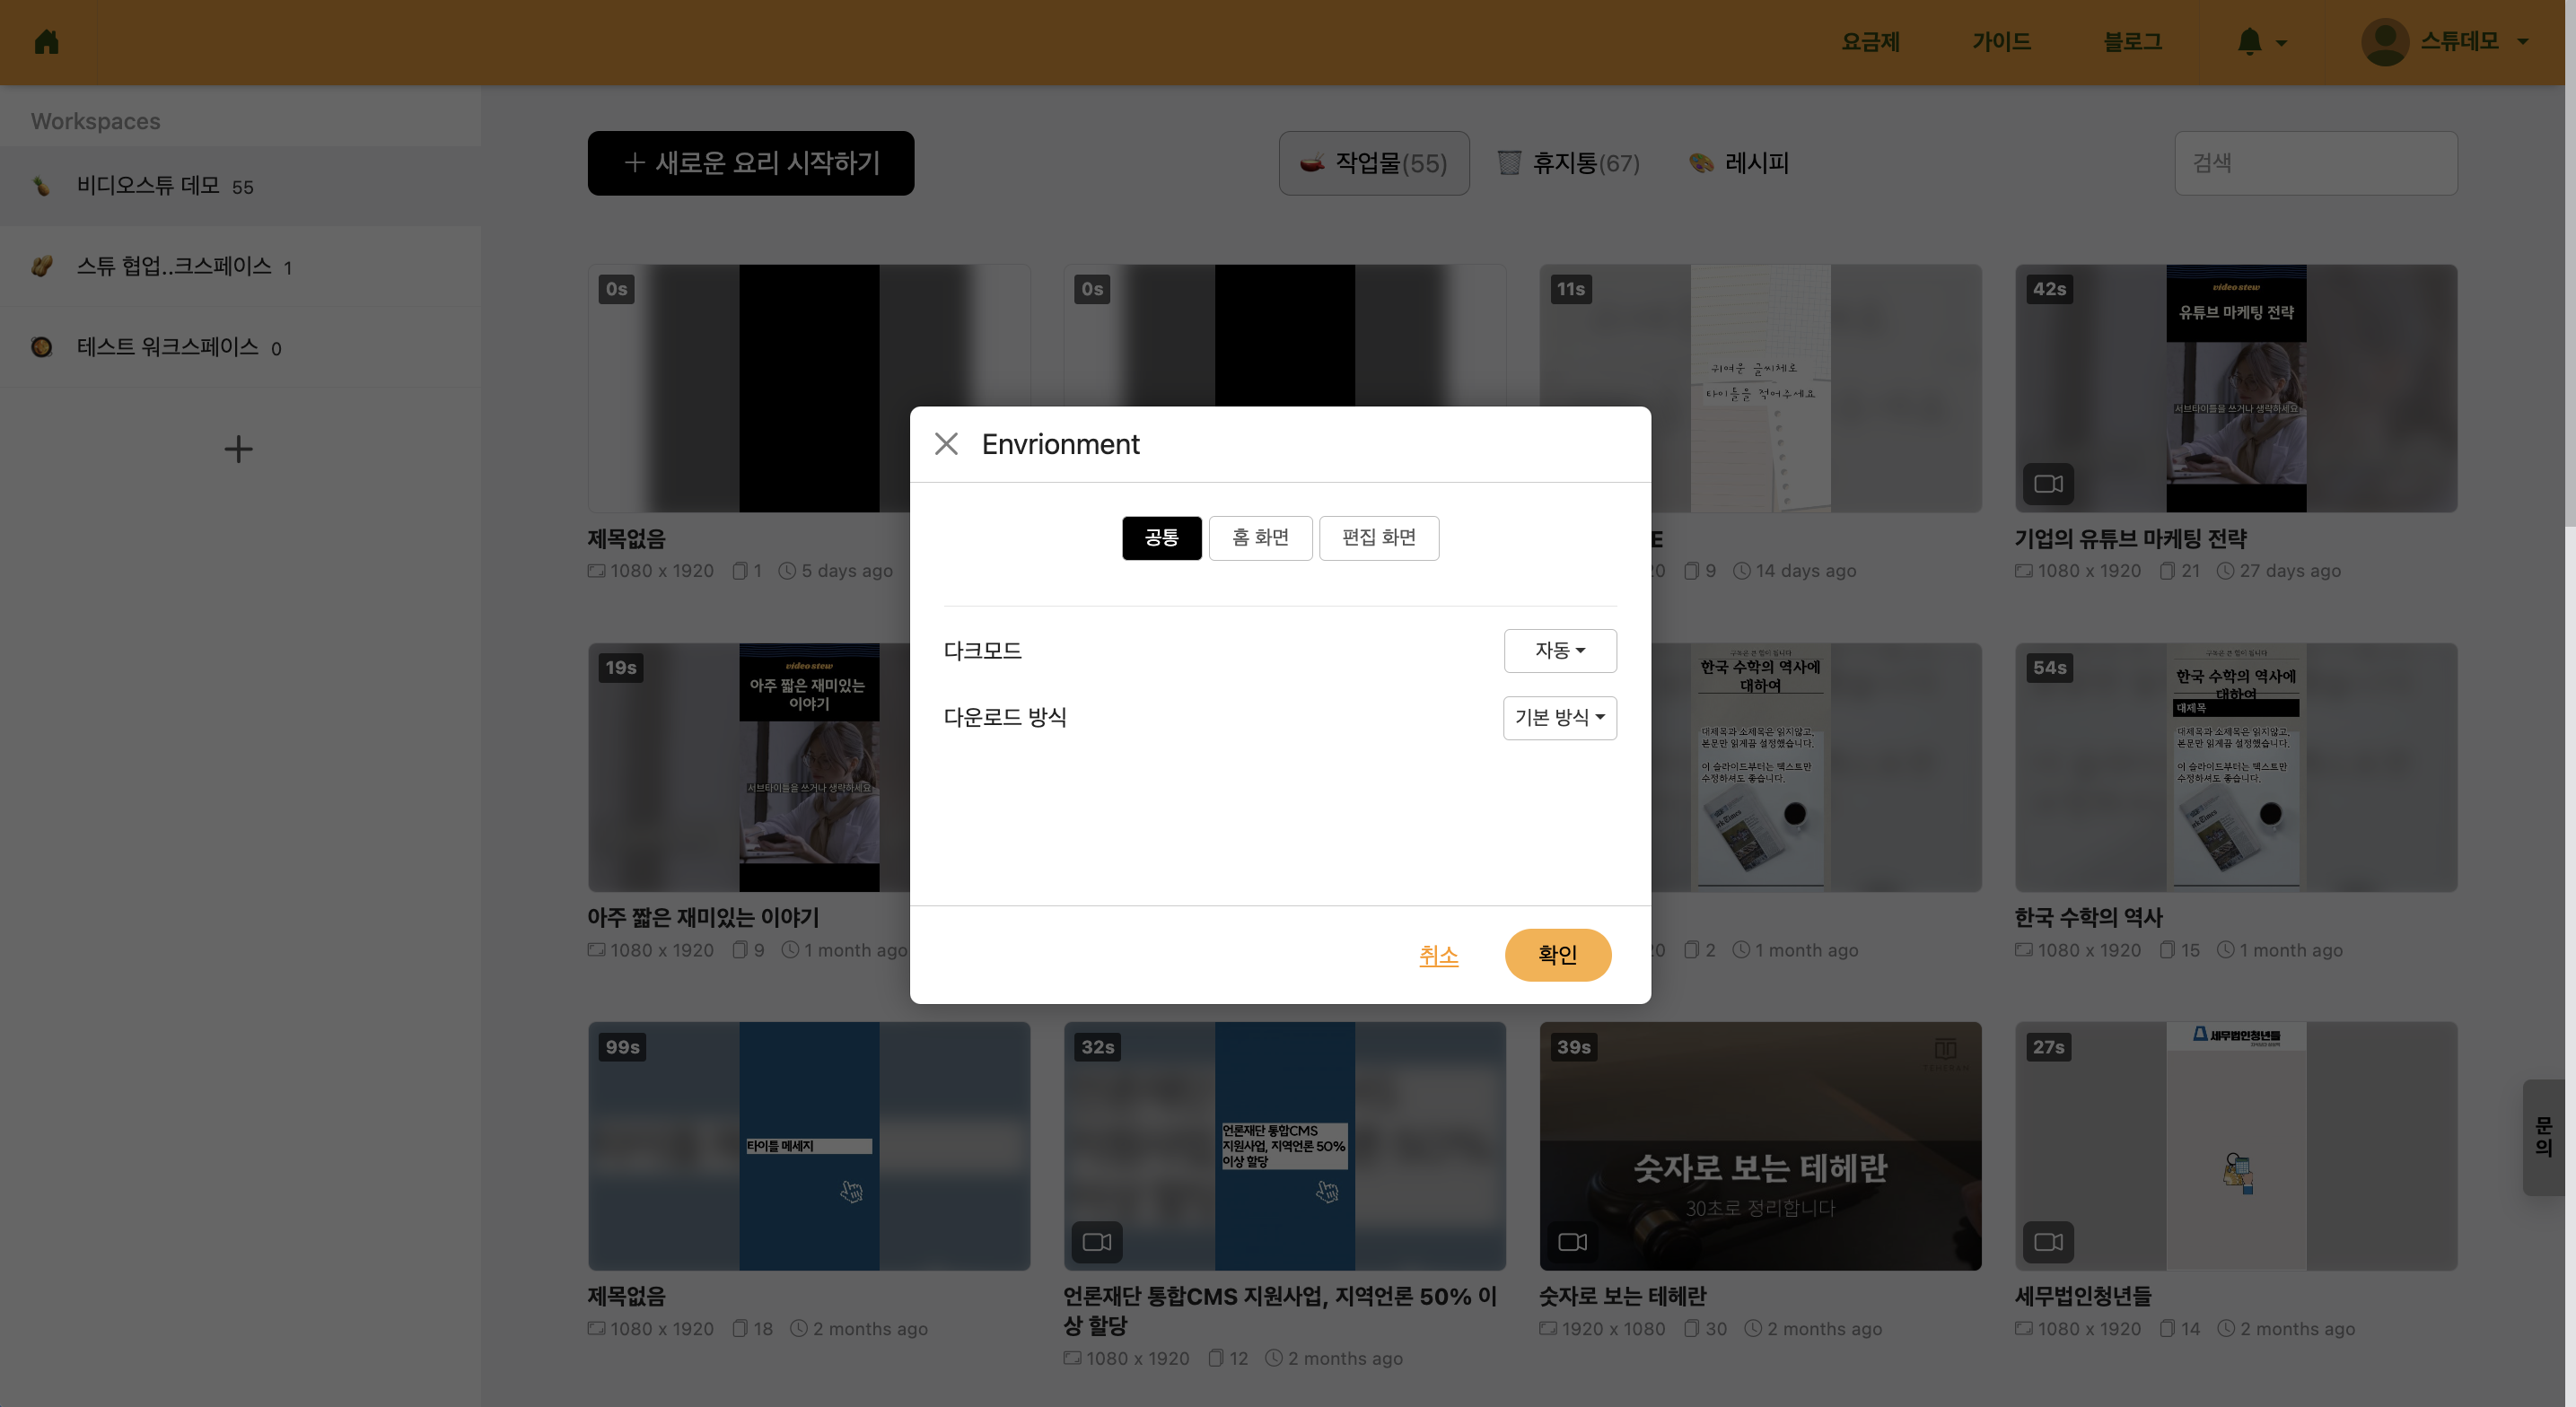
< Environment Setting Common Menu >
Dark Mode
Editing screen > More in header > Environment settings > Common tab
You can change the dark mode settings. 'Auto' changes the screen to dark at night and to light during the day automatically. You can always set it to 'Light' or 'Dark' as well.
Download Method
Editing screen > More in header > Environment settings > Common tab
Change the method when downloading the rendered video. If the default method does not work, you can switch to the legacy method.
Home Screen
Editing screen > More in header > Environment settings > Common tab
You can change the style of thumbnails that appear on the home screen. You can choose among 'Horizontal', 'Square', and 'Vertical', and if you often make portrait videos, 'Vertical' is recommended.
Edit Screen
Editing screen > More in header > Environment settings > Common tab
You can change whether to activate Wizard Mode when creating 'New'.
Upload via YouTube
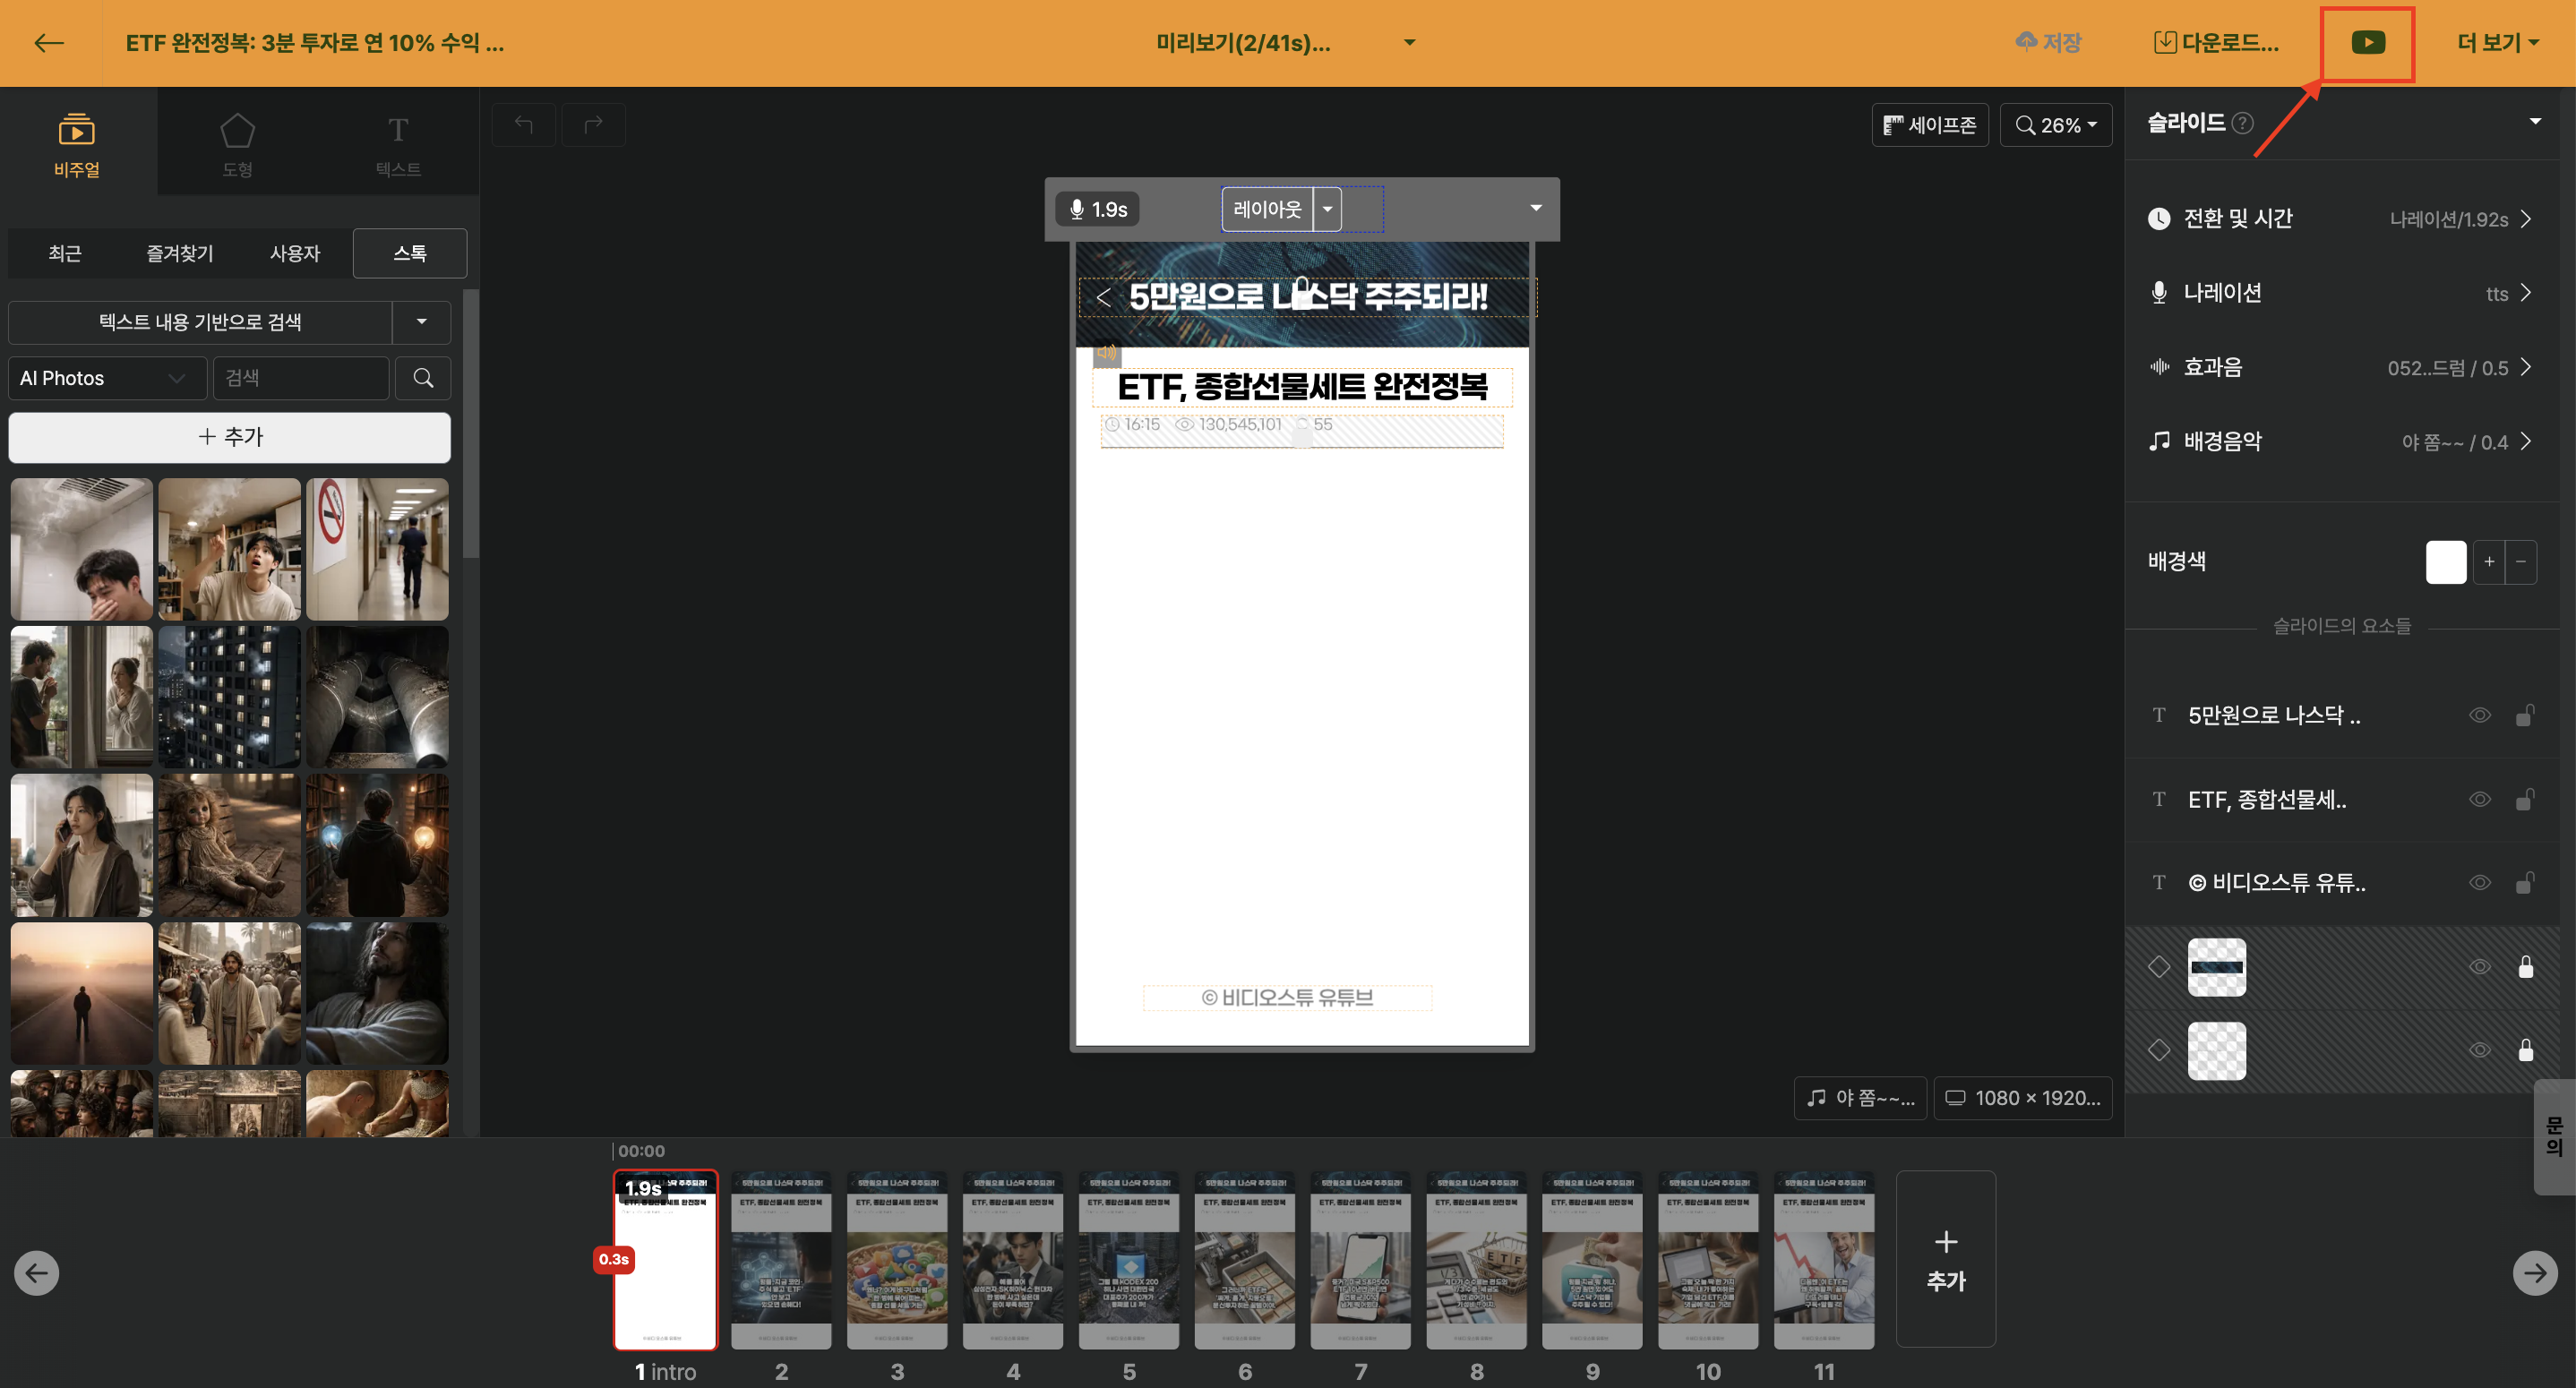
When video rendering is complete, the YouTube upload button becomes active.
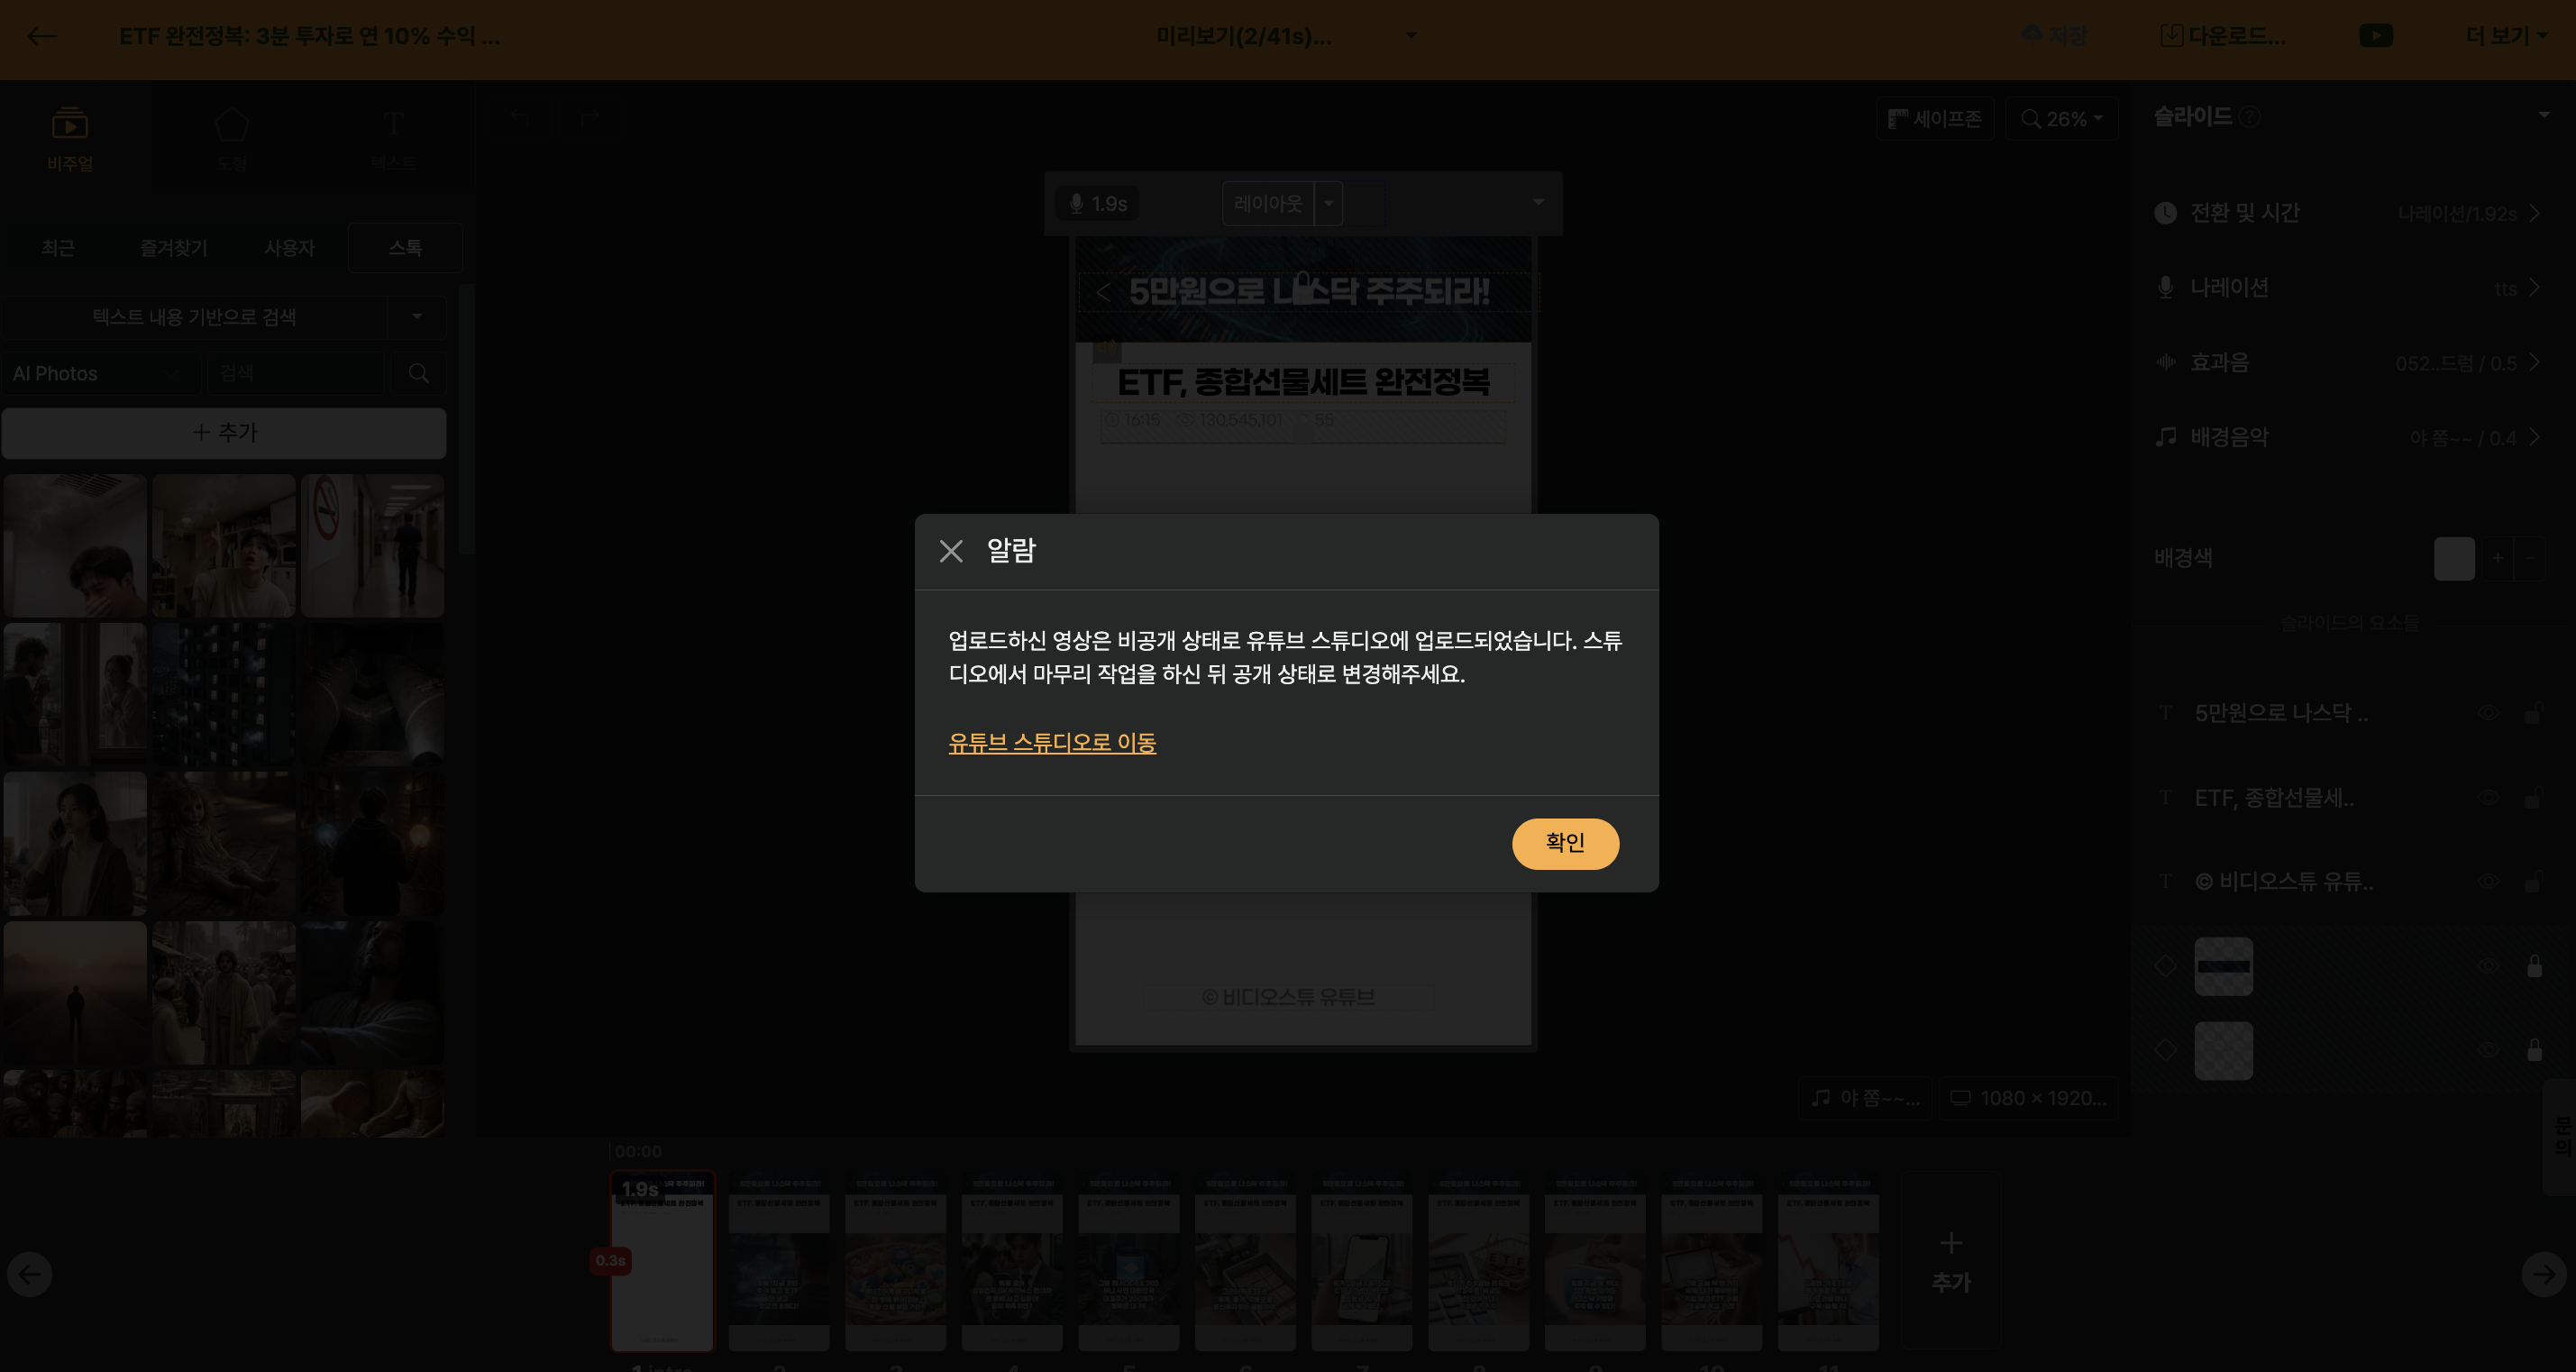
Click the button and select a YouTube channel, and the video will be uploaded as an unlisted status. If the video is uploaded successfully, a notification message appears that allows you to move to the YouTube Studio.
Library Window
Editing screen > Left sidebar library
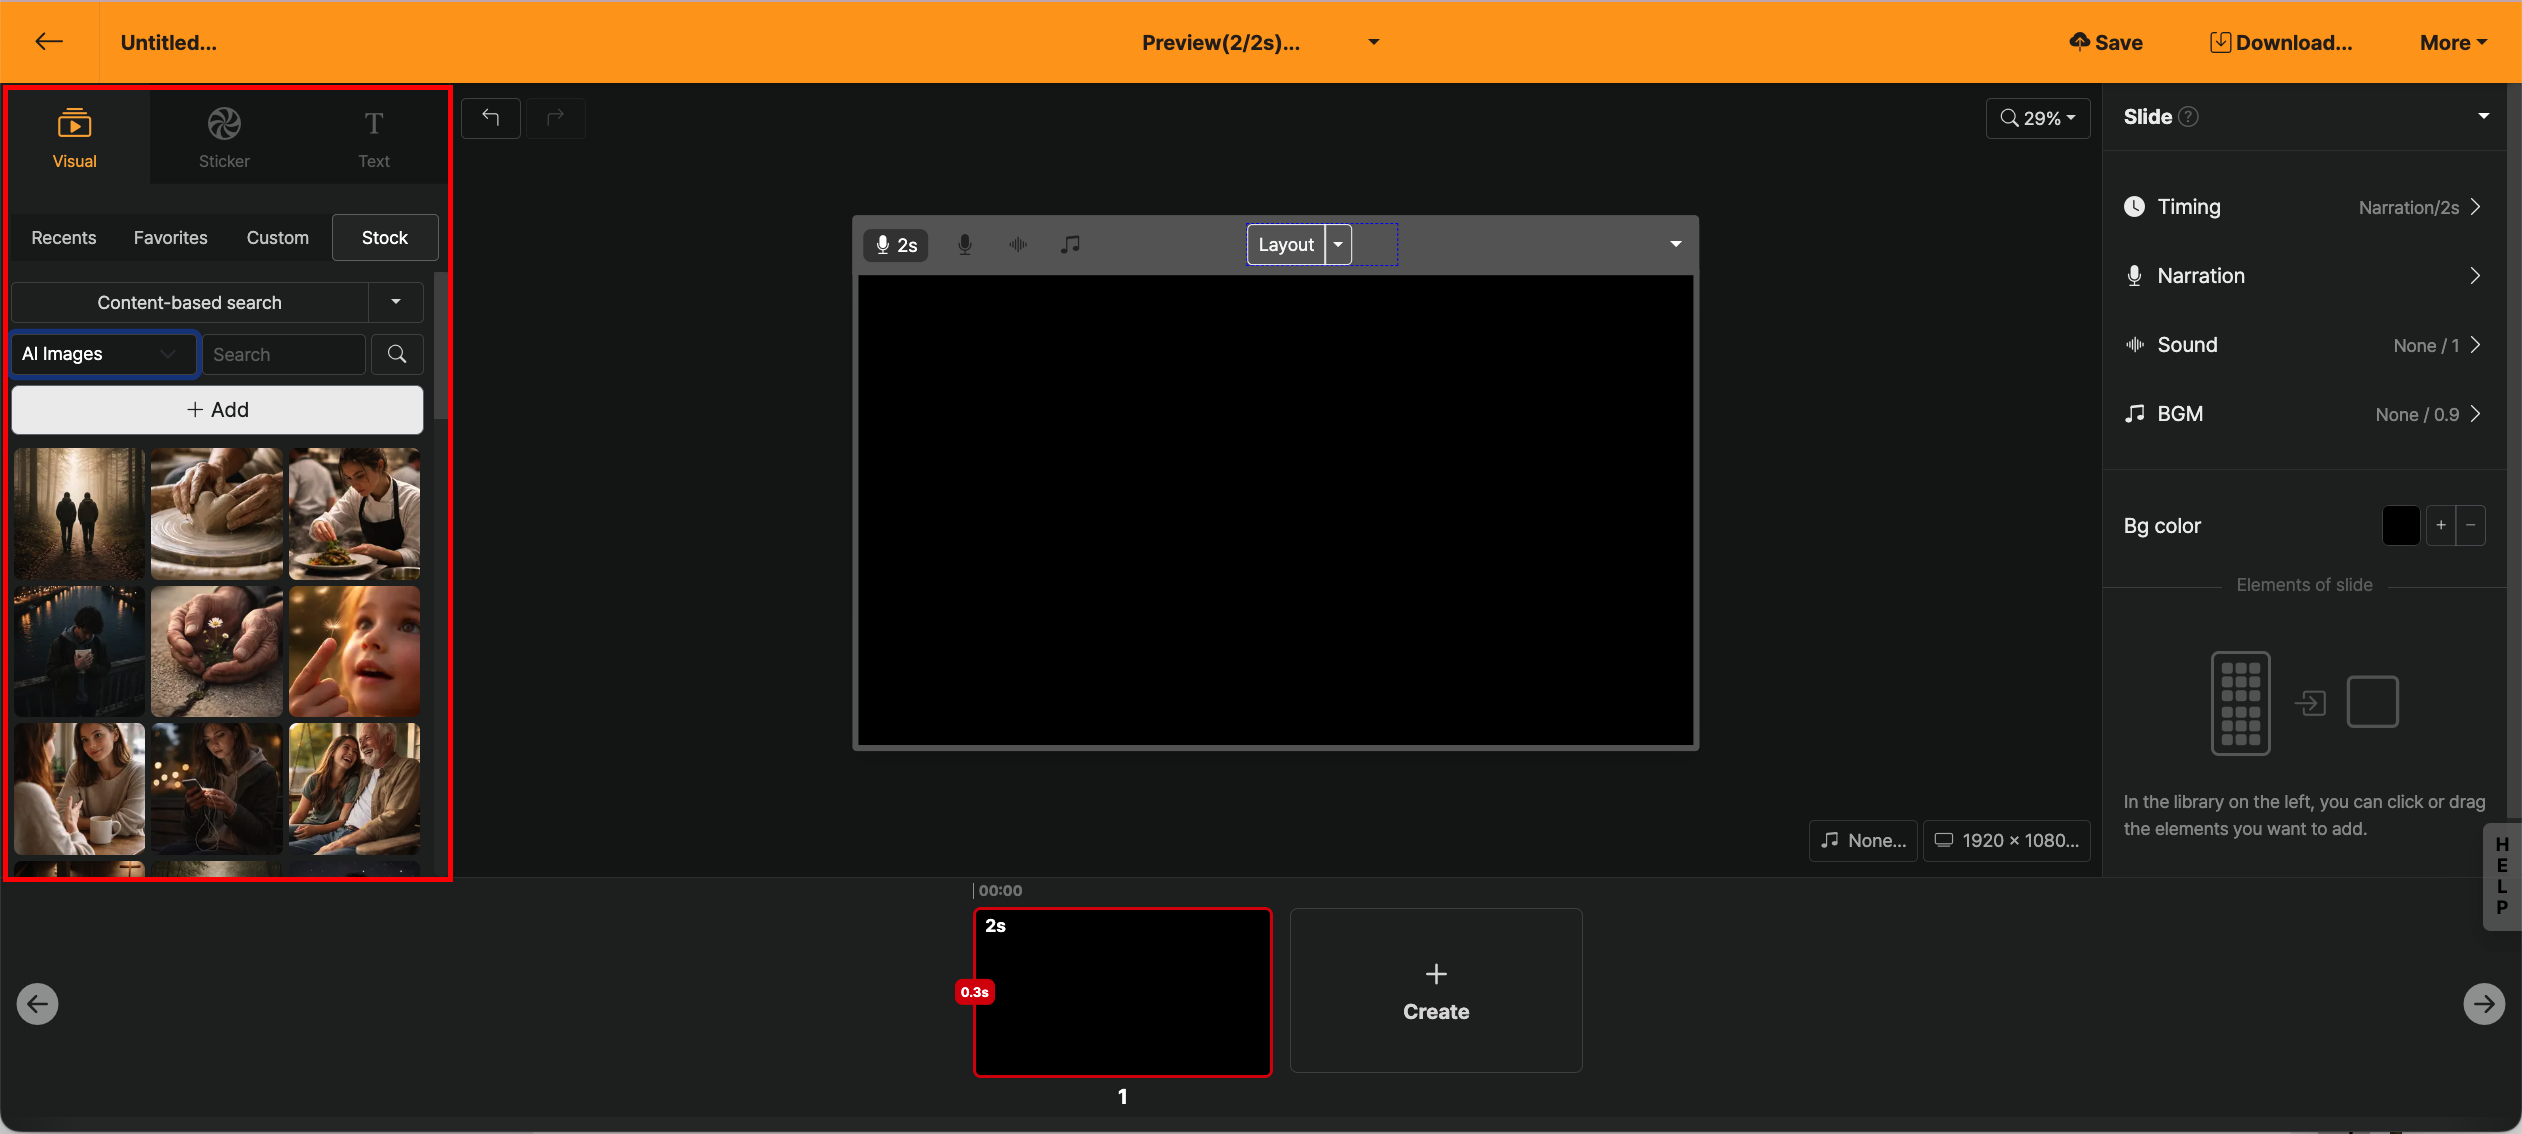
In the Live Browser panel, you can generate AI images and AI sticker icons or search for stock videos, images, etc. provided in Videostew and load them onto the stage. It consists of media (images and videos), stickers, and fonts, and all elements are divided into tabs: "Recently", "Favorites", "My", and "Stock".
Recent
Editing screen > Left sidebar library > Recent tab
Here is a list of elements you've used recently.
Favorites
Editing screen > Left sidebar library > Search tab
Frequently used elements can be saved to Favorites, and added to the Favorites list. After hovering the mouse over an element, click the settings (▼) button to add it to Favorites.
User
Editing screen > Left sidebar library > My uploads tab
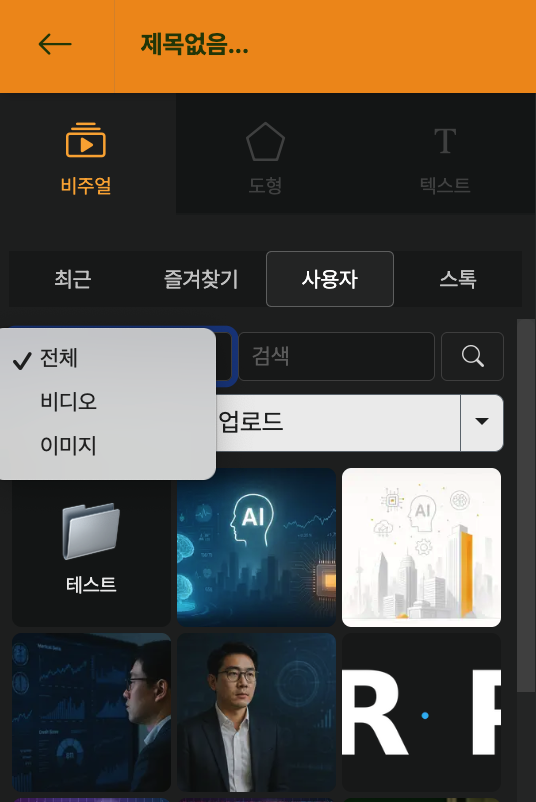
This is the live library of elements uploaded directly by the user. You can add images or video files by dragging them onto the screen from the explorer or by clicking the Upload button. (If you drag and drop files into the live Library Window, they are not entered on the stage but only added to the list.)
Users can also find recently uploaded resources more easily through category filtering. If the uploaded list does not appear after upload, please check whether this category setting has been applied by default.
| Category | Description |
|---|---|
| All | Shows all resources uploaded by users |
| Video | Shows only video files among uploaded files |
| Image | Shows only image files among uploaded files |
Organize by Library Folder
Edit Screen > Library Window on the left > User Tab
The library folder is a place to organize "assets" such as logo·intro/outro·B-roll·background music.
In the User tab of the library, you can group all the resources you uploaded by folder.
- In the edit screen, open the [Library] window on the left and select the User tab.
- After adding a new folder at the top of the User tab, name it according to your purpose.
- Example:
Brand / 로고·CI,B-roll / 오피스,인트로·아웃트로,세로 쇼폼 전용 리소스etc.
- For individual resources,
- You can drag and drop cards (thumbnails) to move them between folders
- After selecting multiple items with long click/multiple selection, you can move them all at once to another folder.
- Through the settings (▼) menu above the folder, you can perform basic management such as renaming or deleting.
Because folders can be managed by workspace,
- You can upload frequently used logos or images just once
- And use them directly from the library without re-uploading for each project
You can use it like “My Brand Asset Storage”.
Delete uploaded resources all at once
If you hover the mouse over a resource, a settings button appears. Here, you can click "Select Multiple" and define the range by pressing the `SHIFT` key to select multiple items at once.Please proceed with the deletion through the trash can icon at the top right. However, if the resources have already been used in another project, please be careful when you wish to edit that project again as the elements may not load properly.
Visual
Editing Screen > Left Library Panel > Visual Tab > Stock
In the Stock section of the Visual tab, you can search for or generate photos, videos, AI images, AI videos, and AI infographics to insert directly into slides. Switching the search engine by selecting a category will change the results.
| Category | Description |
|---|---|
| Pexels | High-quality free stock photos and videos contributed by creators around the world. Commercial use available. |
| Pixabay | A variety of free resources such as images, videos, illustrations, and vectors. Commercial use available. |
| AI Images | Based on the text entered in the slide, AI automatically generates background images. Styles available include photorealistic, digital art, vector, cartoon, newspaper illustration, and silhouette. |
| AI Video | AI automatically generates a short video that fits the content entered in the slide. It visualizes the screen content without filming or prompt writing, consuming 500 credits per generation. |
| AI Infographic | Enter topics, numbers, comparisons, steps, and relationships to generate infographics composed of shapes and editable text. Consumes 30 credits per generation. |
In addition to generating from scratch with text, AI images can use photos from Pexels/Pixabay or directly uploaded photos as references for modification. When you like the composition of a stock photo but want to change only the color tone or season, please refer to Modify existing image and generate.
Generating AI Infographics
AI Infographics turn information such as numbers, comparisons, sequences, and cause-and-effect into shapes and text that can be viewed at a glance. If you select "AI Auto" as the visual type in the wizard, AI infographics can be automatically placed in data-centric scenes, or you can create and add them directly in the editor.
Selecting the AI Infographic Category
On the left side of the editor screen, select Stock under the Visual tab, then change the category to "AI Infographics".
Creating AI Infographics
Click the "+ Add" button and describe the infographic you want to create. For example, it is helpful to specify information and relationships in detail, such as "3-step onboarding process", "Revenue comparison between 2024 and 2025", or "Structure leading from one cause to three outcomes".
After selecting the shape color, click "Generate Infographic" to create a result preview. 30 credits are used per generation; if you like the result, click "Add" to add it to your slide and the public library.
Editing Generated Infographics
If you double-click the infographic added to the slide, you can directly change the text in each item's input field. You can also modify the description to regenerate the entire composition, or adjust the text and shape colors.
AI infographics generated and added in Videostew are saved to the public library. Since other users can also search and reuse them, please do not enter content that should not be disclosed, such as personal information, private figures, or client confidentiality.
Search based on text content
If the auto-added b-roll elements (images and videos) do not suit your taste, you can search for recommended stock images based on the content you entered.
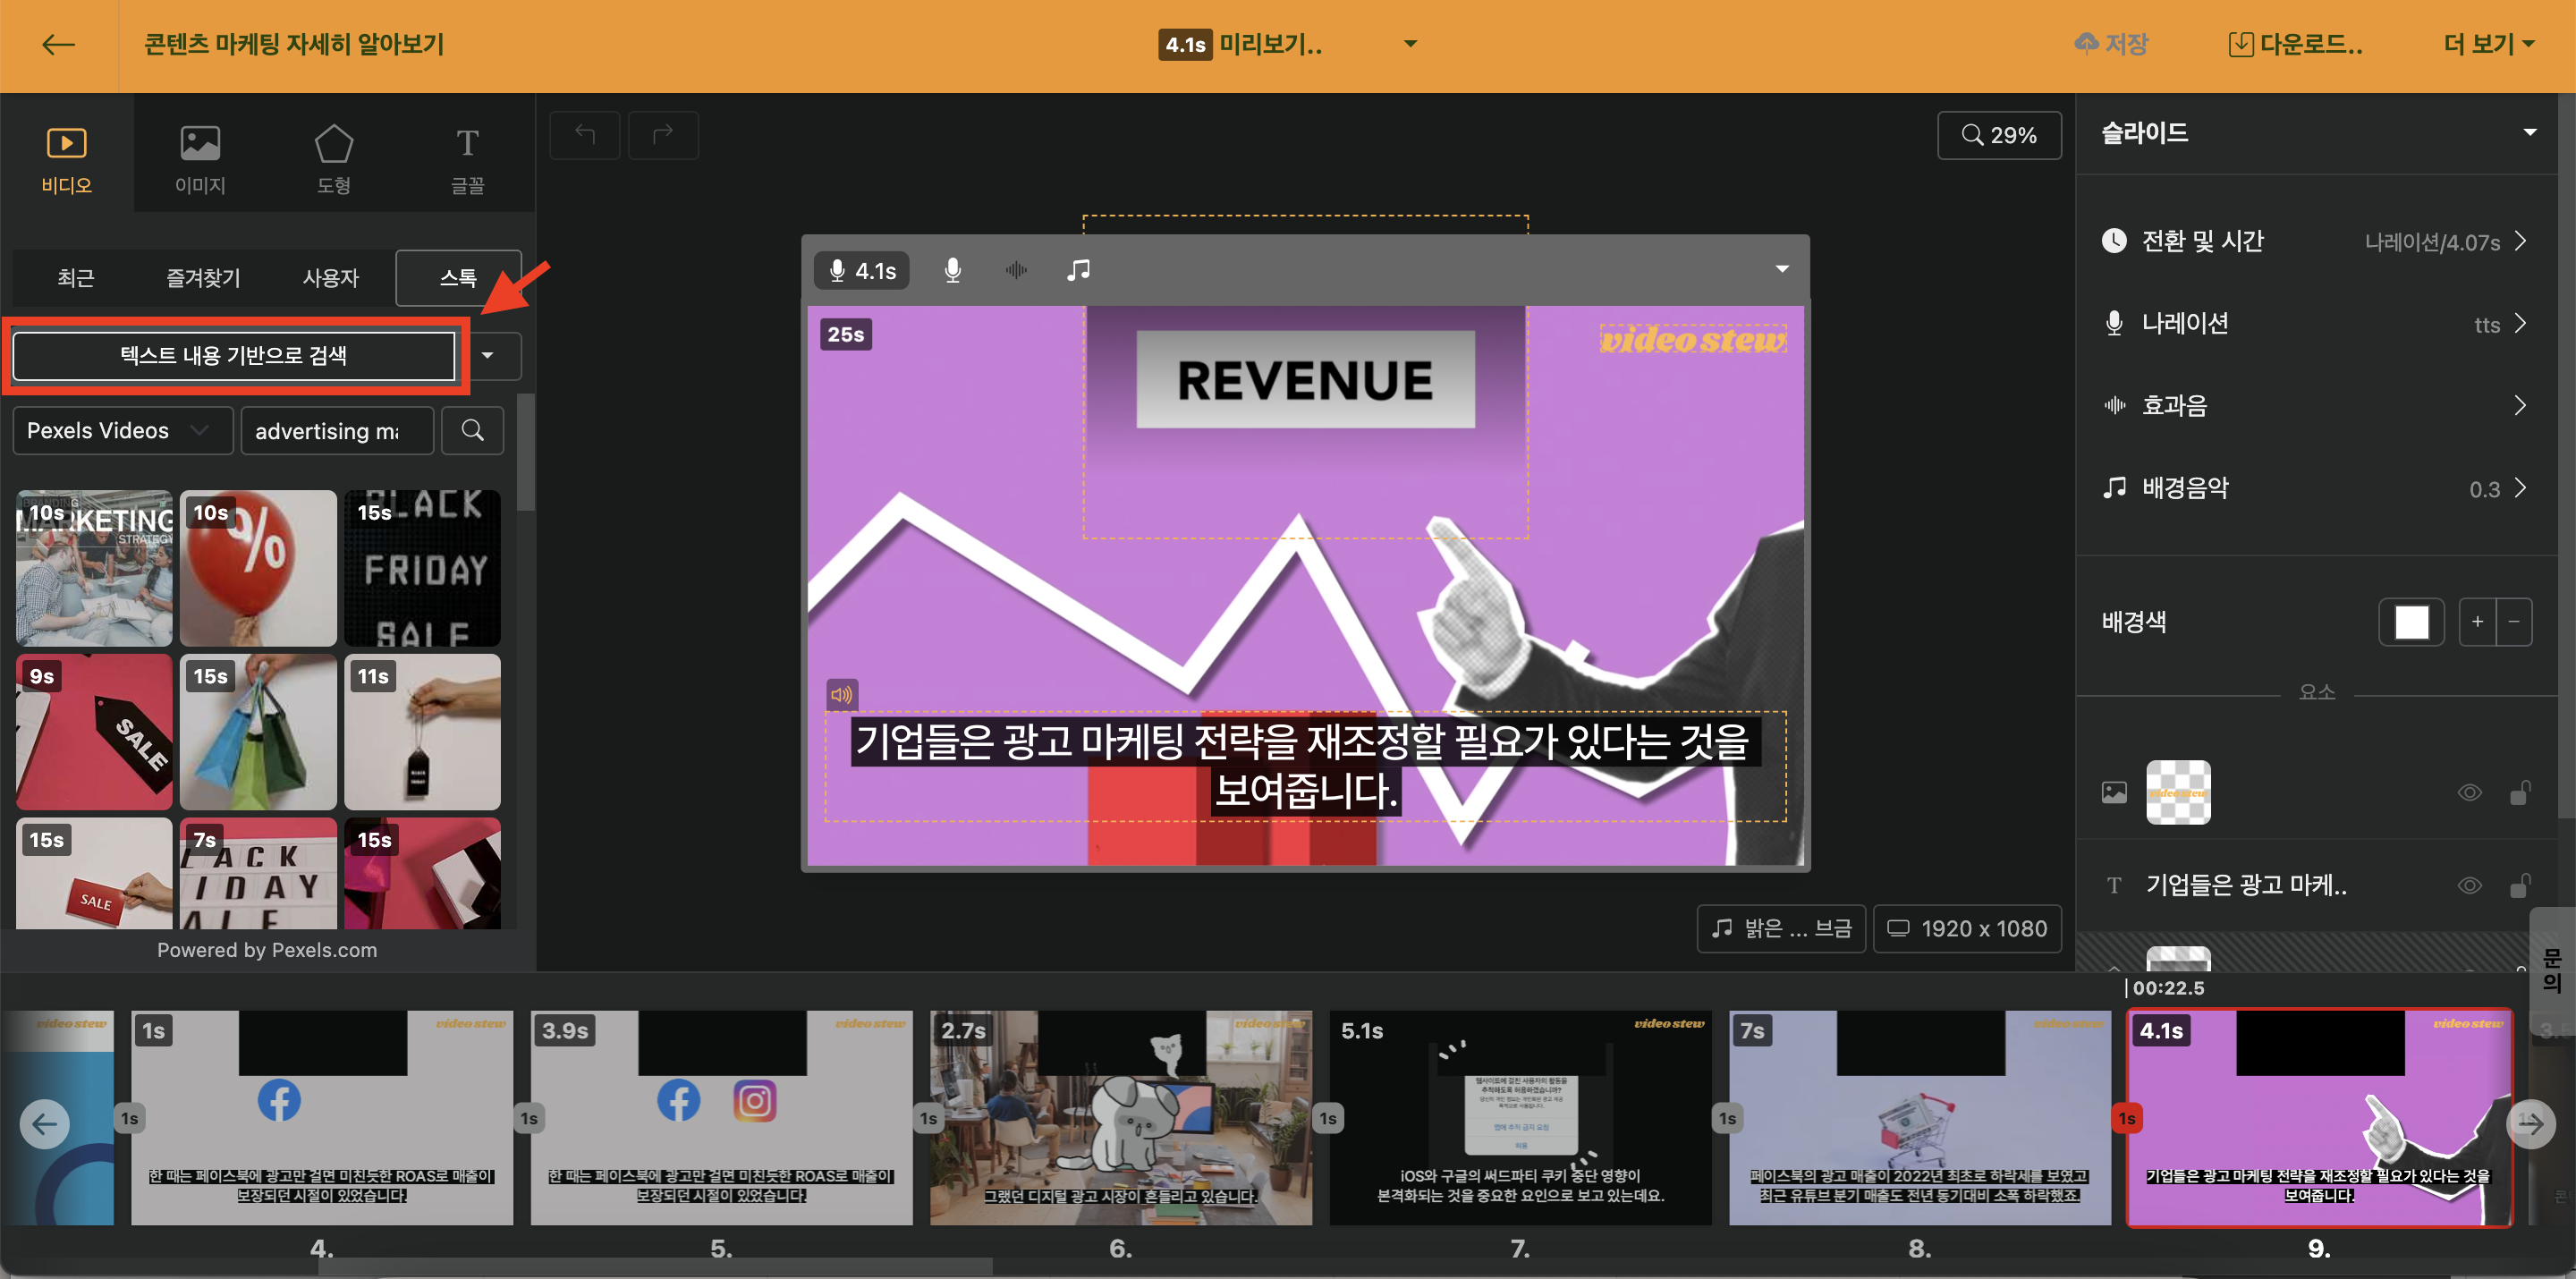
< Find videos and images by matching text >
You can also click the settings (▼) button to perform a "Search based on b-roll". This function searches for stock resources that are relevant and similar to the images currently included in the slide.
Create AI Image
The media library includes a feature that allows you to add AI images. It automatically generates background images based on the content entered for each slide.
You can generate AI images in various styles such as realistic, digital art, vector, flat, contemporary illustration, watercolor style, and more.
Selecting AI Image Categories
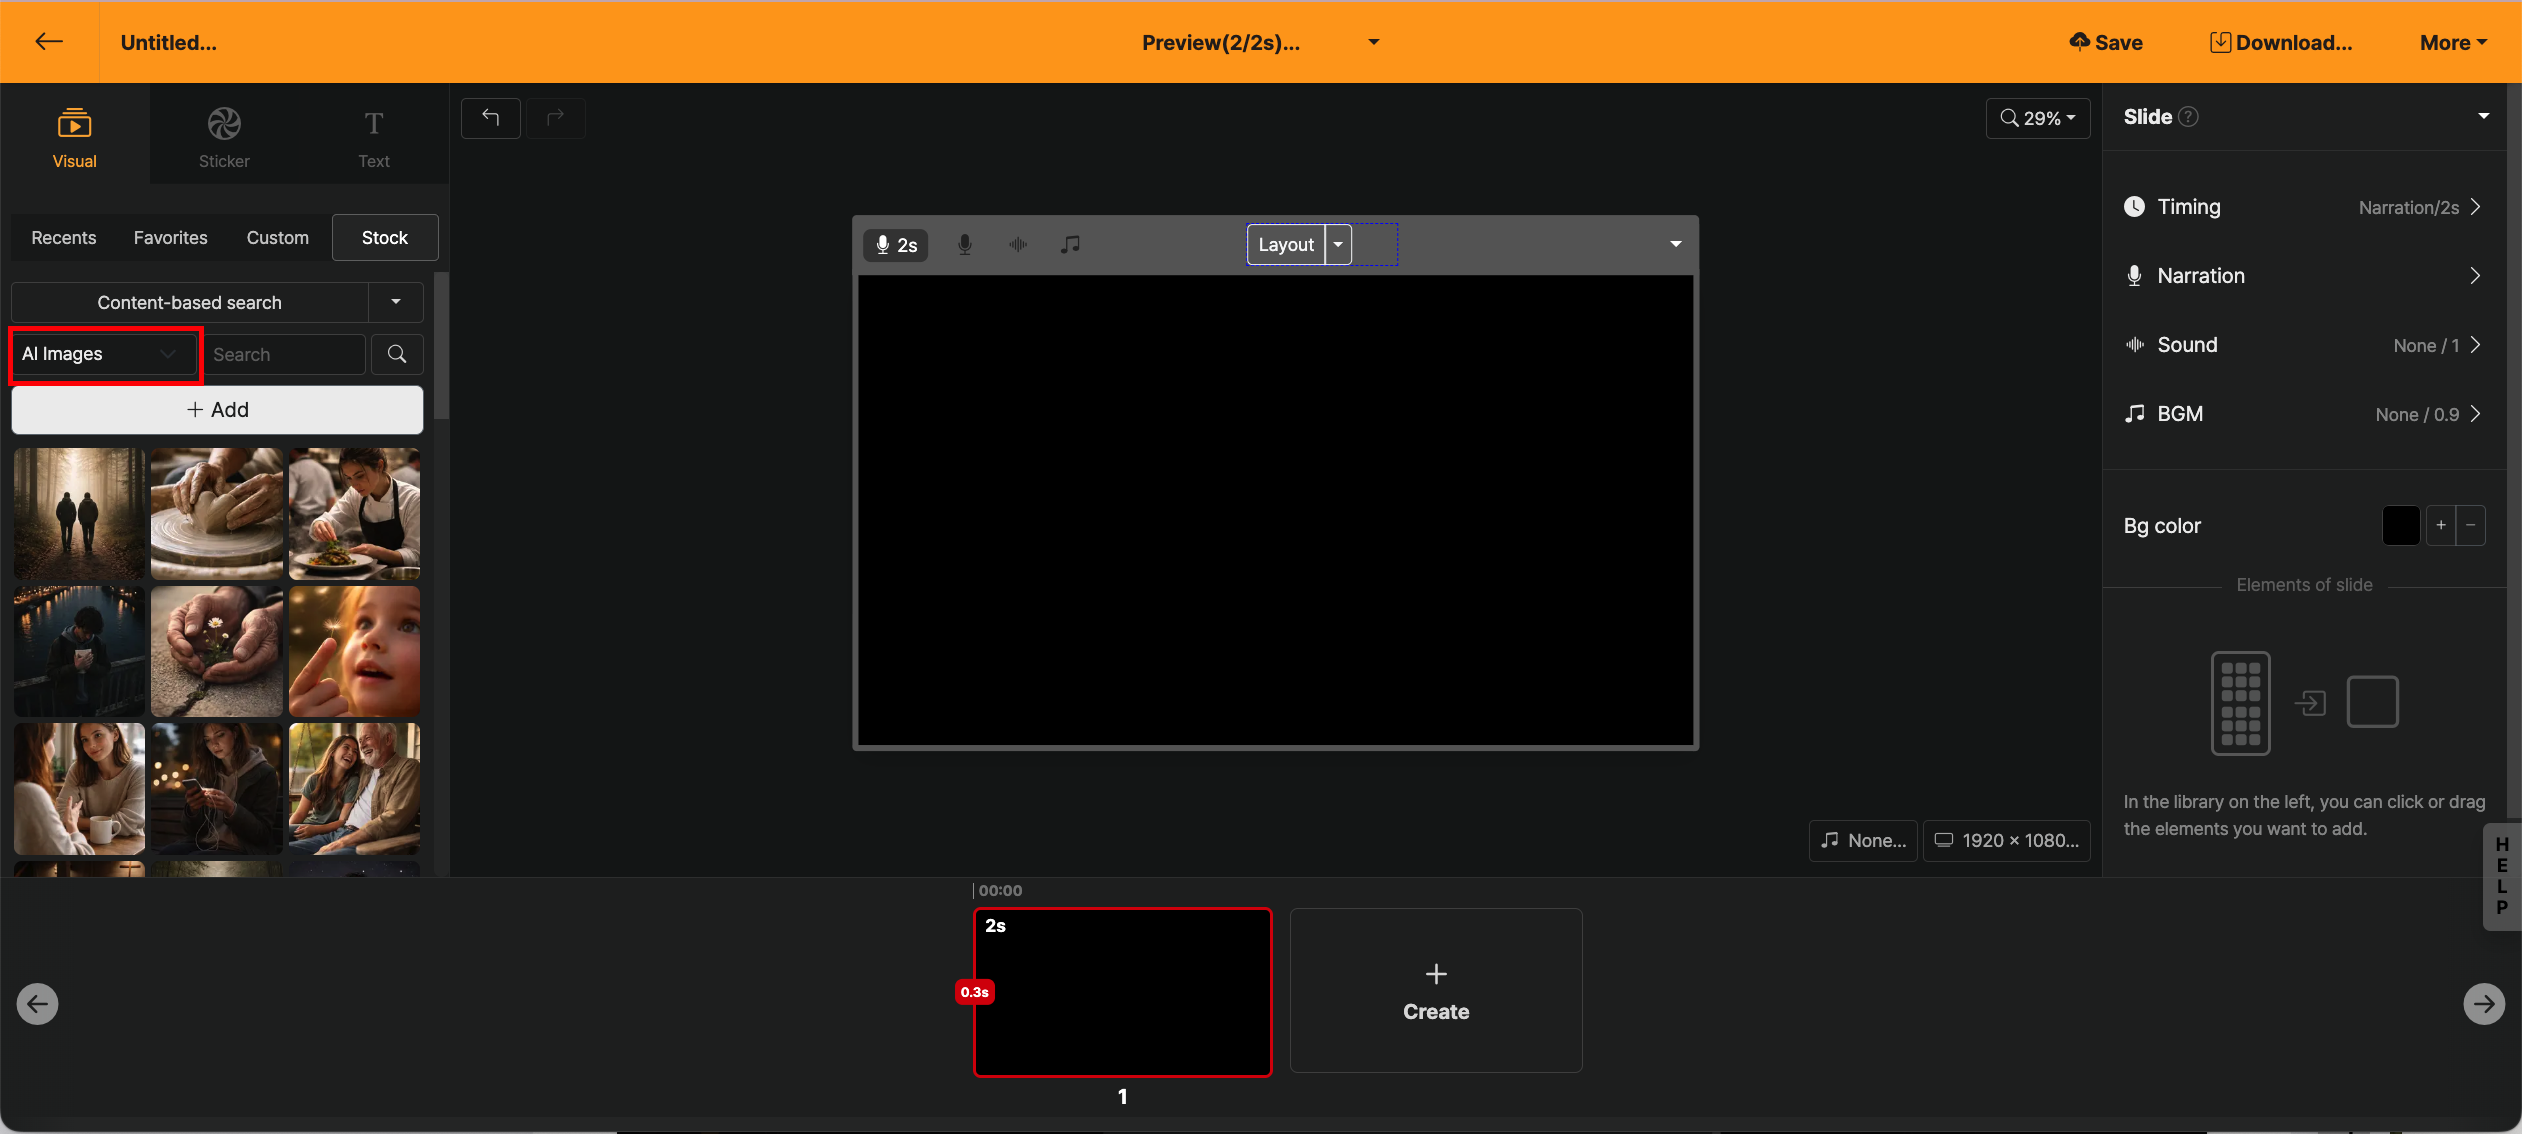
< Selecting AI images from the category panel on the left >
By default, categories pull stock libraries from Pexels or Pixabay. Click the category search button to select AI images.
Add AI Image
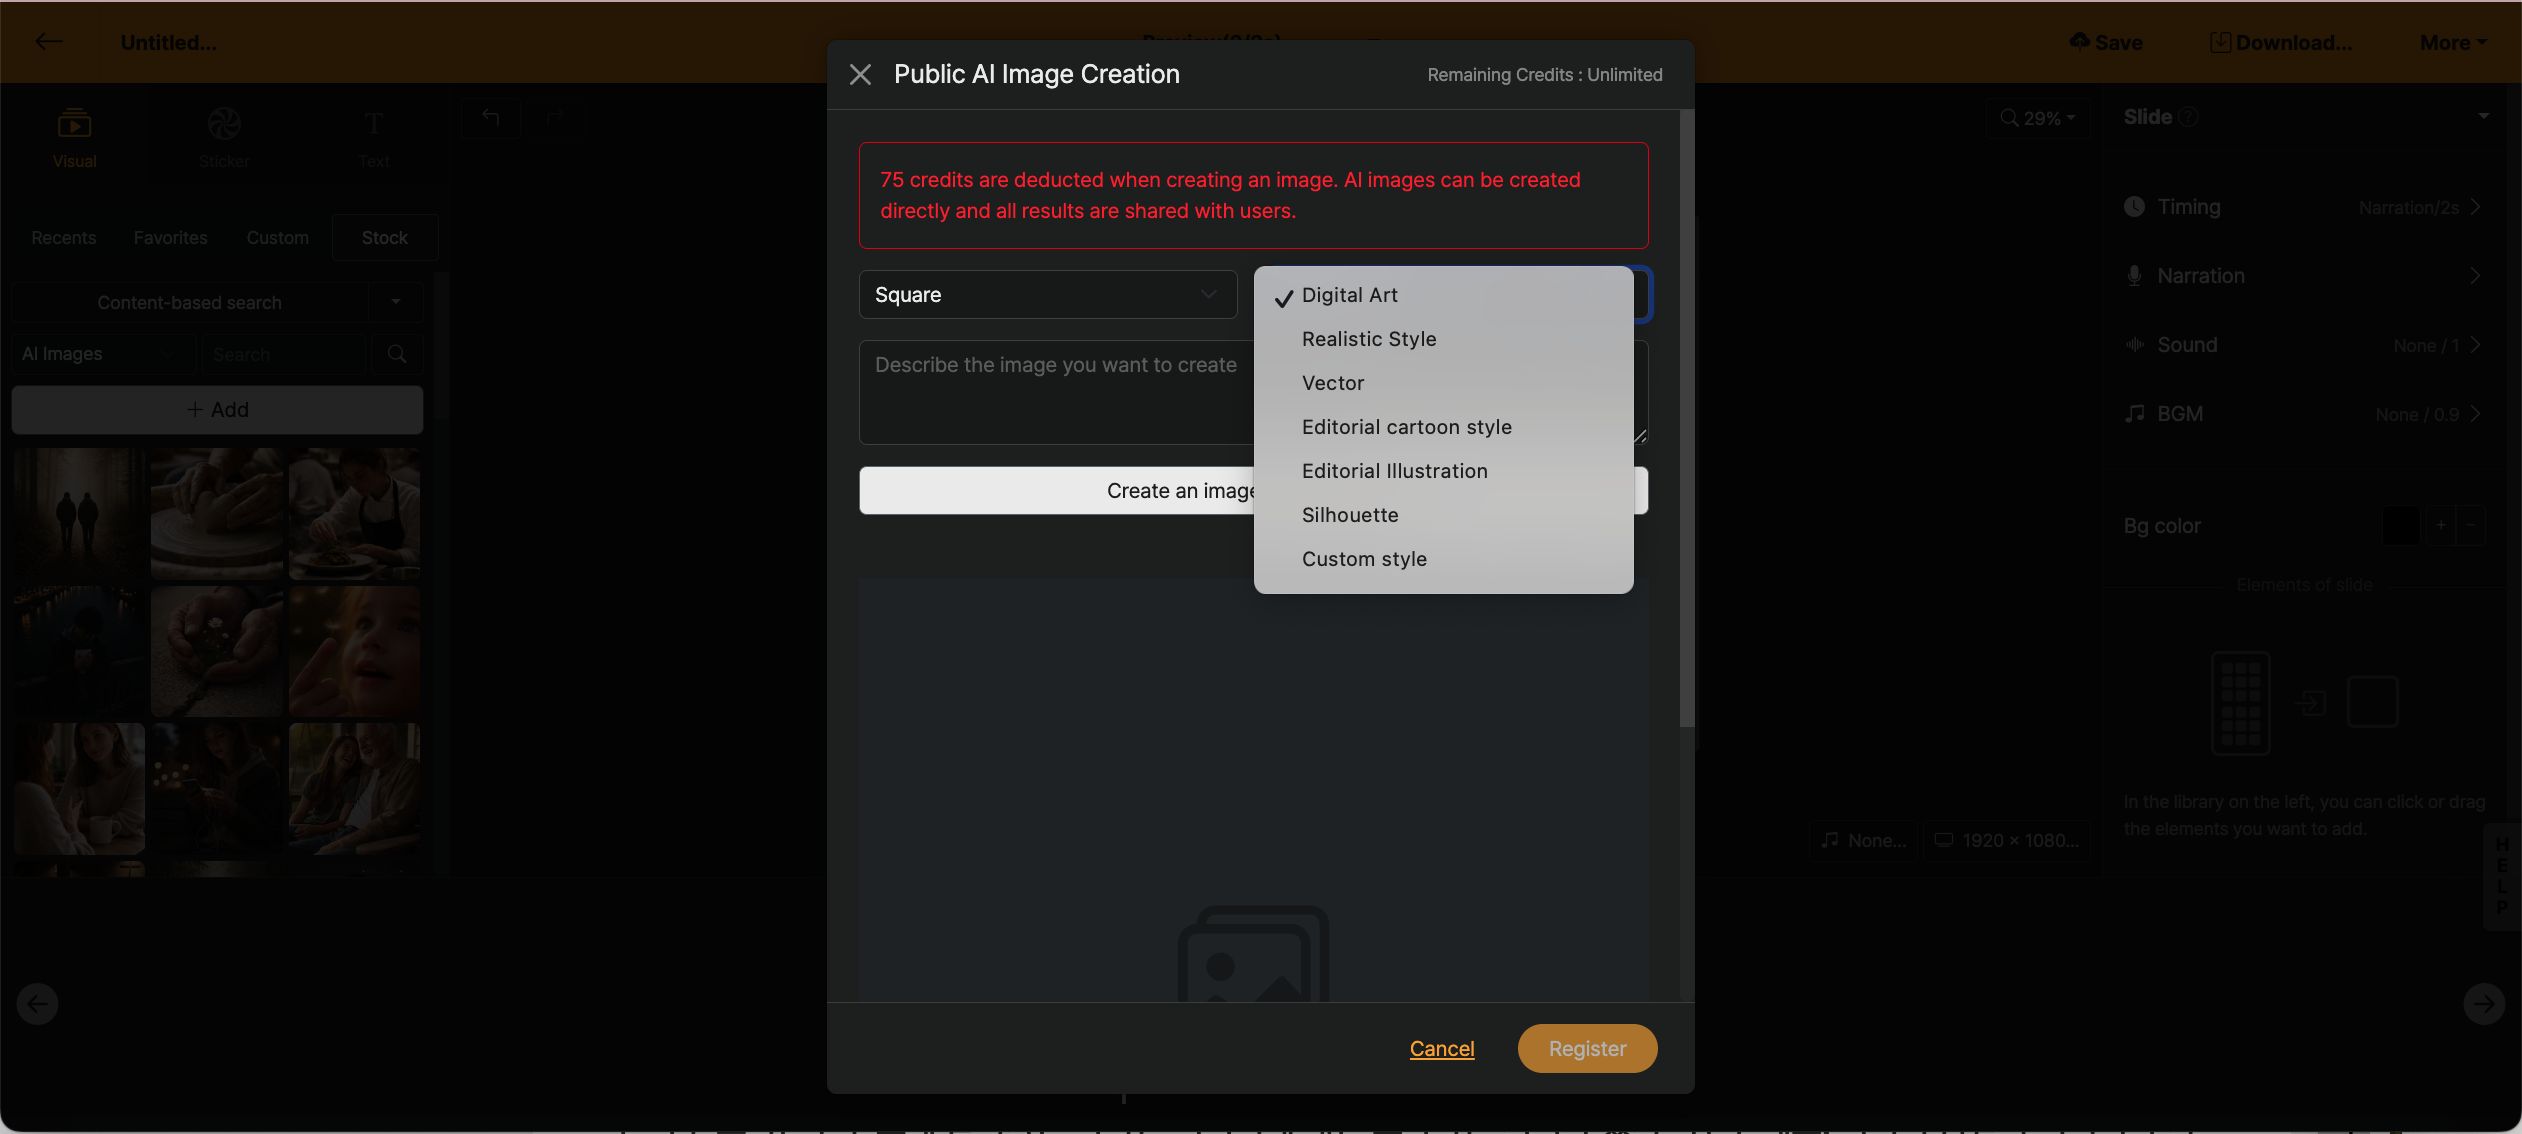
< Add public AI image window >
When you press the + Add button, a modal window appears to add AI images. By default, if there is a text block entered within the slide, the text will be fetched.
The size of the image to be added can be selected from square, horizontal, and vertical, with the default value being square. (It is recommended to add in square format.)
Videostew’s AI image-addition feature is provided so that anyone can use prompts easily. Normally, images that many people create for their content are quite different from the images they want; to add the highest-quality images, you have to refine the prompt yourself, and that makes high-quality AI image generation possible.
Creating New Visuals from Placed Images
If you double-click an image placed on a slide, you can immediately start three AI actions from the Select Action window.
| Action | Description |
|---|---|
Transform Based on Image |
References the currently visible image and creates a new image modified according to your entered description. You can change people, background, season, color tone, art style, and more. |
Generate New from Content |
Creates a completely new image based on the subtitles of the selected slide without referencing the original image. If you select multiple slides together, the corresponding image elements on each slide can also be replaced at once. |
Create as Video |
Uses the current image as the first scene to create an animated video. Generate it after specifying the motion description and resolution. |
The Generate button in the properties panel on the right opens Generate New from Content by default. This is the fastest way to get started when you need a new image or a new video.
Transform Based on Image
If you want to keep the composition or subject and only change part of it, select Transform Based on Image. Just write down the parts you want to change, such as "Change background to night", "Change Korean model to a foreign model", or "Change to a winter scene with the same composition".
At the top of the Editing Window, you can also select a style. 원본 스타일 maintains the current image's art style, and choosing one among Photo, Digital Art, Vector, Editorial Cartoon, Newspaper Illustration, or Silhouette will redraw it in the selected art style. For art styles not on the list, you can write them directly in 사용자 지정.
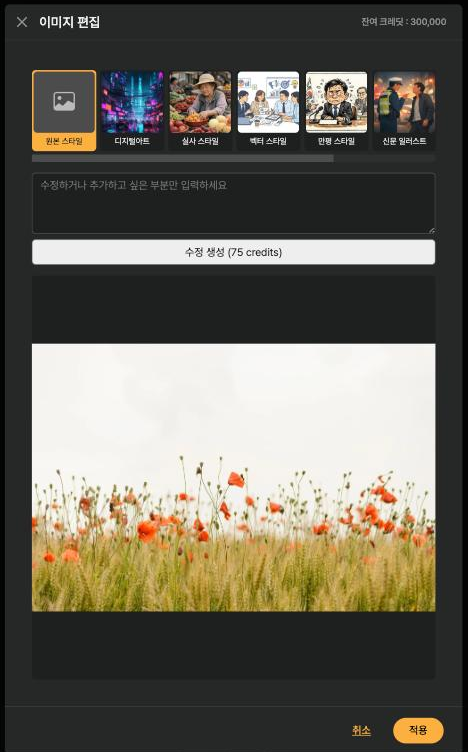
< Style Picker in the Image Editing Window >
You can leave the edit prompt blank. If you generate just by changing the style, you can change the art style while maintaining the composition and subject. However, due to the nature of generative AI, people, logos, small text, and detailed compositions may change, so please check the result.
You can use this not only for AI-generated images, but also for uploaded photos or stock images. The original is not overwritten, and the result is added as a new library item.
내용기반 신규 생성
If you need a completely different scene from the existing image, select 내용기반 신규 생성. The subtitles of the selected slide are automatically populated into the prompt, and you can generate it after adding your desired style or description. The 생성 button in the right properties panel also opens this screen directly.
이미지를 비디오로 만들기
To make a still image move, select 비디오로 만들기. Choose a resolution and enter the desired movement, such as "Camera slowly moves forward" or "Person naturally turns their head", and an image-based video will be generated. You can still generate even if you leave the description blank, but briefly specifying the subject and camera movement makes it easier to get results close to your intention.
You can preview the generated video before applying it to the slide. The AI credits displayed on the screen will be used for image and video generation.
When modifying photos containing people or trademarks, please refer to the AI Image Copyright guide for important considerations.
AI Image Search
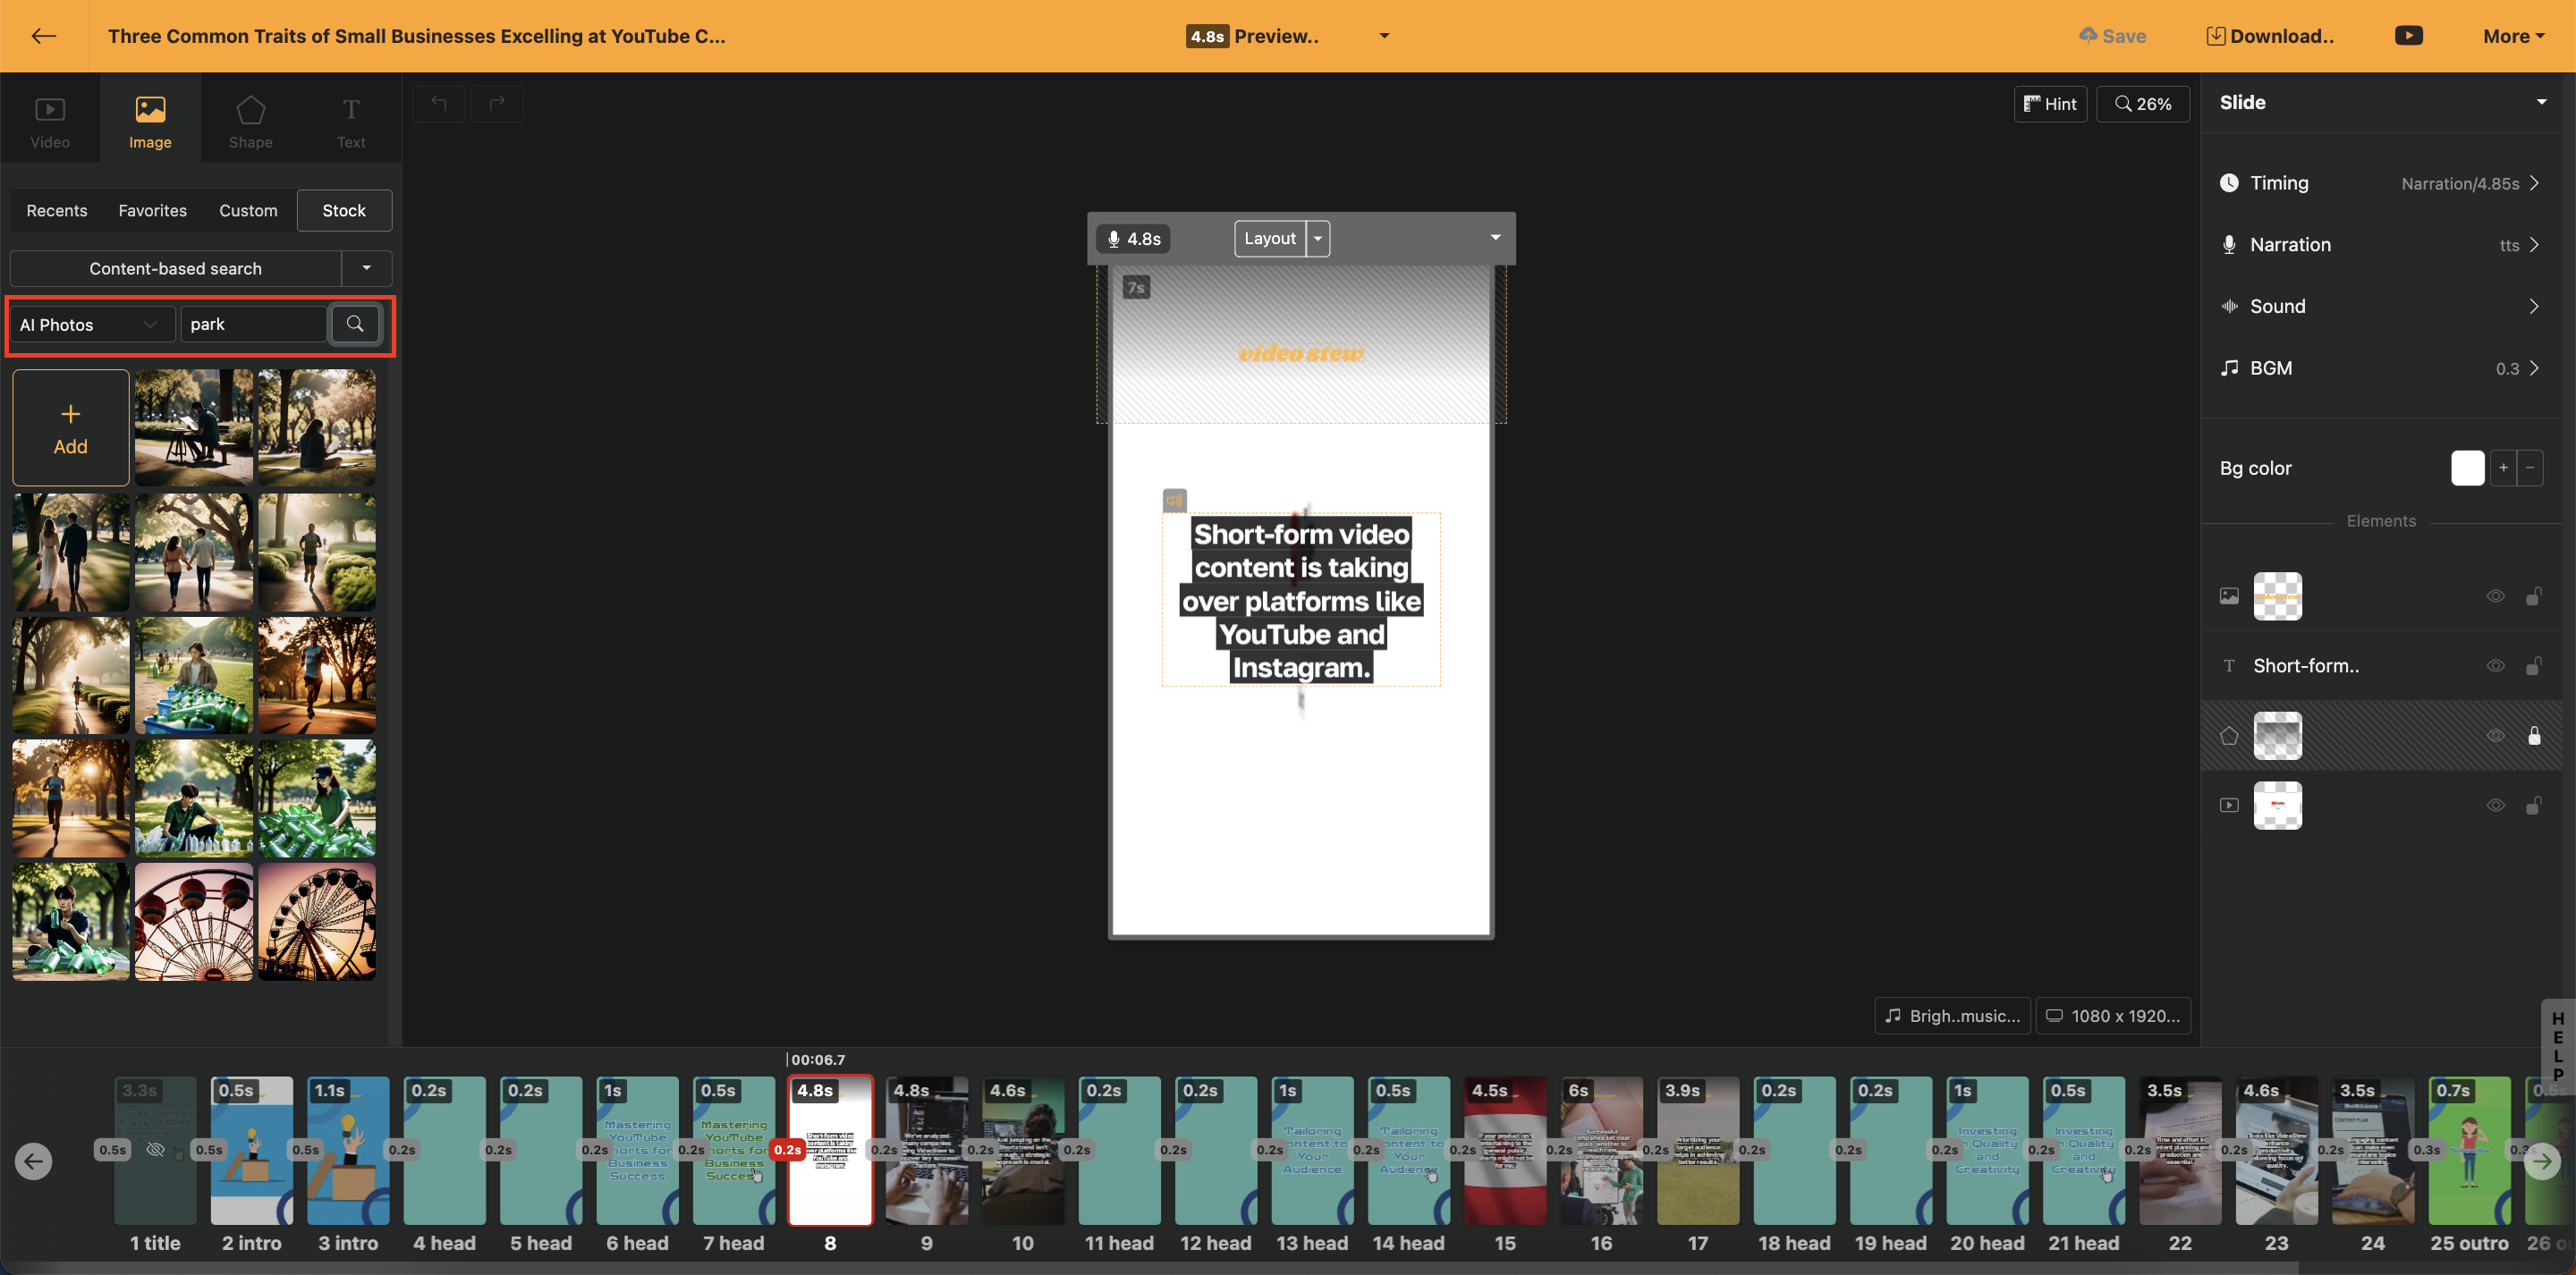
< Search AI Image Library >
All AI images added by Videostew users are converted into a searchable format and stored in the public library. When you enter a search term, the newly added AI images appear in the list, and you can drag and drop them into the slide from the [library].
Copyright for AI images added in Videostew can be checked in detail in the AI Image Copyright guide document.
Create Similar Style
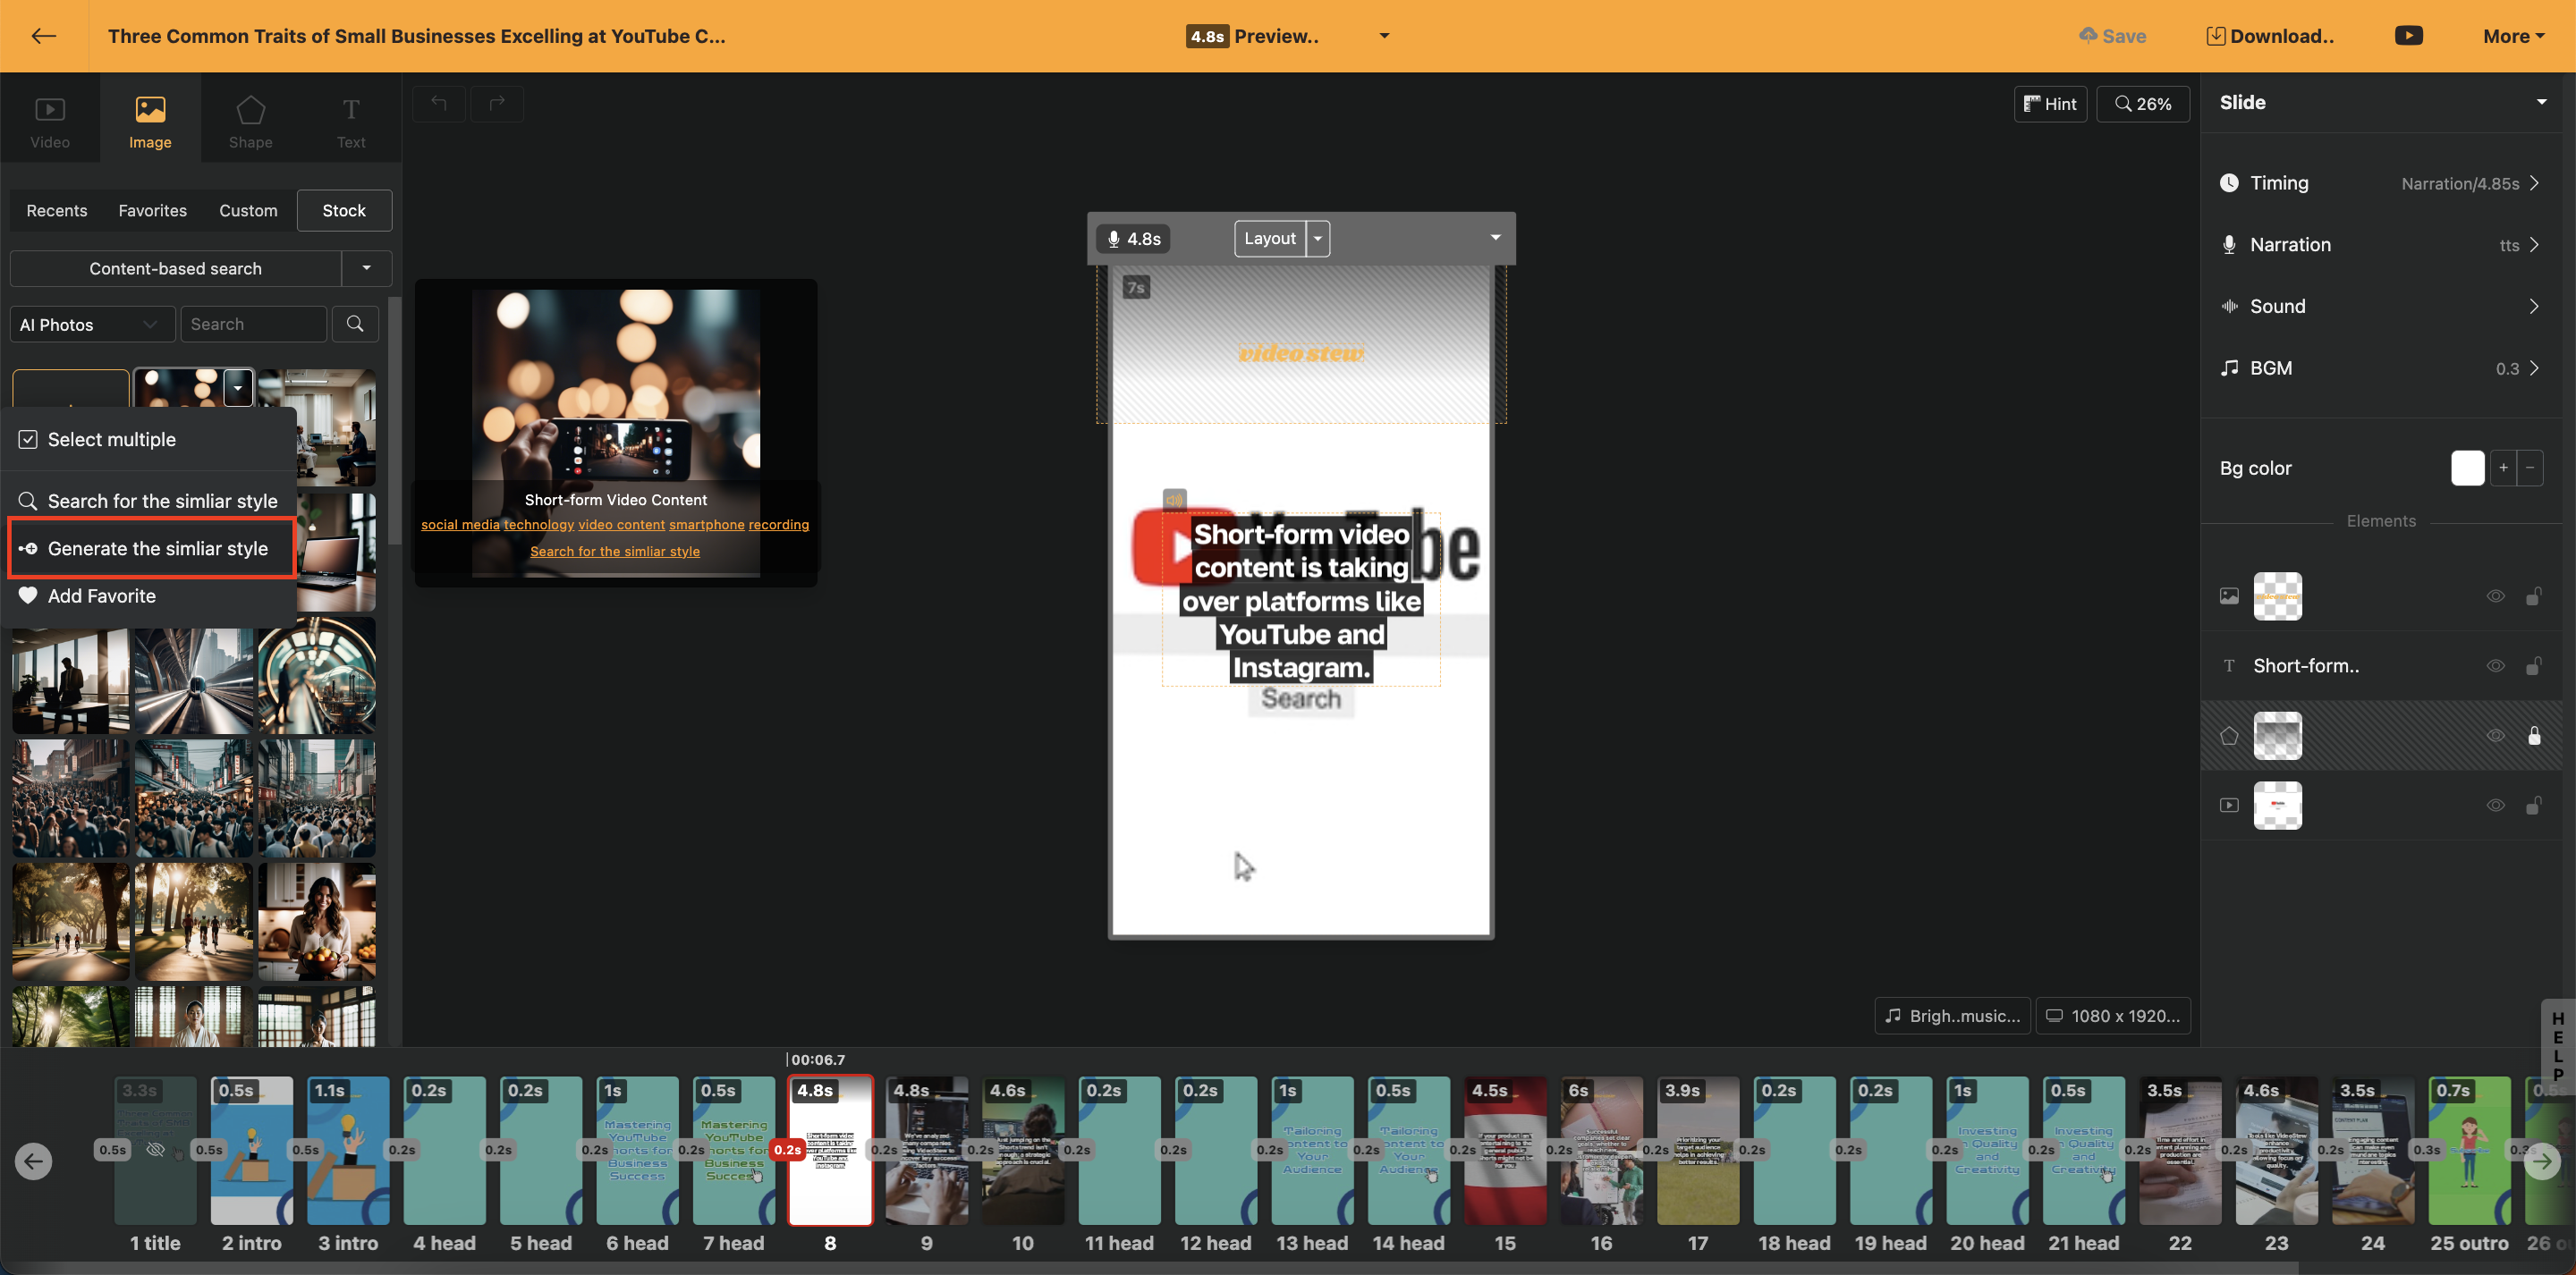
< Add as Similar Style >
If there is an image you like in the public AI image library, you can click the "Mouse Right Click > Create Similar Style" button to add a similar image. You can also briefly describe the idea you want to add in the text input window, allowing you to add an image that more closely matches the situation you are thinking of.
AI 비디오 생성하기
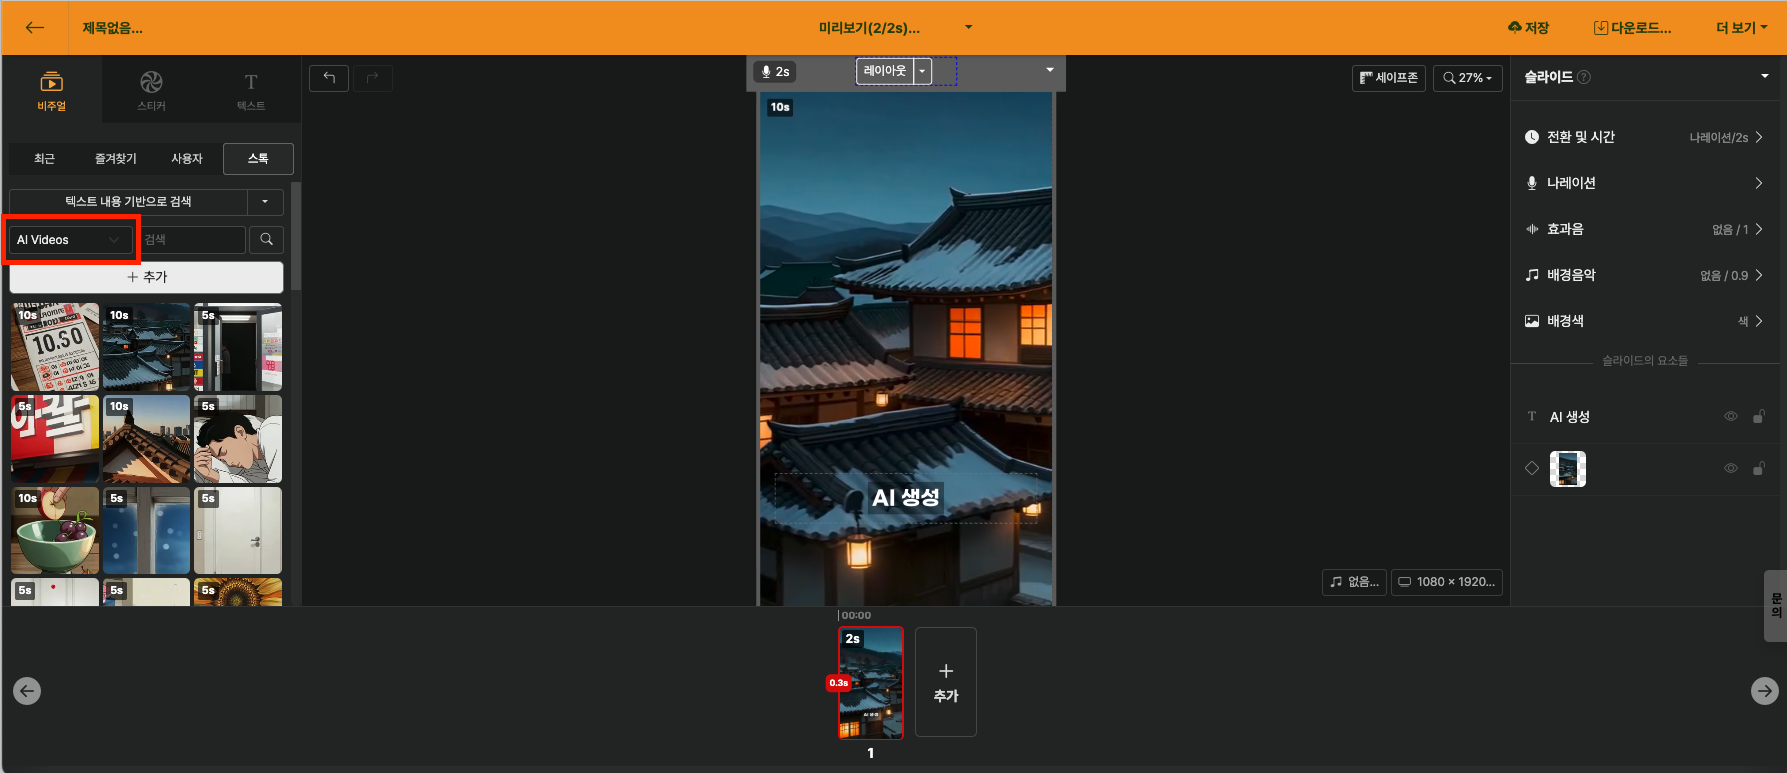
Videostew provides an AI video generation feature that automatically creates short videos suitable for scenes based on the content entered in slides, just like AI images. Without separate video filming or prompt writing, it naturally visualizes the content on screen as-is.
Selecting AI Video Category
Select AI Video from the Visual tab in the library, just like AI images. If there is subtitle text entered in the slide, it is automatically brought in and used as the basis for video generation.
Adding AI Video
Clicking the + Add button automatically generates a video that suits the slide content using AI. Even if you don't know prompts, Videostew naturally compensates for prompts on its own to create natural videos, so anyone can use it easily. However, video generation takes longer than image generation, and 500 credits are consumed per generation.
You can continue other editing work while generation is in progress, and when the video is complete, you will be notified with a real-time notification.
Videos generated by Videostew are added to a public library where anyone can search and reuse them, under the same policy as AI images. For more details, please refer to the AI Image Copyright guide document.
Turn existing images into video
You can also turn images placed on slides directly into moving videos. Double-click the image and select Turn into video.
Motion description is optional. You can write the desired motion like "slowly zoom in", or leave it blank for natural motion that maintains the original proportions to be automatically applied. You don't have to write how it moves every time.

< The Motion Input Card is optional >
The resolution defaults to 720p, and the credits required for generation are displayed together with the Generate video button.
Processing Multiple Scenes at Once with AI Generation
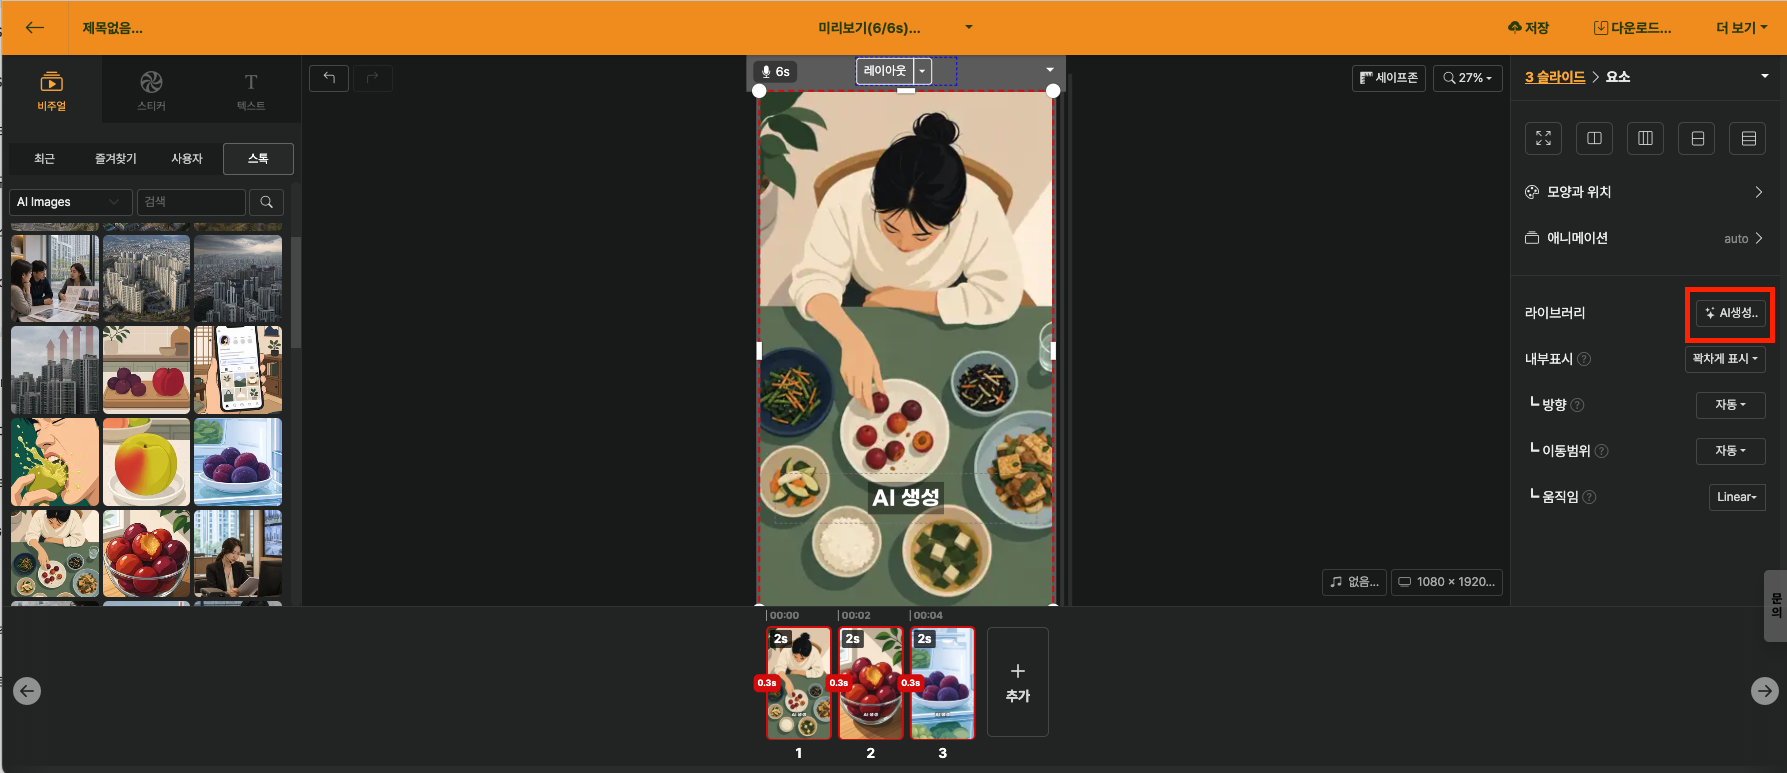
AI images or AI videos originally require adding one scene at a time in the Library Window, then waiting until the result is complete before generating the next scene. When there are many scenes, this process can be tedious.
To address this, you can select multiple slides and generate or regenerate AI images·videos at once. If you request generation and continue with other editing work, the completed results will be automatically replaced in each slide in order. There is no need to wait in front of the screen until all scenes are finished.
Sticker
Editing Screen > Left Library Window > Sticker Tab > Stock
In the Stock section of the Sticker tab, you can search for GIF animations, transparent stickers, icons, and more to insert into the slide. The available sources vary by category.
| Category | Description |
|---|---|
| Tenor GIF | Tenor's GIF animations. Only personal use is allowed (Tenor policy). Do not use in commercial videos. |
| Tenor Sticker | Tenor GIF stickers with transparent backgrounds. Similarly, only personal use is allowed. |
| The Noun Project | A library of hundreds of thousands of vector icons, pictograms, and shape illustrations created by designers around the world. Search by keyword to insert monochrome icons or shapes into your slides. Commercial use is allowed. Videostew does not provide a separate shape-addition menu; if you need shapes, search for the shape you want in The Noun Project in the sticker tab and use it. |
| AI Icon | Videostew AI generates transparent sticker images. It can automatically recommend them based on slide text, or you can directly enter the object you want to generate. |
Create AI Icon
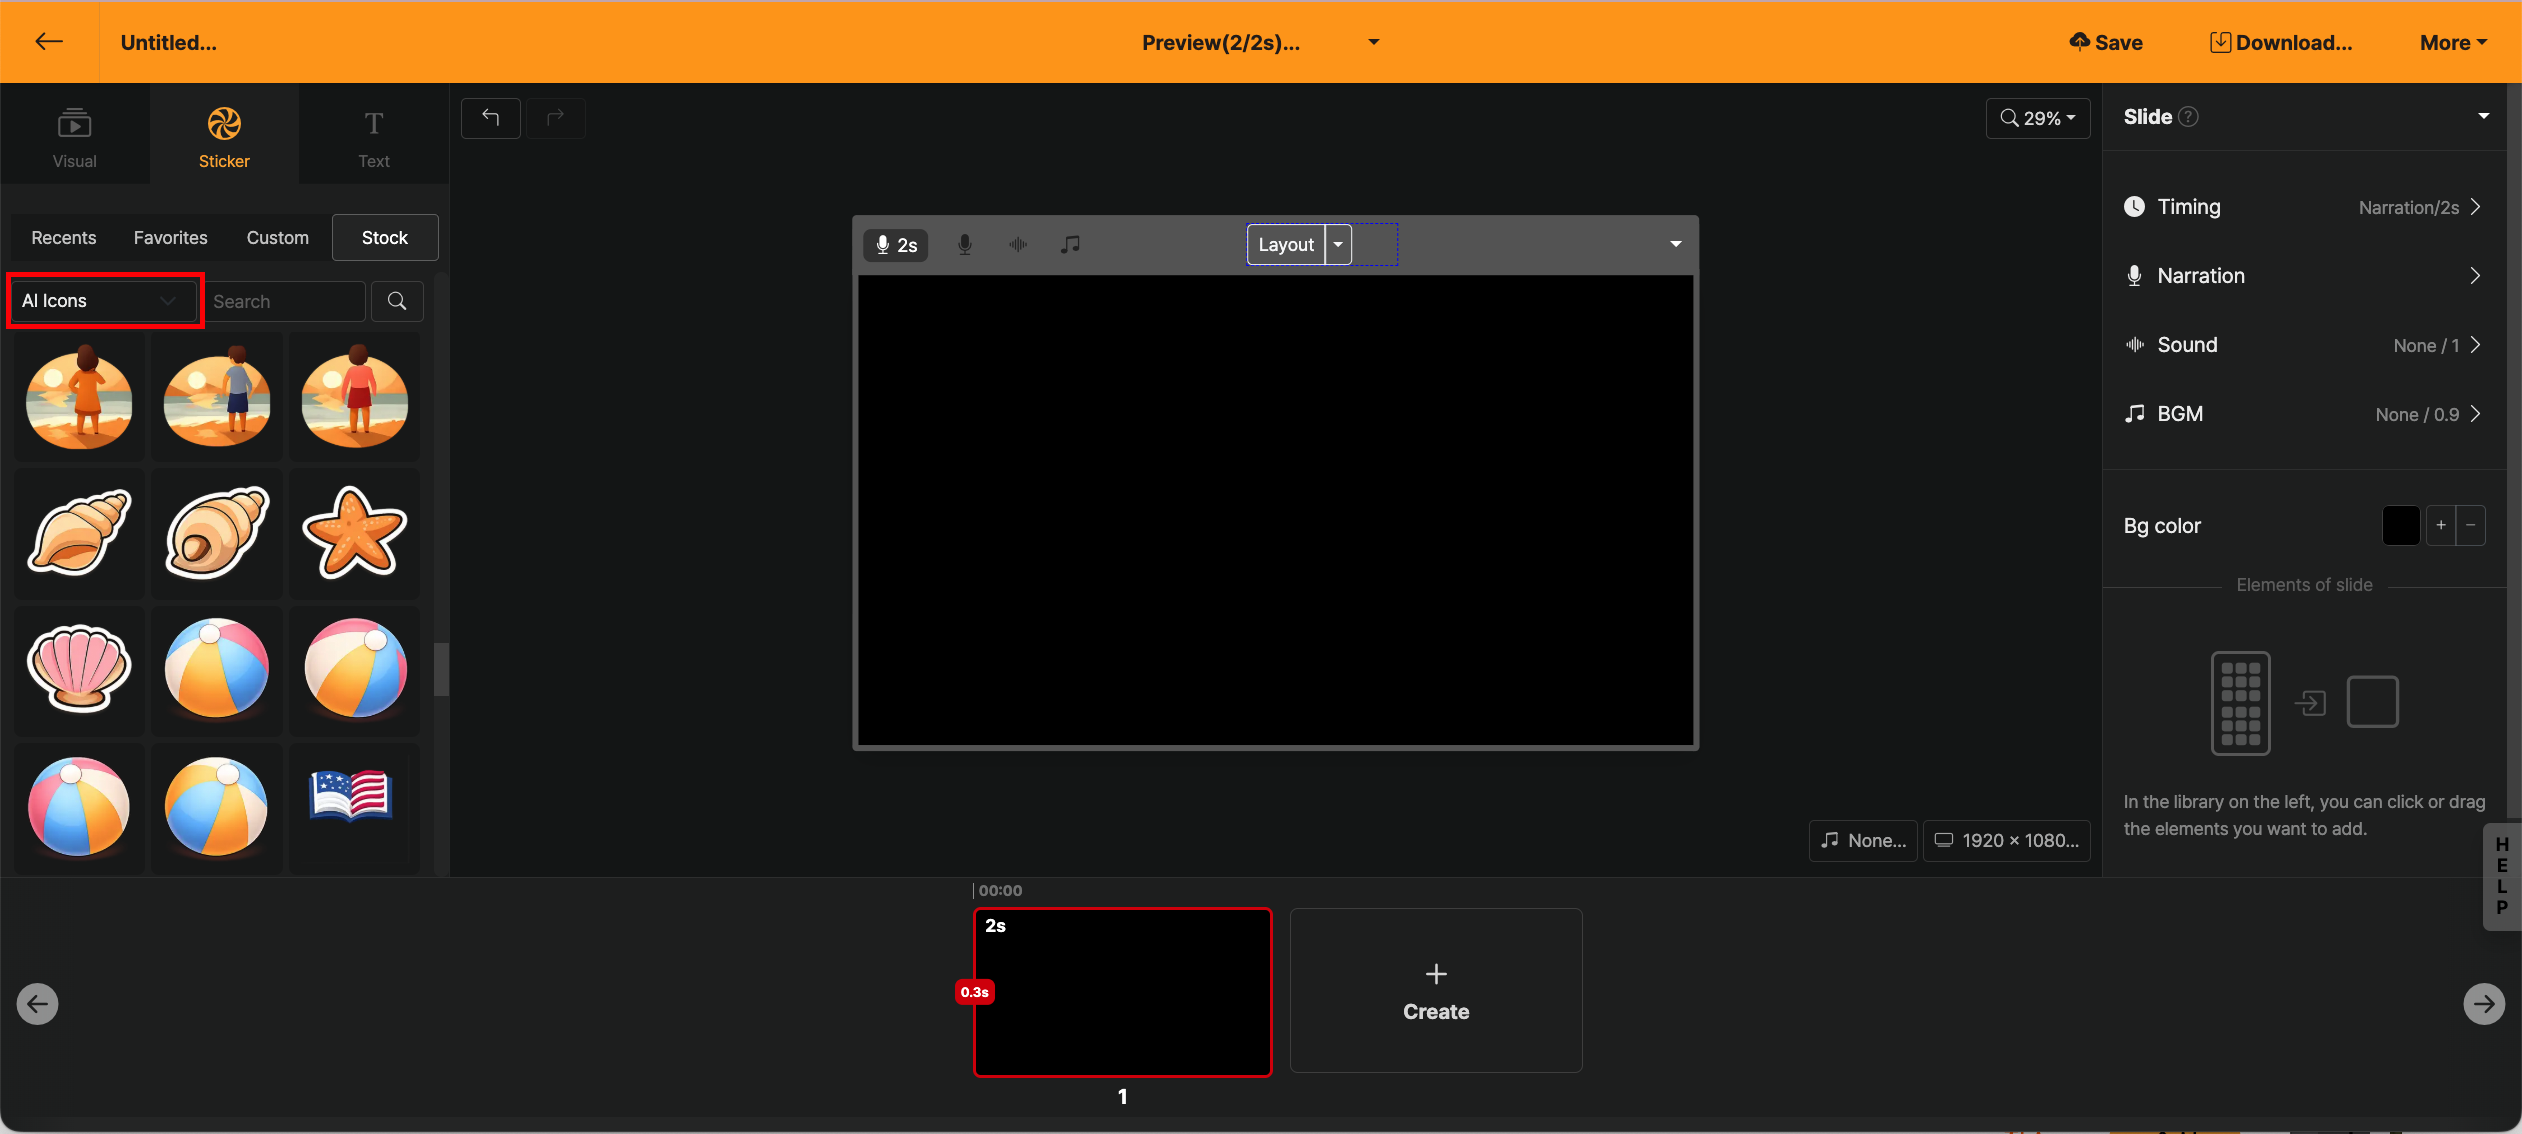
Press the + Add button to create AI icons in various styles. Based on the content already entered in the editing screen, you can create important objects, or simply enter the object you want directly to make the sticker image you want.
File Editing Tools
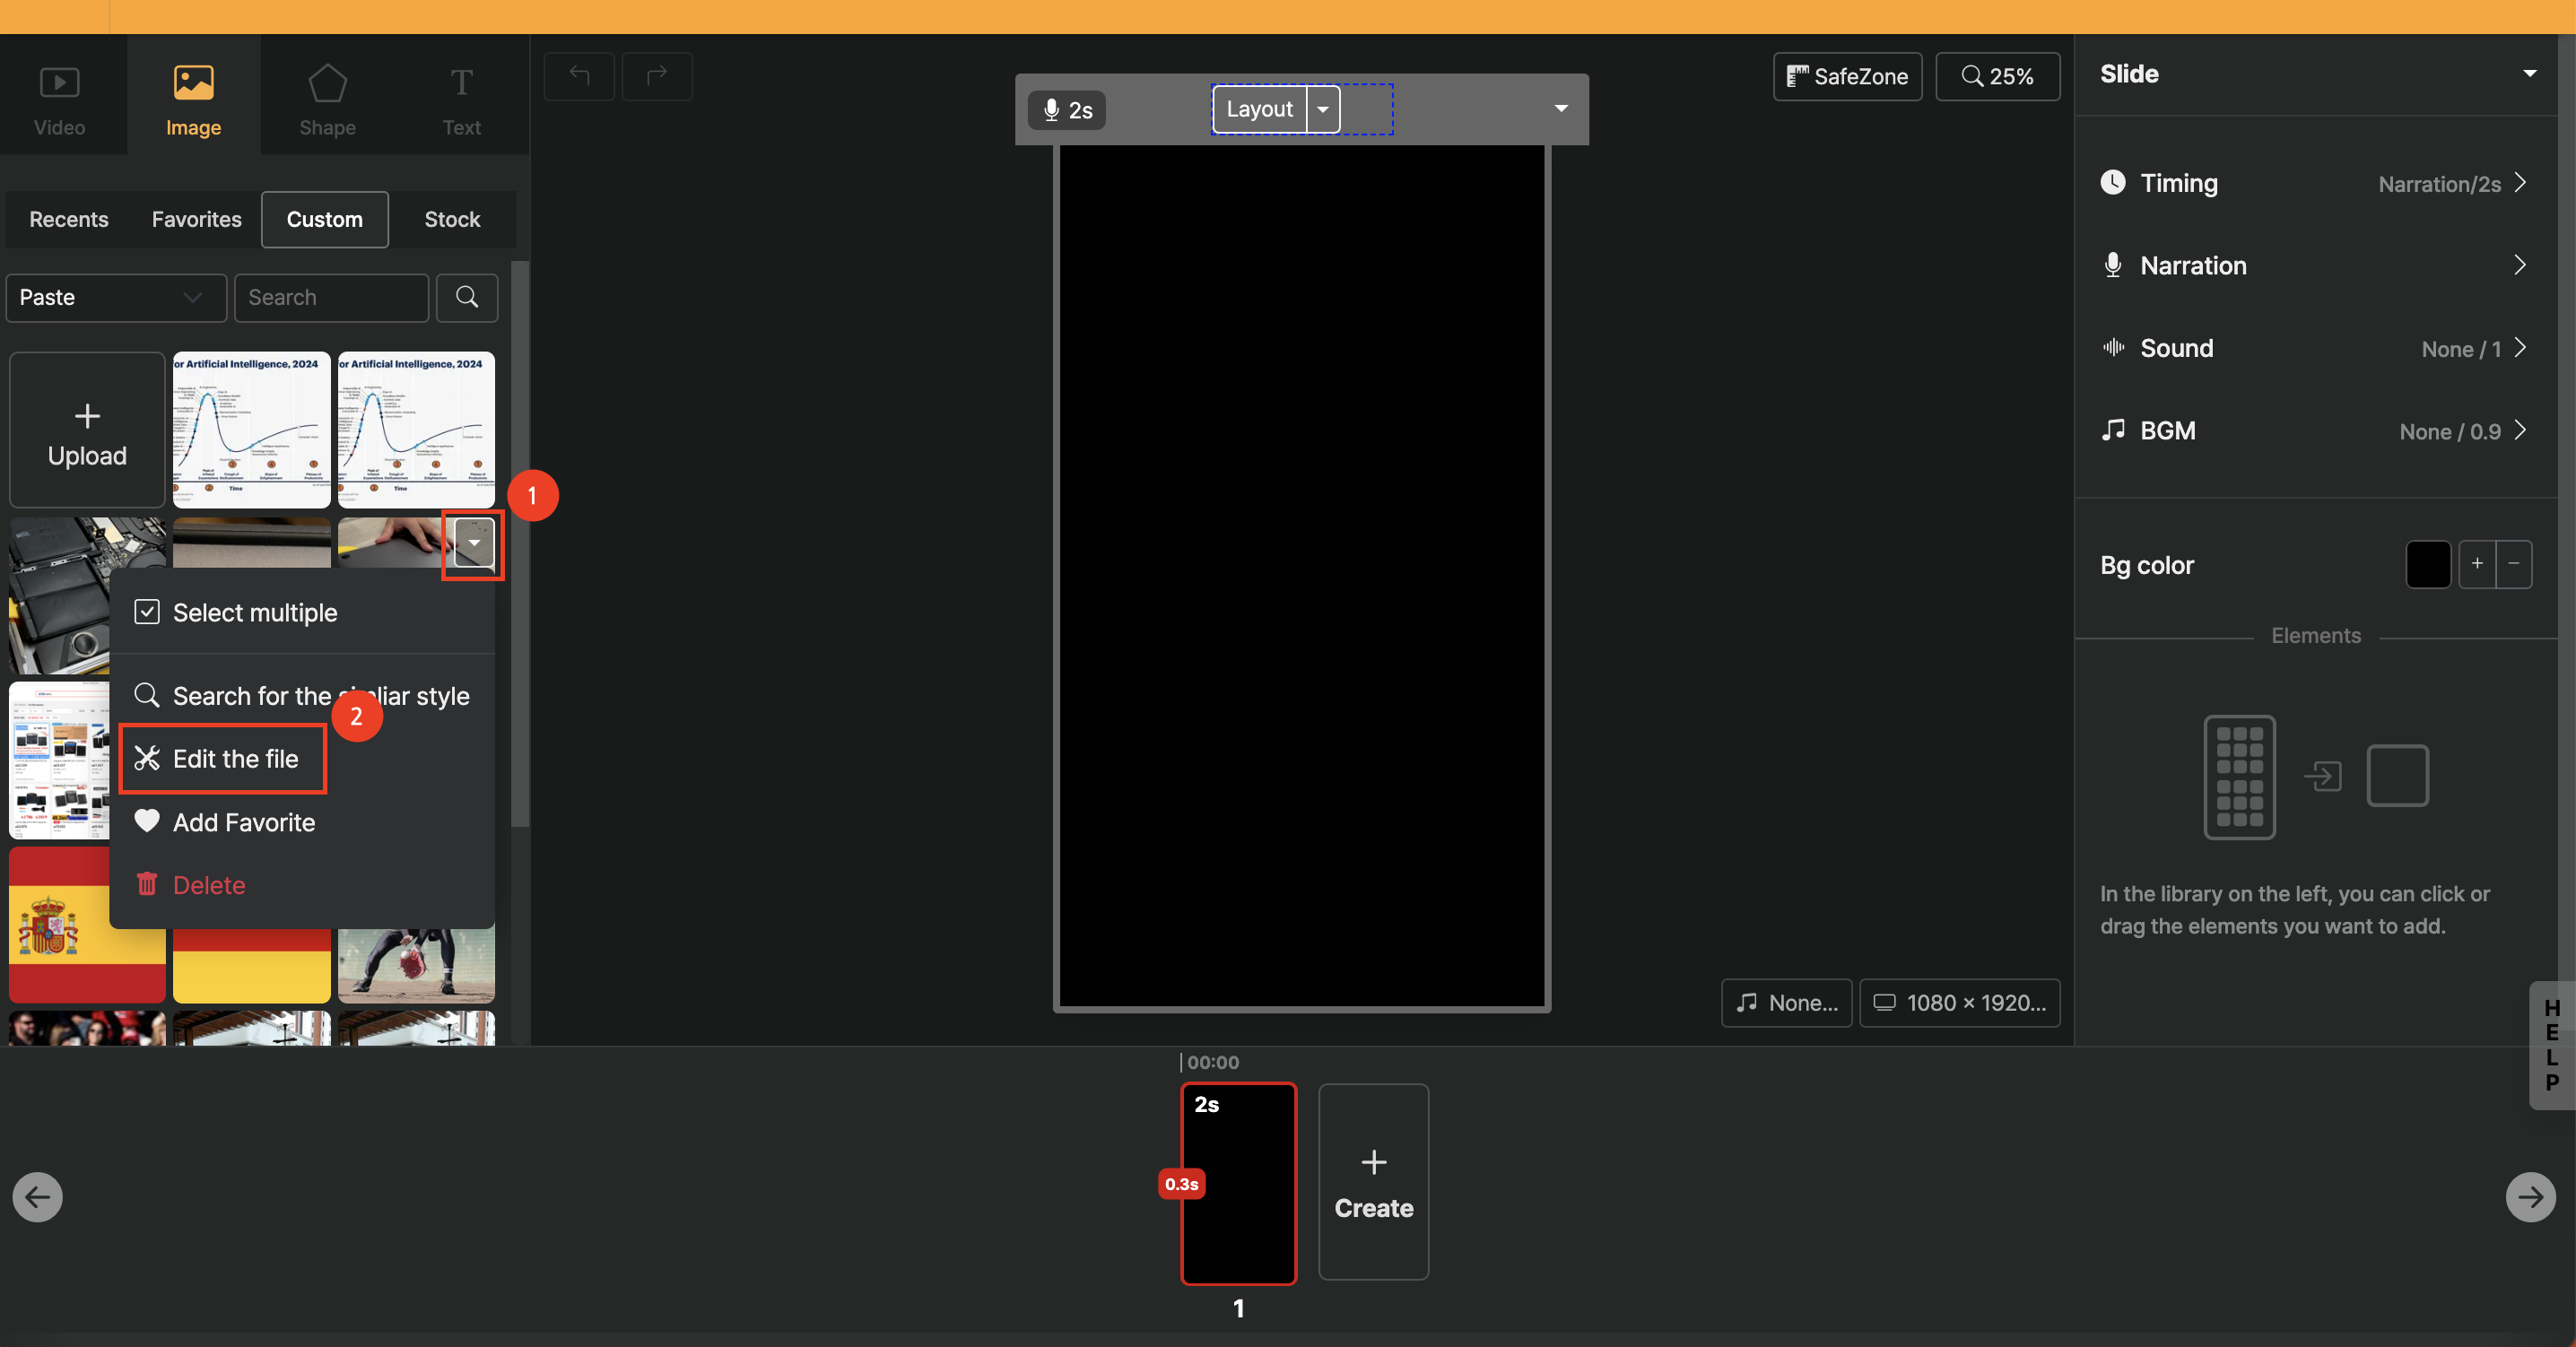
We provide various AI tools that allow you to edit the images and video files you have uploaded.
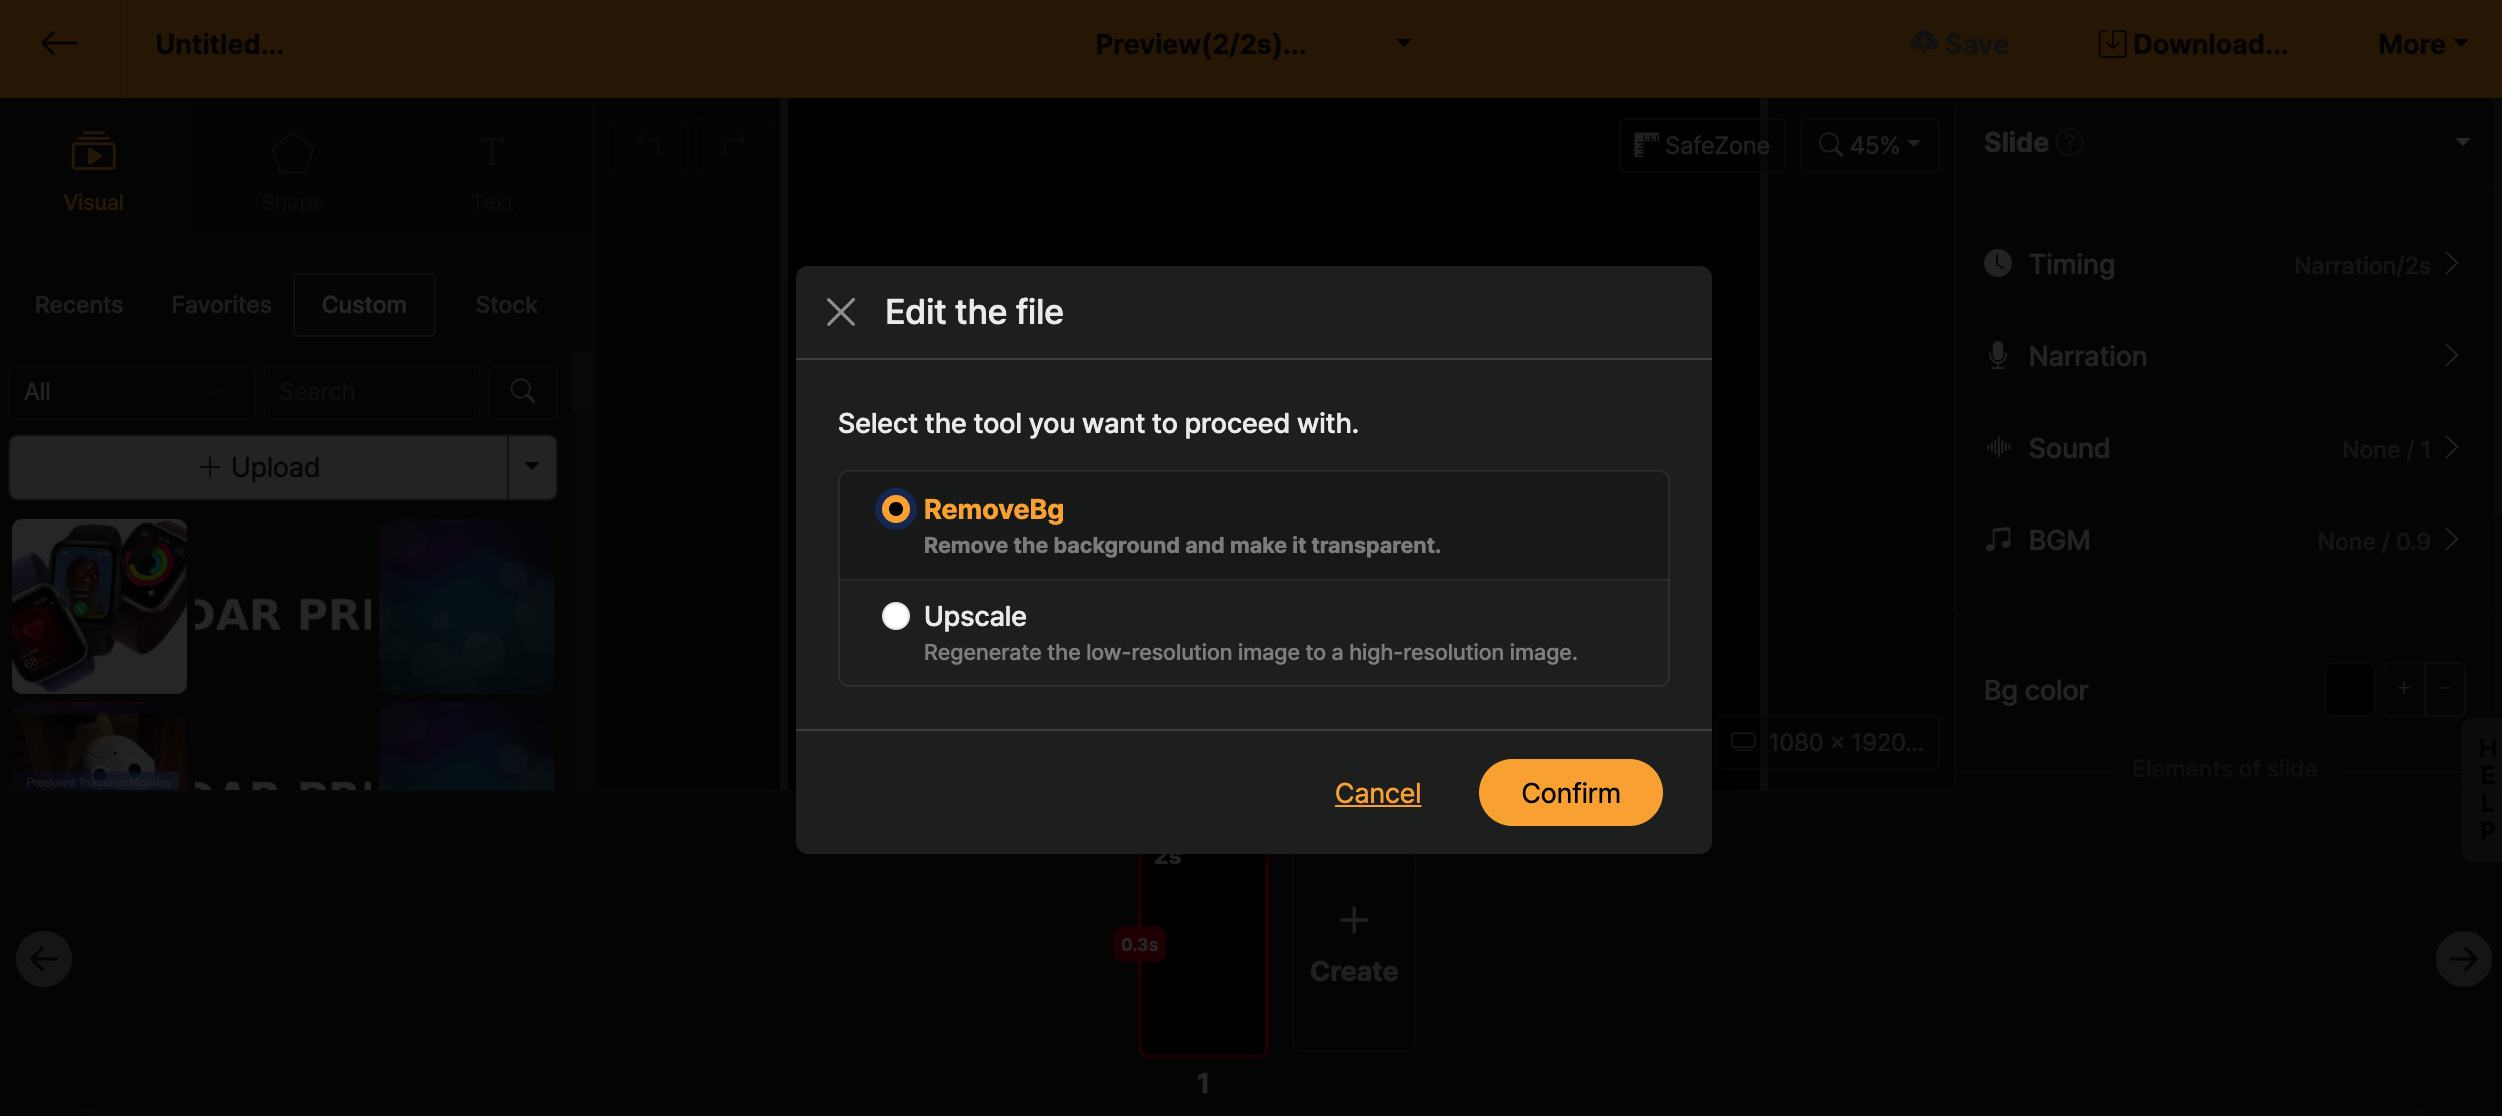
Different tools are provided depending on the type (image/video) of the file you selected.
For images, [Remove Image Background] and [Enhance Image Quality] features are provided; for videos, [Video Rewind] feature is provided.
Image background removal (nuke)
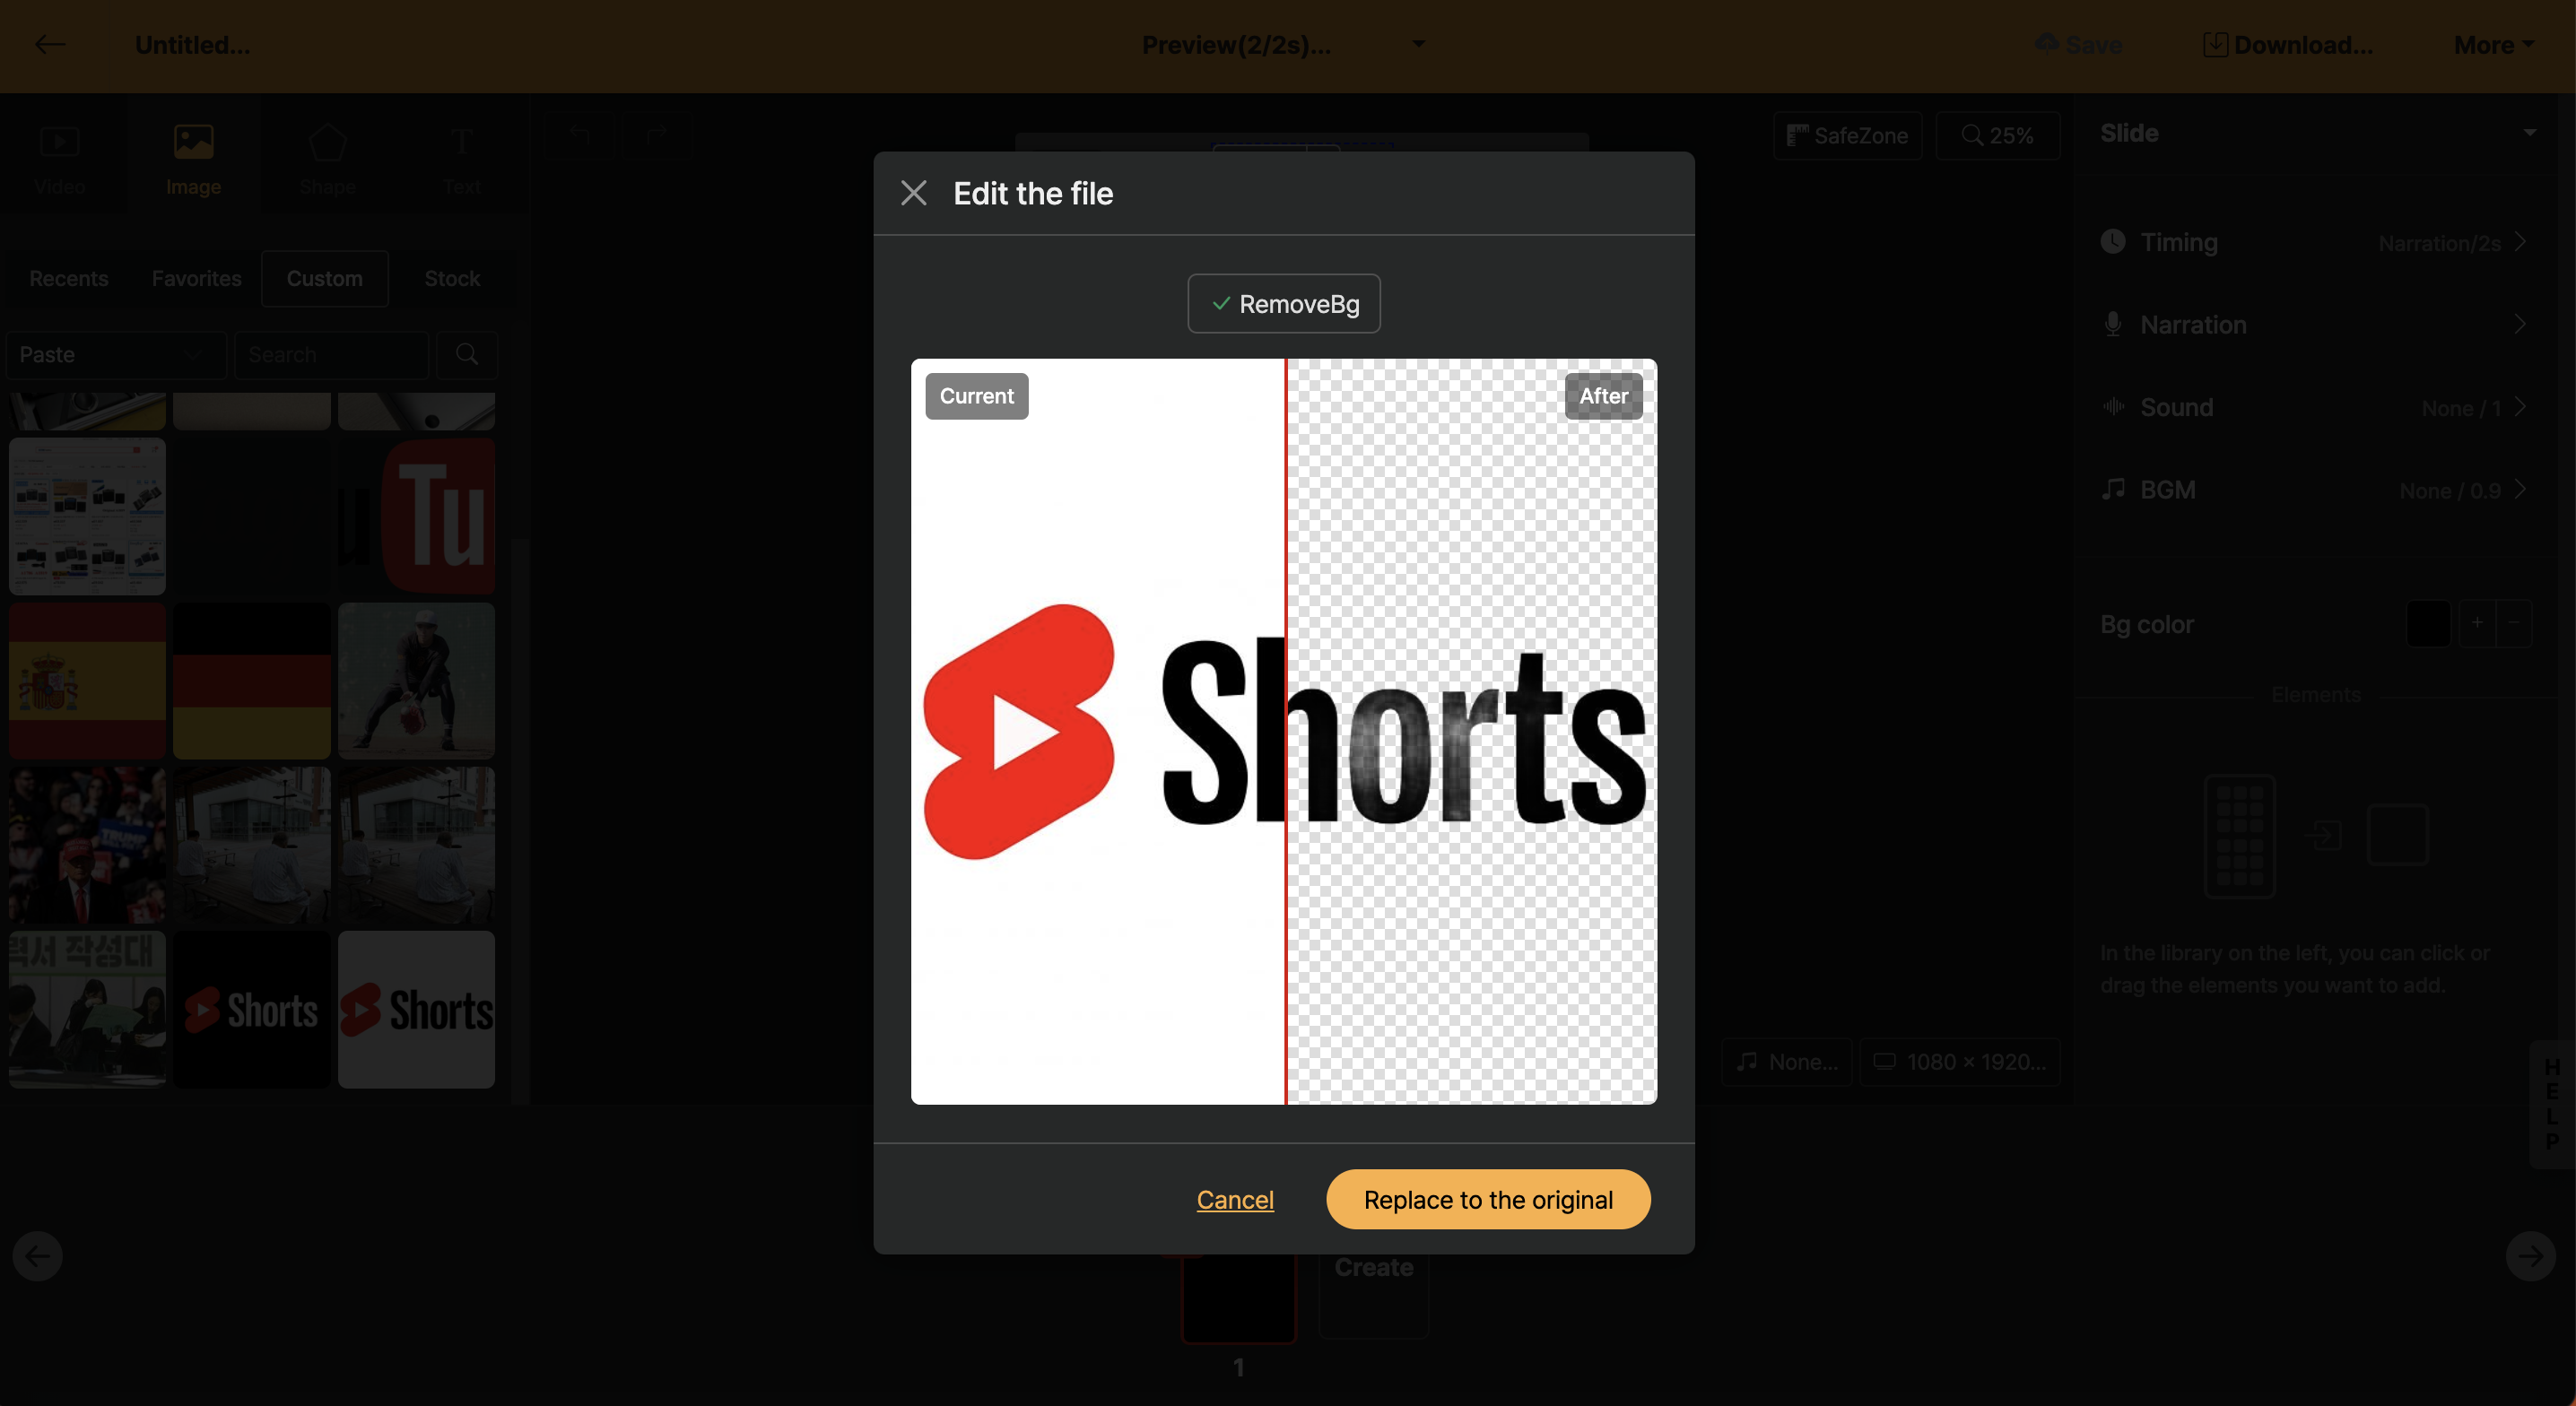
AI background removal feature. You can compare before and after background removal with your mouse.
Image Upscale Enhancement
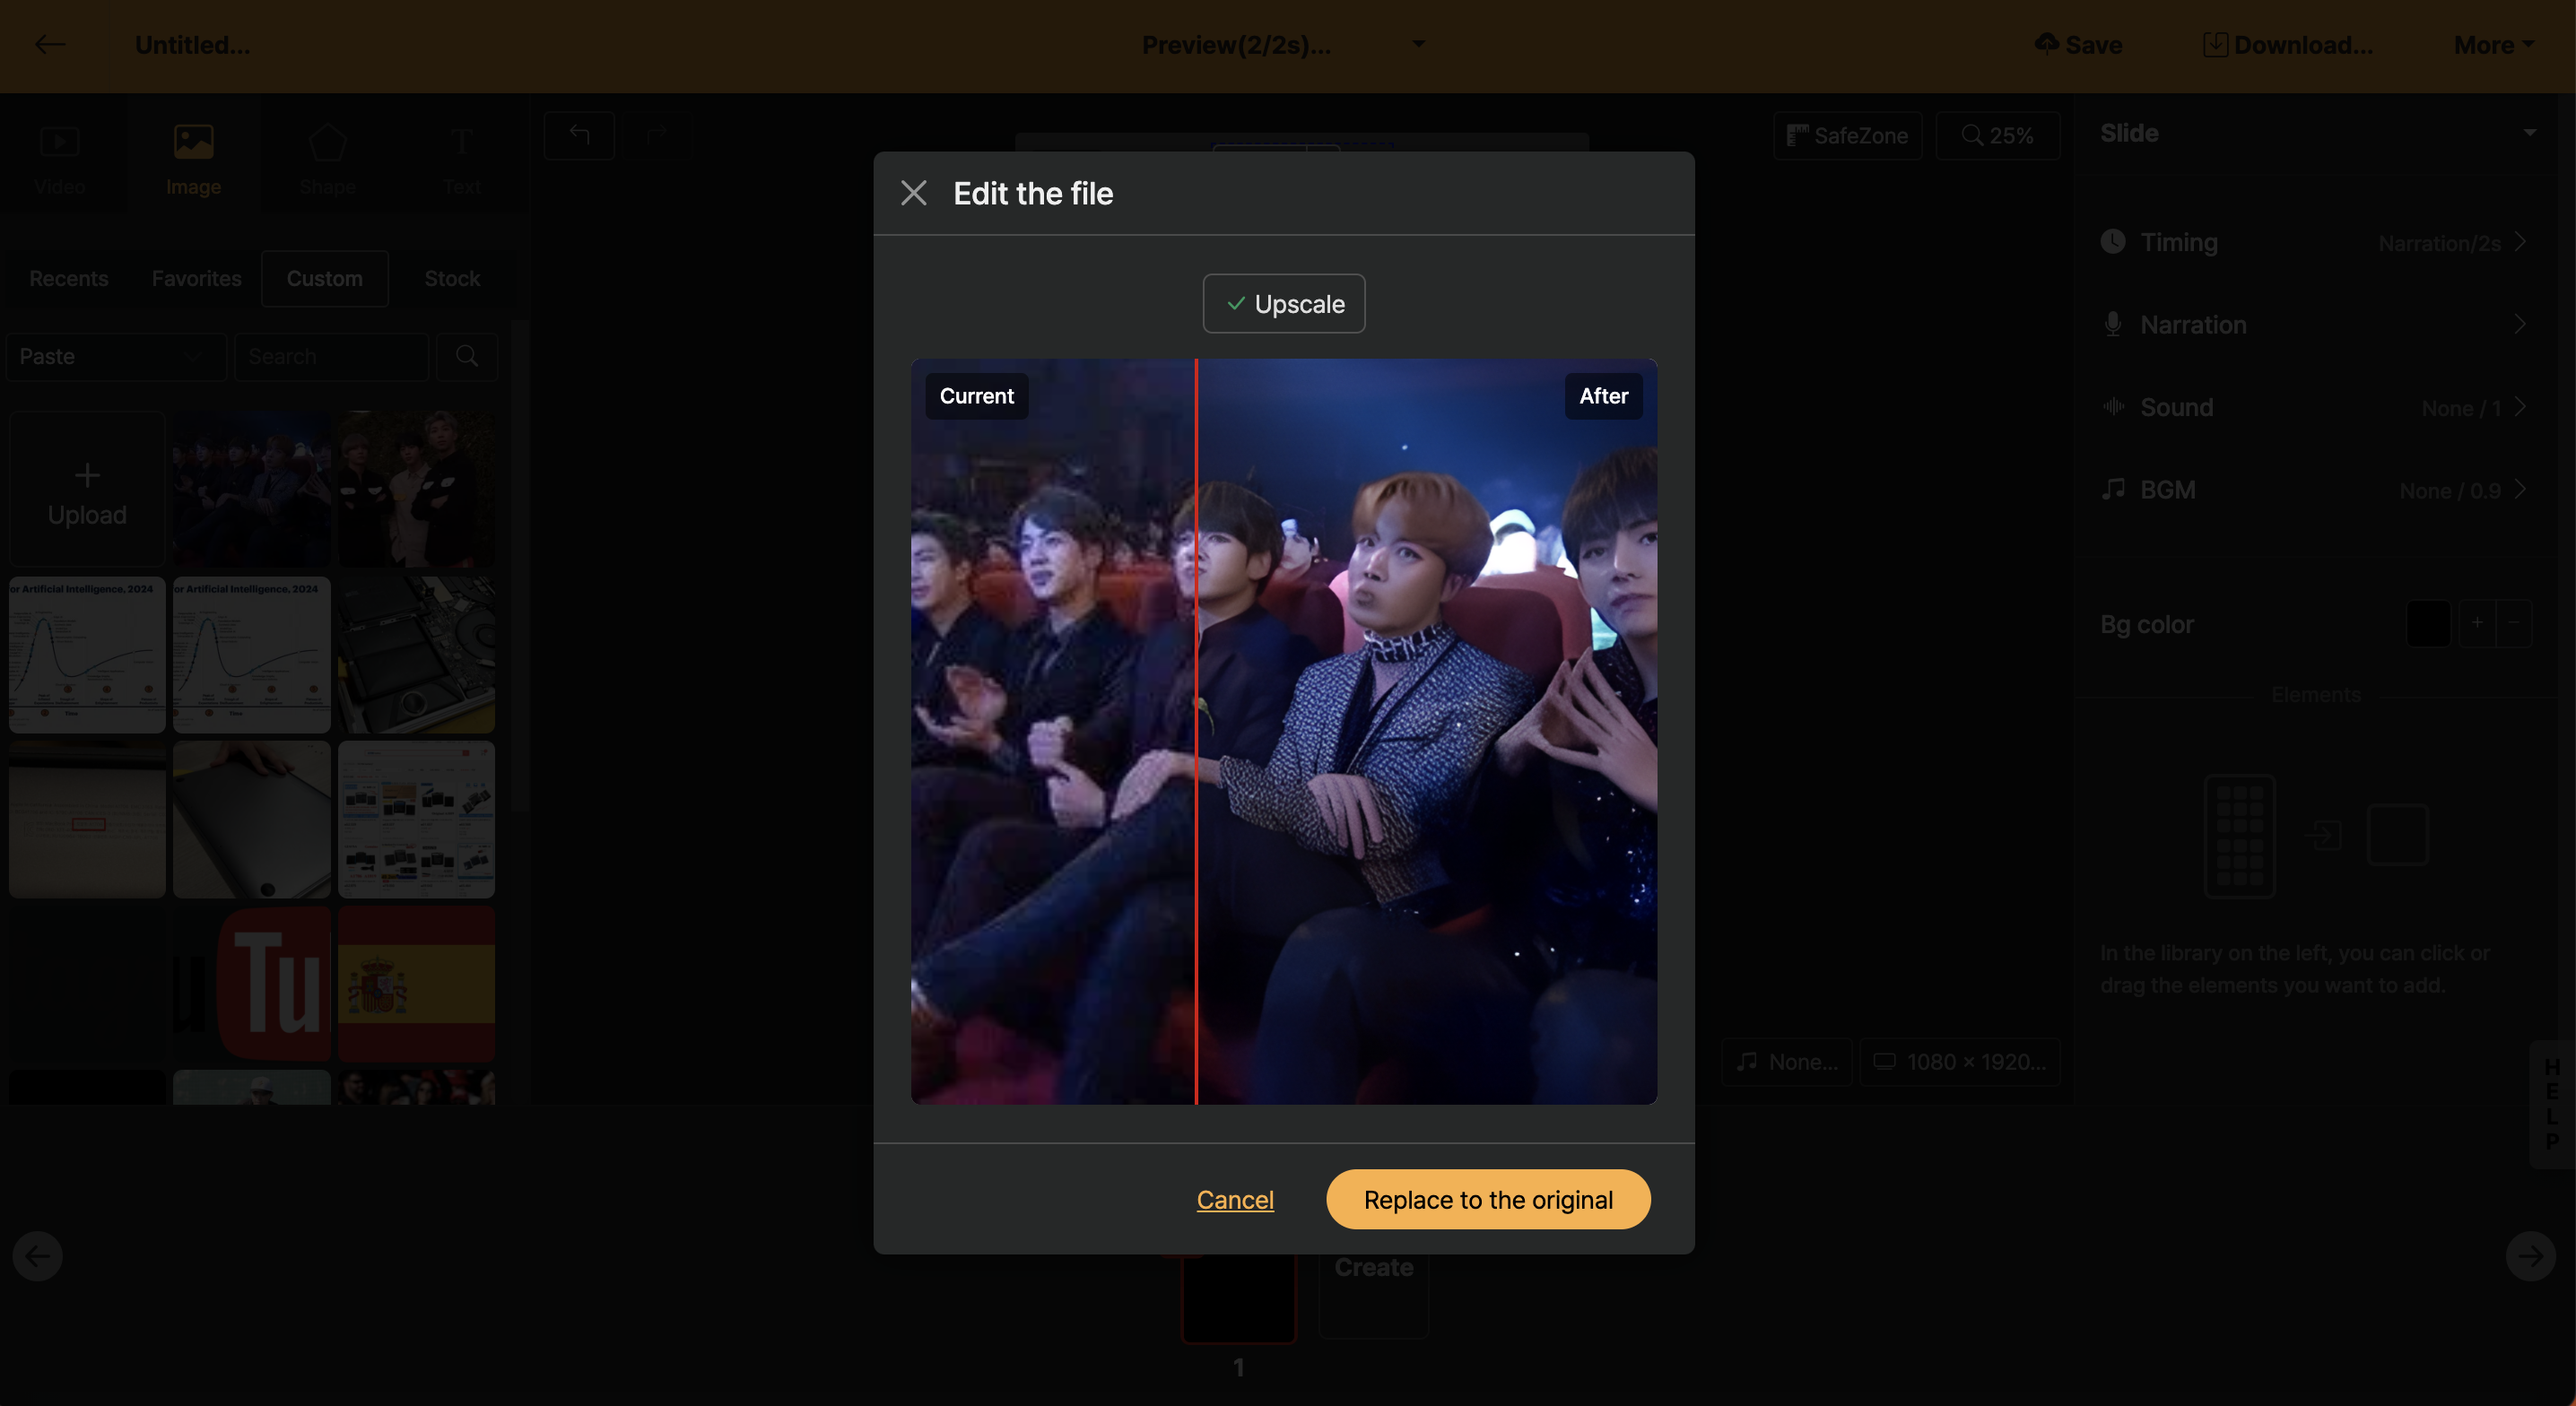
Using AI, it upscales low-resolution images to high-resolution.
Video Playback
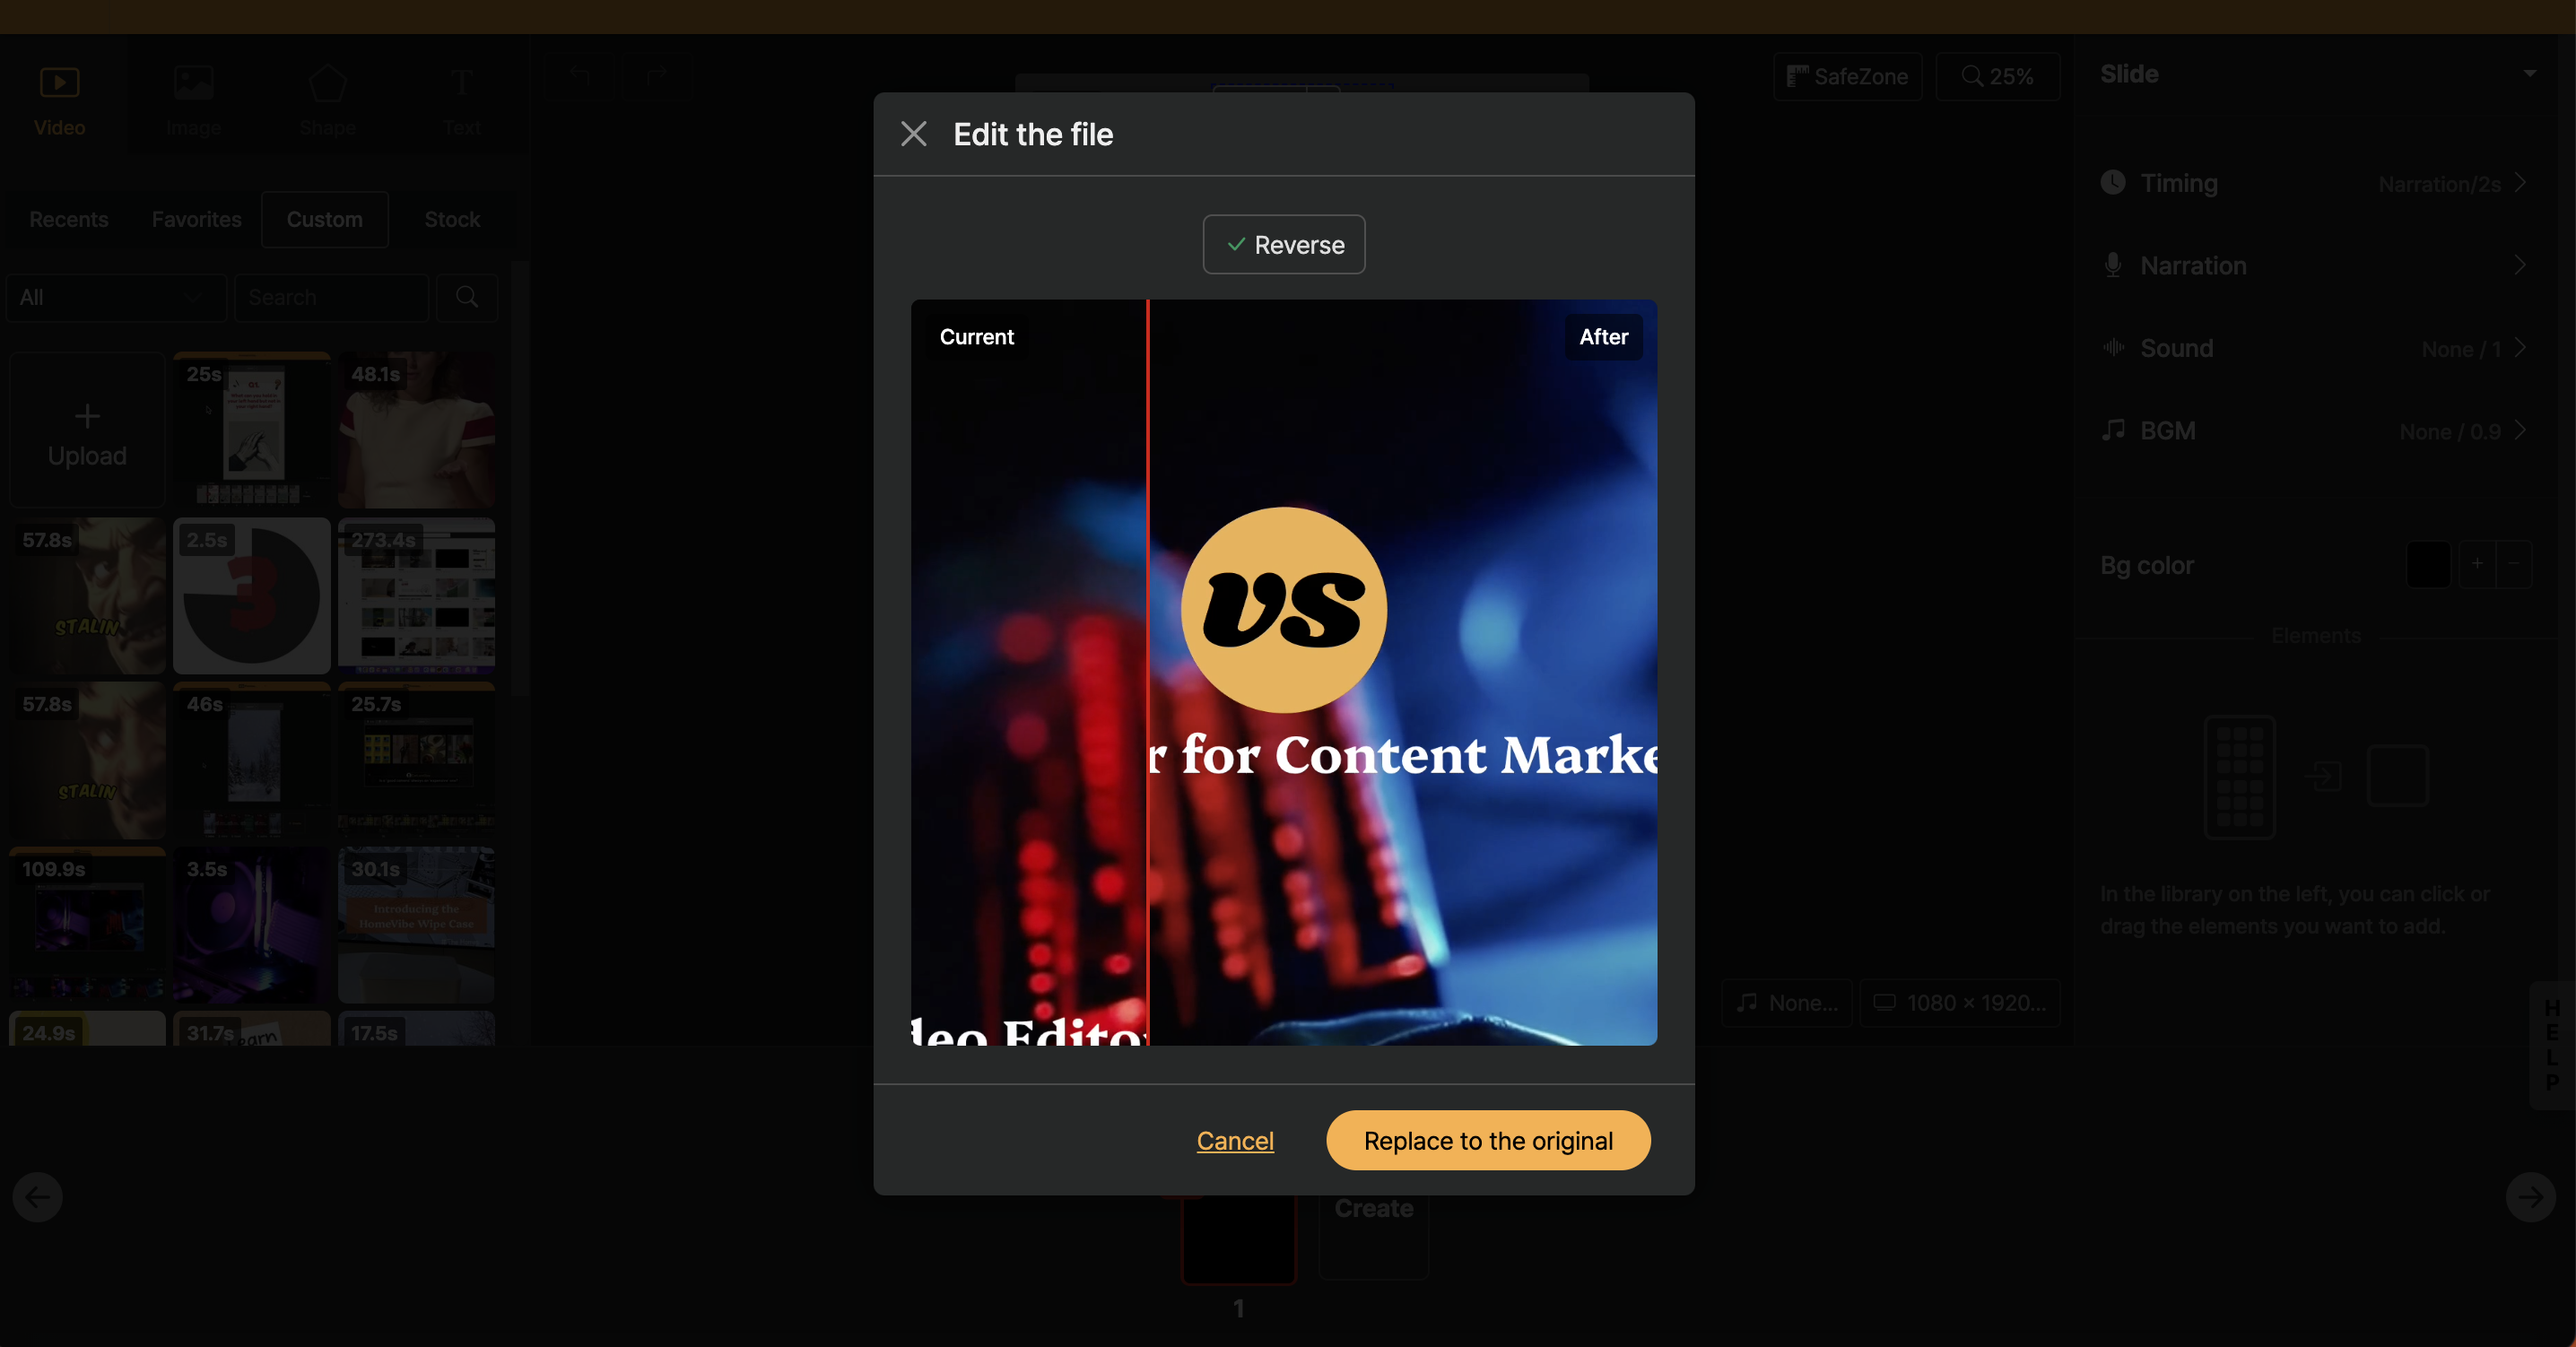
Play video files in a grid. Both video and audio are played back, so please pay attention when using.
Editing Window
This is the area where you can perform selection and position adjustments for elements.
Cancel/Redo action

This function allows you to cancel the action you just performed or redo it.
Safe zone (vertical size)
When creating the vertical size for separate left-right screens, in the actual platform display various buttons cause the surrounding area to be invisible. This feature is used to anticipate and prevent that.
Zoom in/out
Change the size of the current Editing Window! You can make it small to see the overall layout or zoom in to edit specific elements in detail. The shortcut for zooming in/out is Ctrl++/ -.
Slide settings
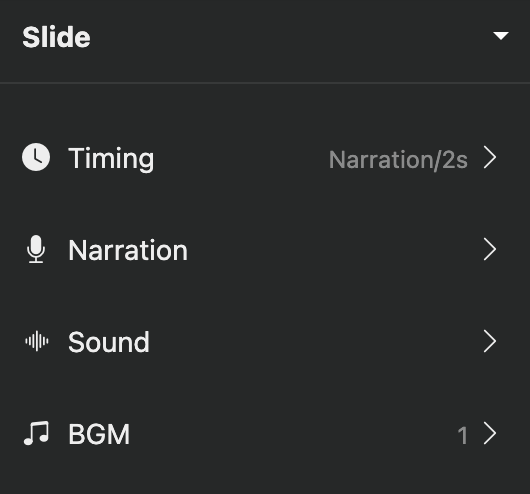
This is the space that displays the internal elements by the size of the slide. There is a direct access button for Slide Properties and a dropdown (▼) for management. For more information on managing internal elements, see [Element Operations].
Playback Duration
The default playback duration of a slide is 3 seconds, and you can click to change this duration.
For information on how to change the playback time, please refer to the [Conversion and Time] guide document.
Narration
You can apply an AI voice to your slides, or record your own voice.
Sound Effects
You can set the sound effects that will play when the slide appears.
Background Music Volume Change
You can change the background music that plays across the entire project, and you can temporarily adjust the volume on this slide. For example, when important content appears or when you need to lower the volume of a video embedded in the slide, you can quickly adjust the volume.
Editing Window(Stage)
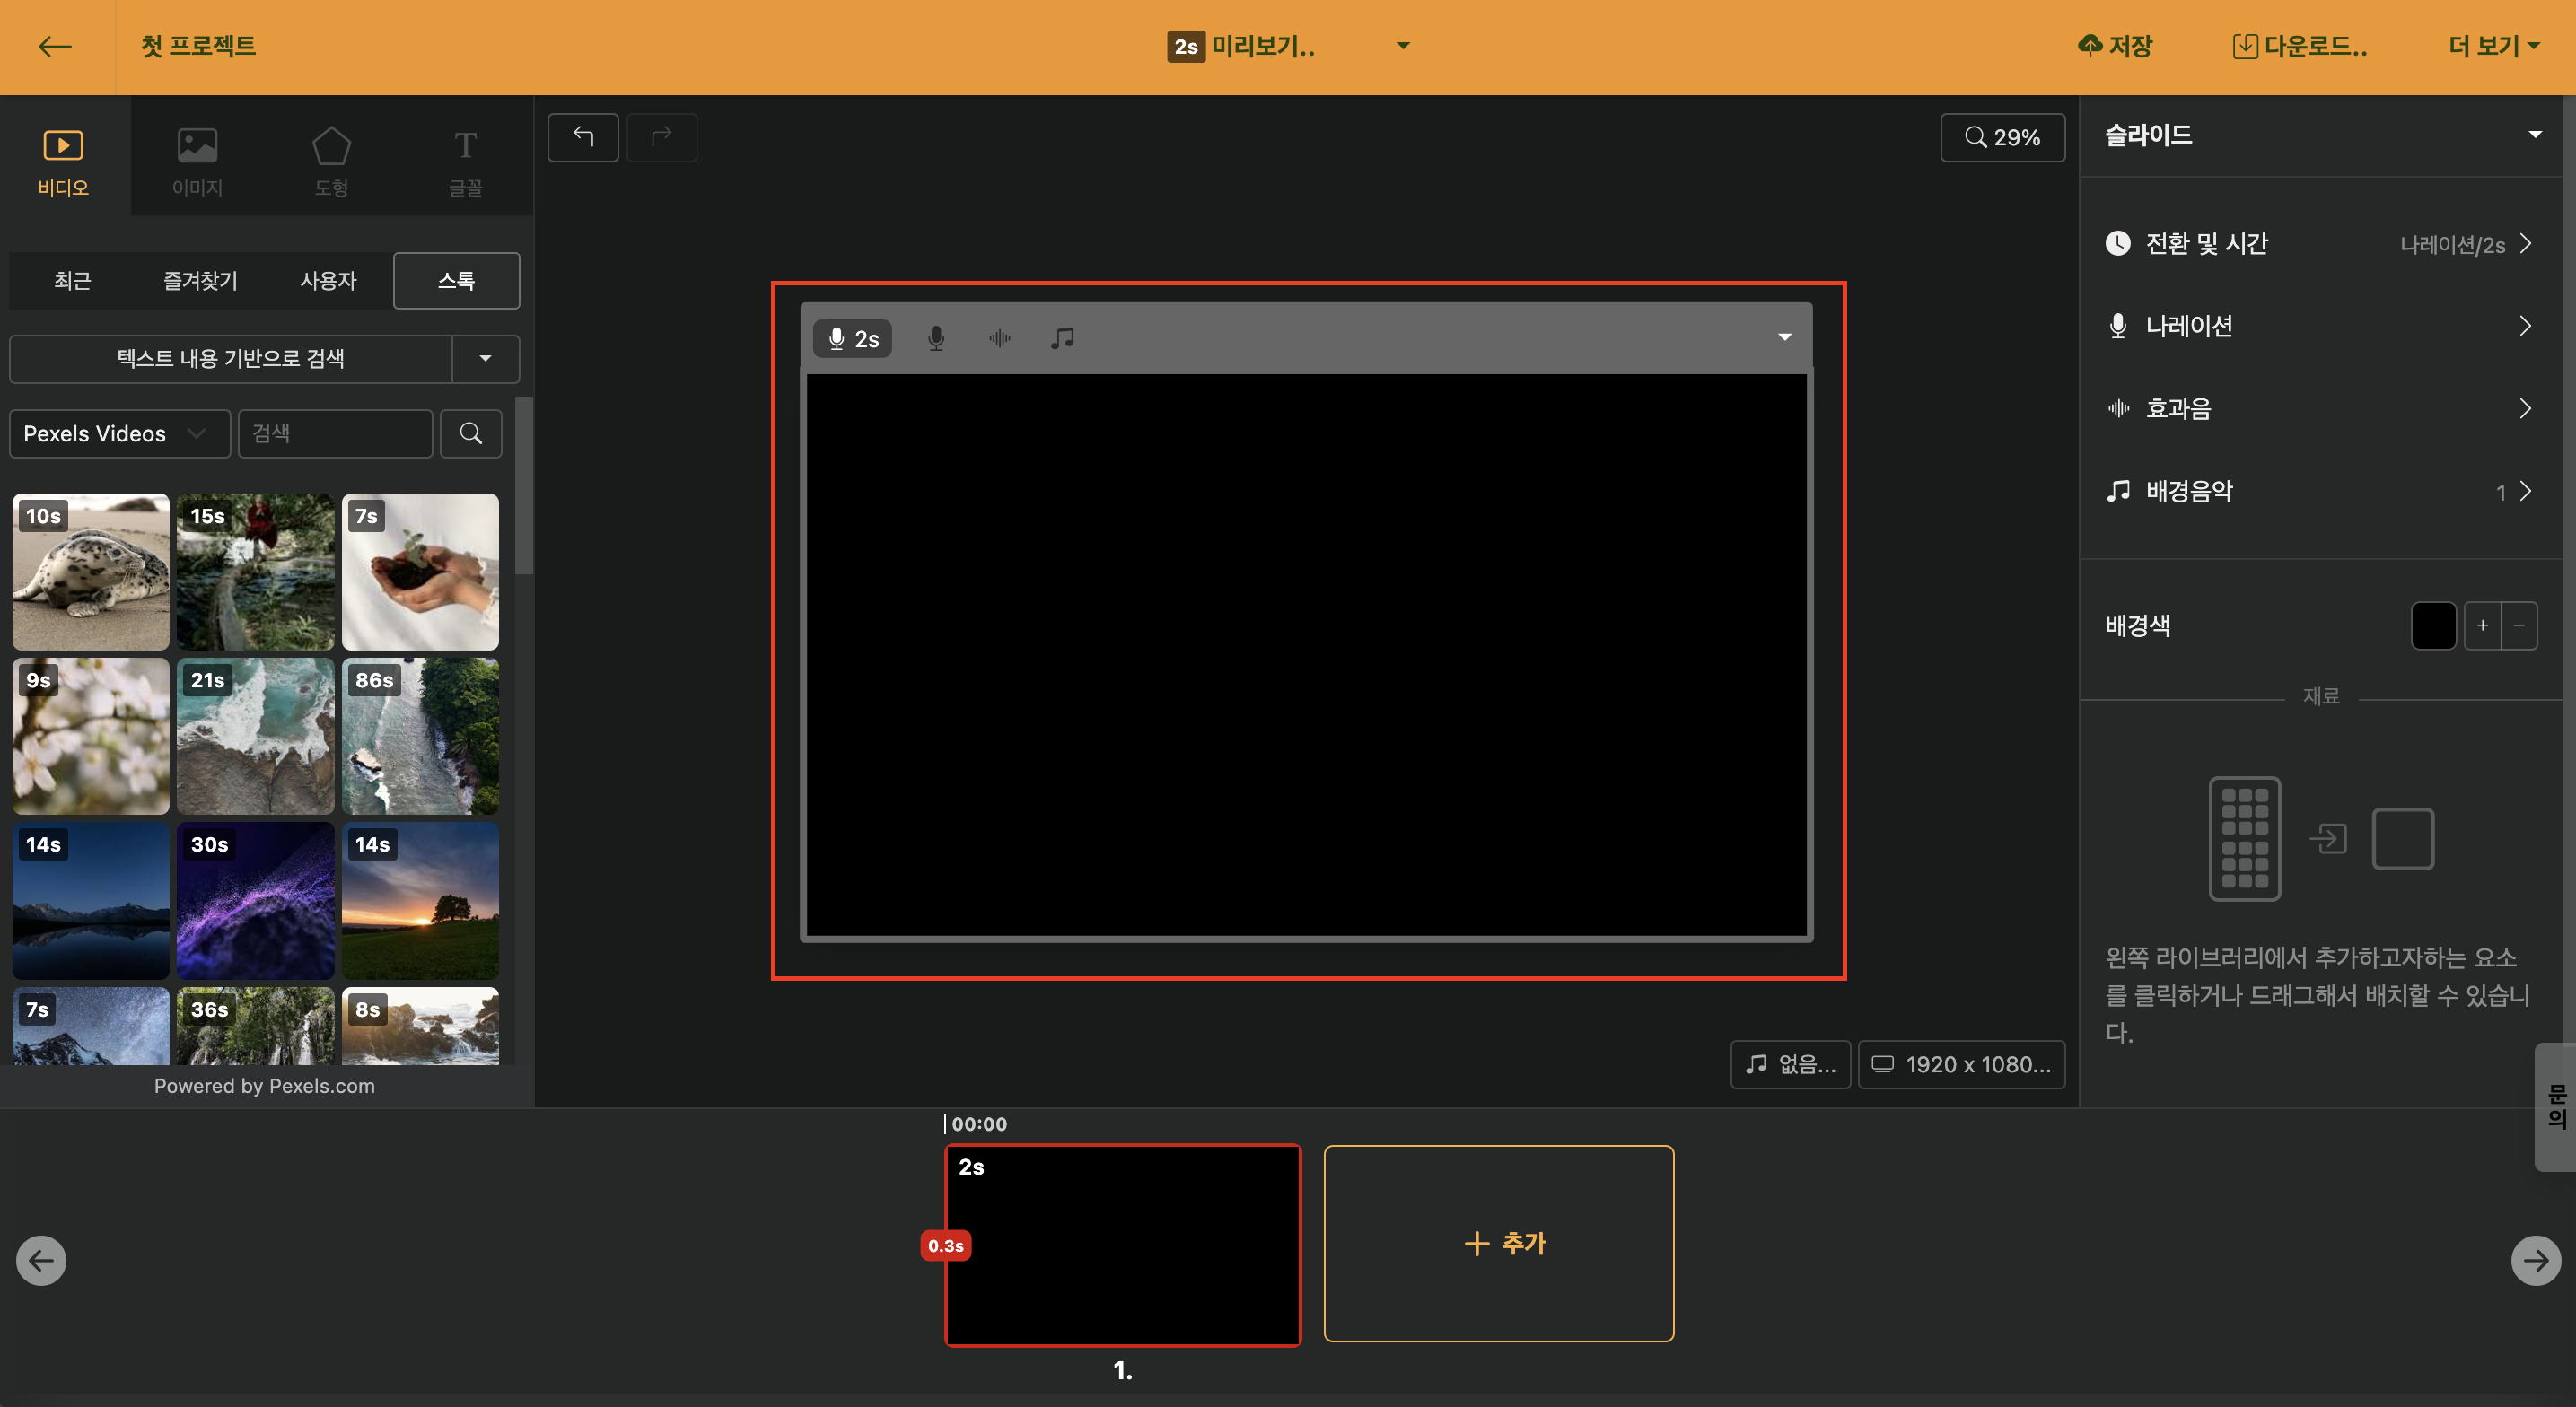
You can apply all the elements of the library panel by dragging and dropping or clicking.
Background Music Settings
You can set or change the background music that plays across the entire project.
Resize
You can change the size of the project. In addition to the default sizes provided, you can also set a custom size using the "User" tab.
properties 창
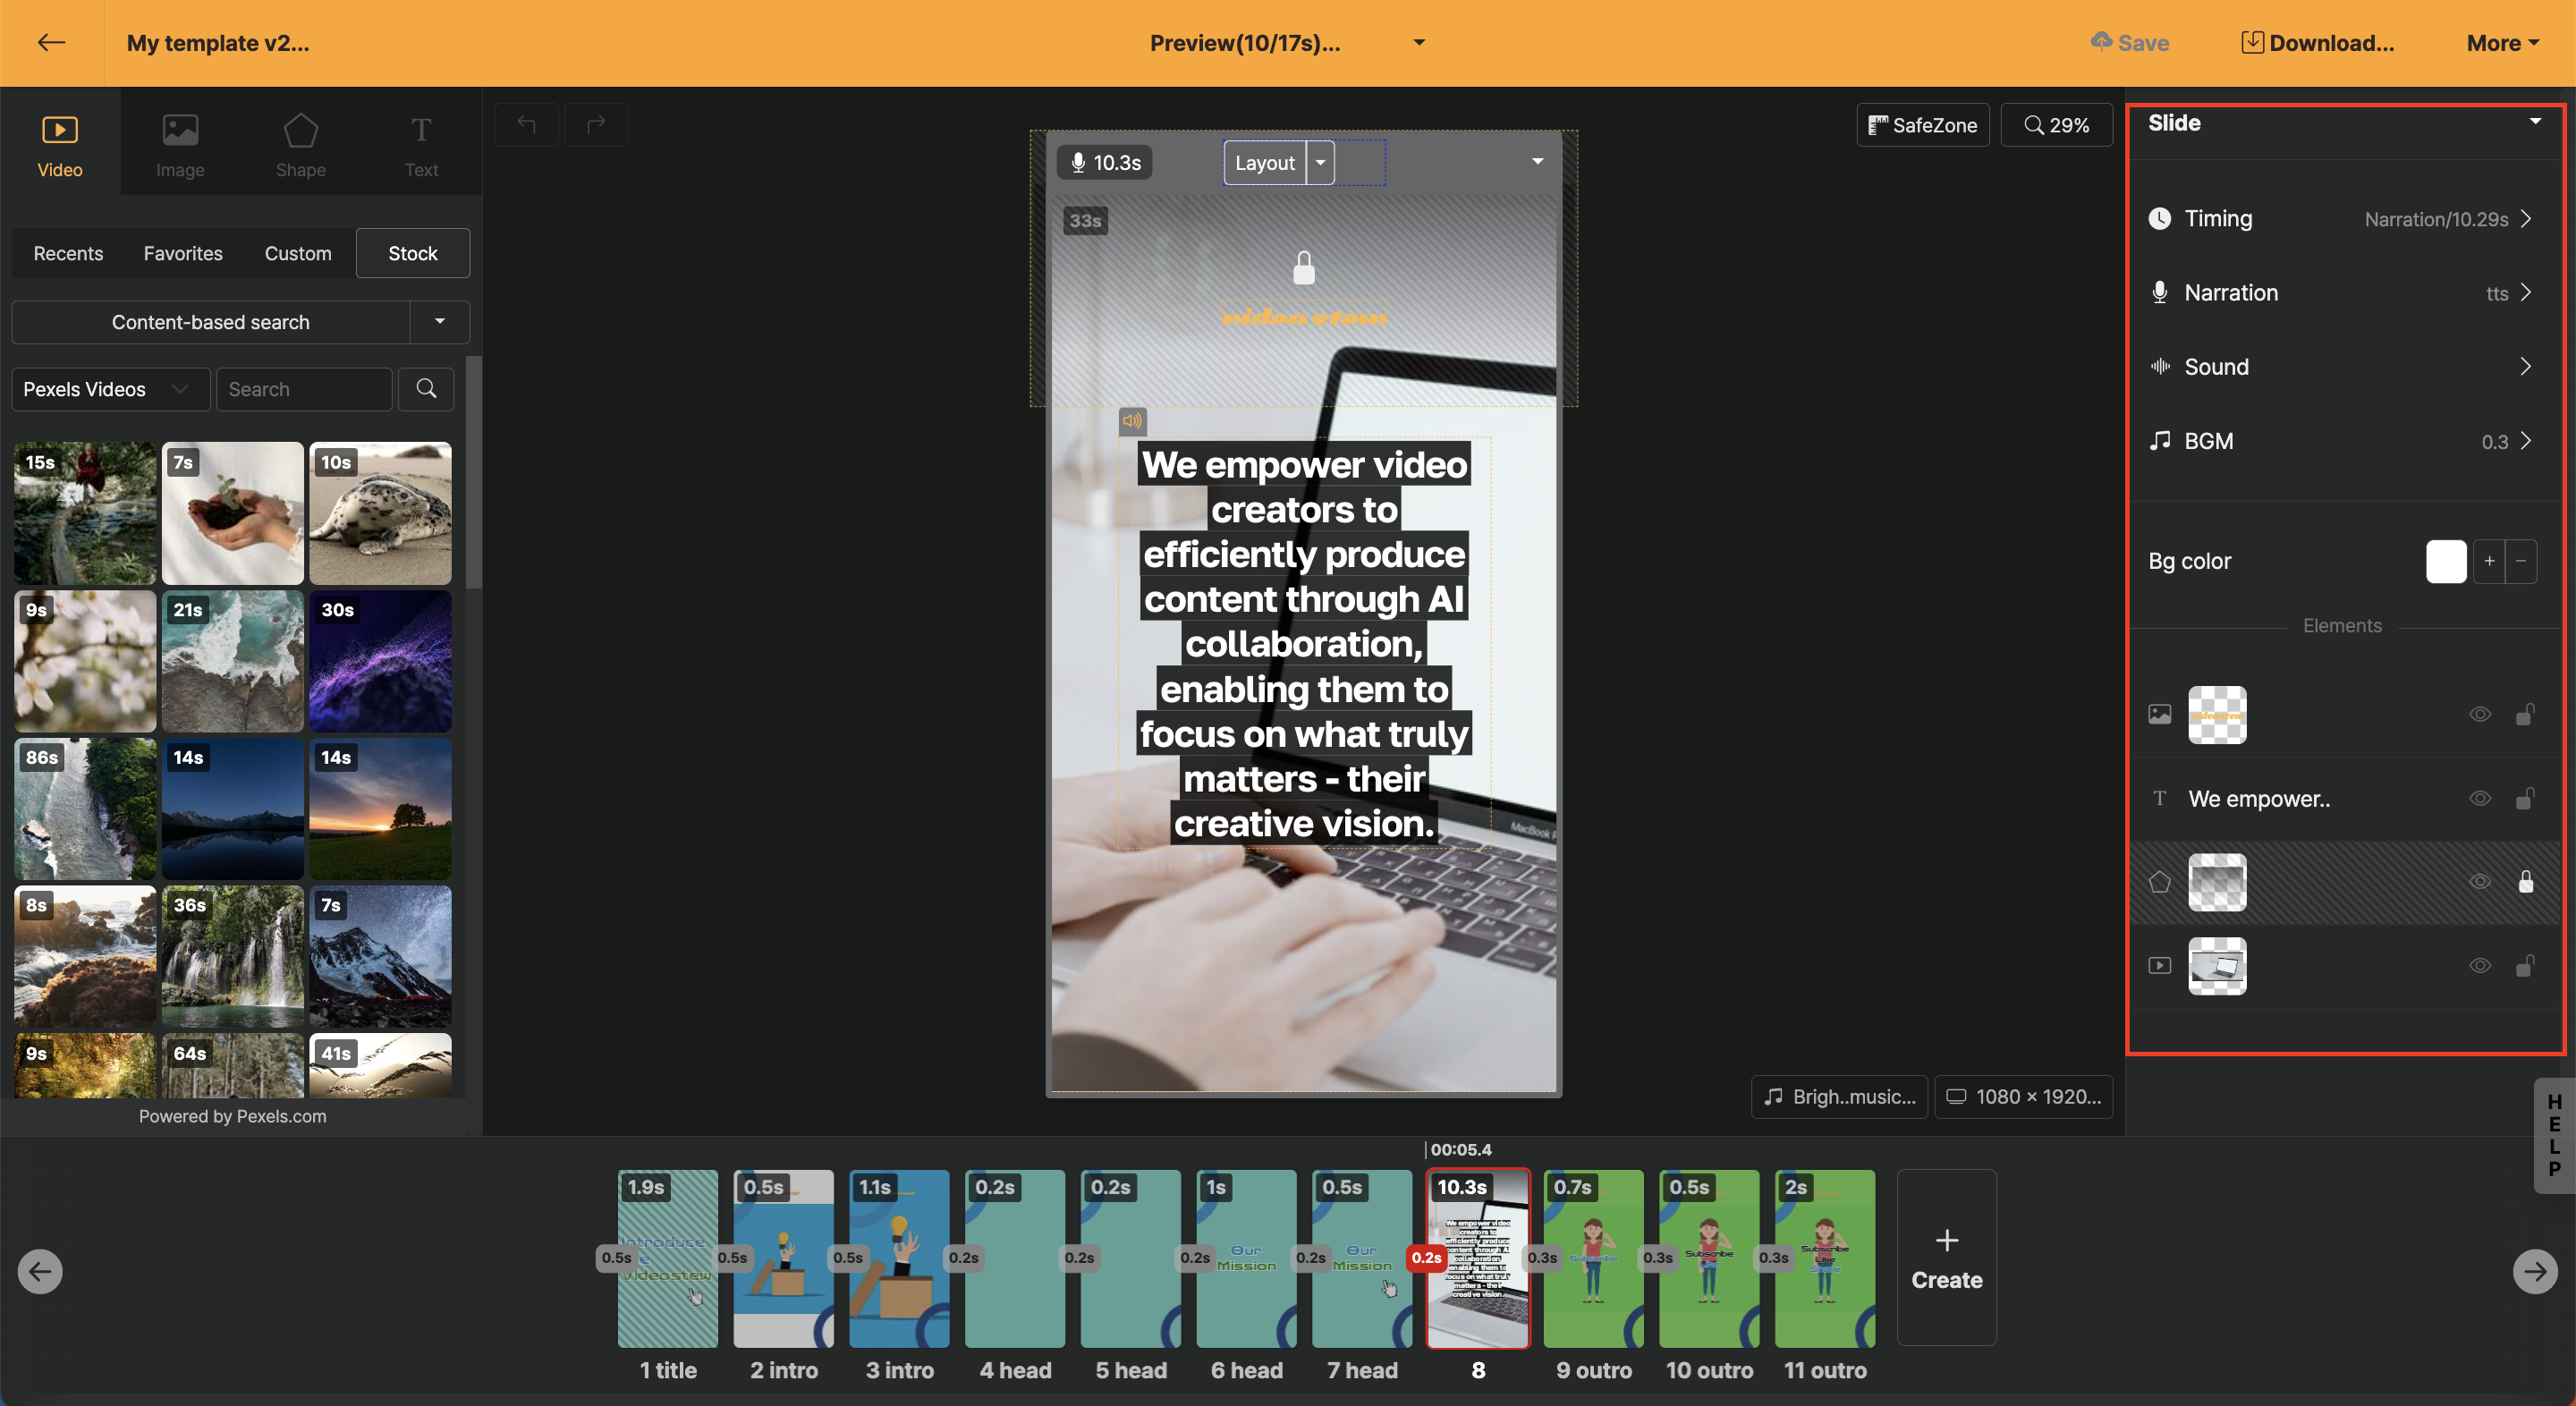
In the properties panel, when nothing is selected, you can edit the properties for the "slide" itself; when you select a text or image element, you can change the settings for that element.
In the lower "Element" panel, you can change the order of elements currently being used in the upper stage by dragging and dropping, or you can click the pause button to ensure that specific elements are not edited.
Slide Window
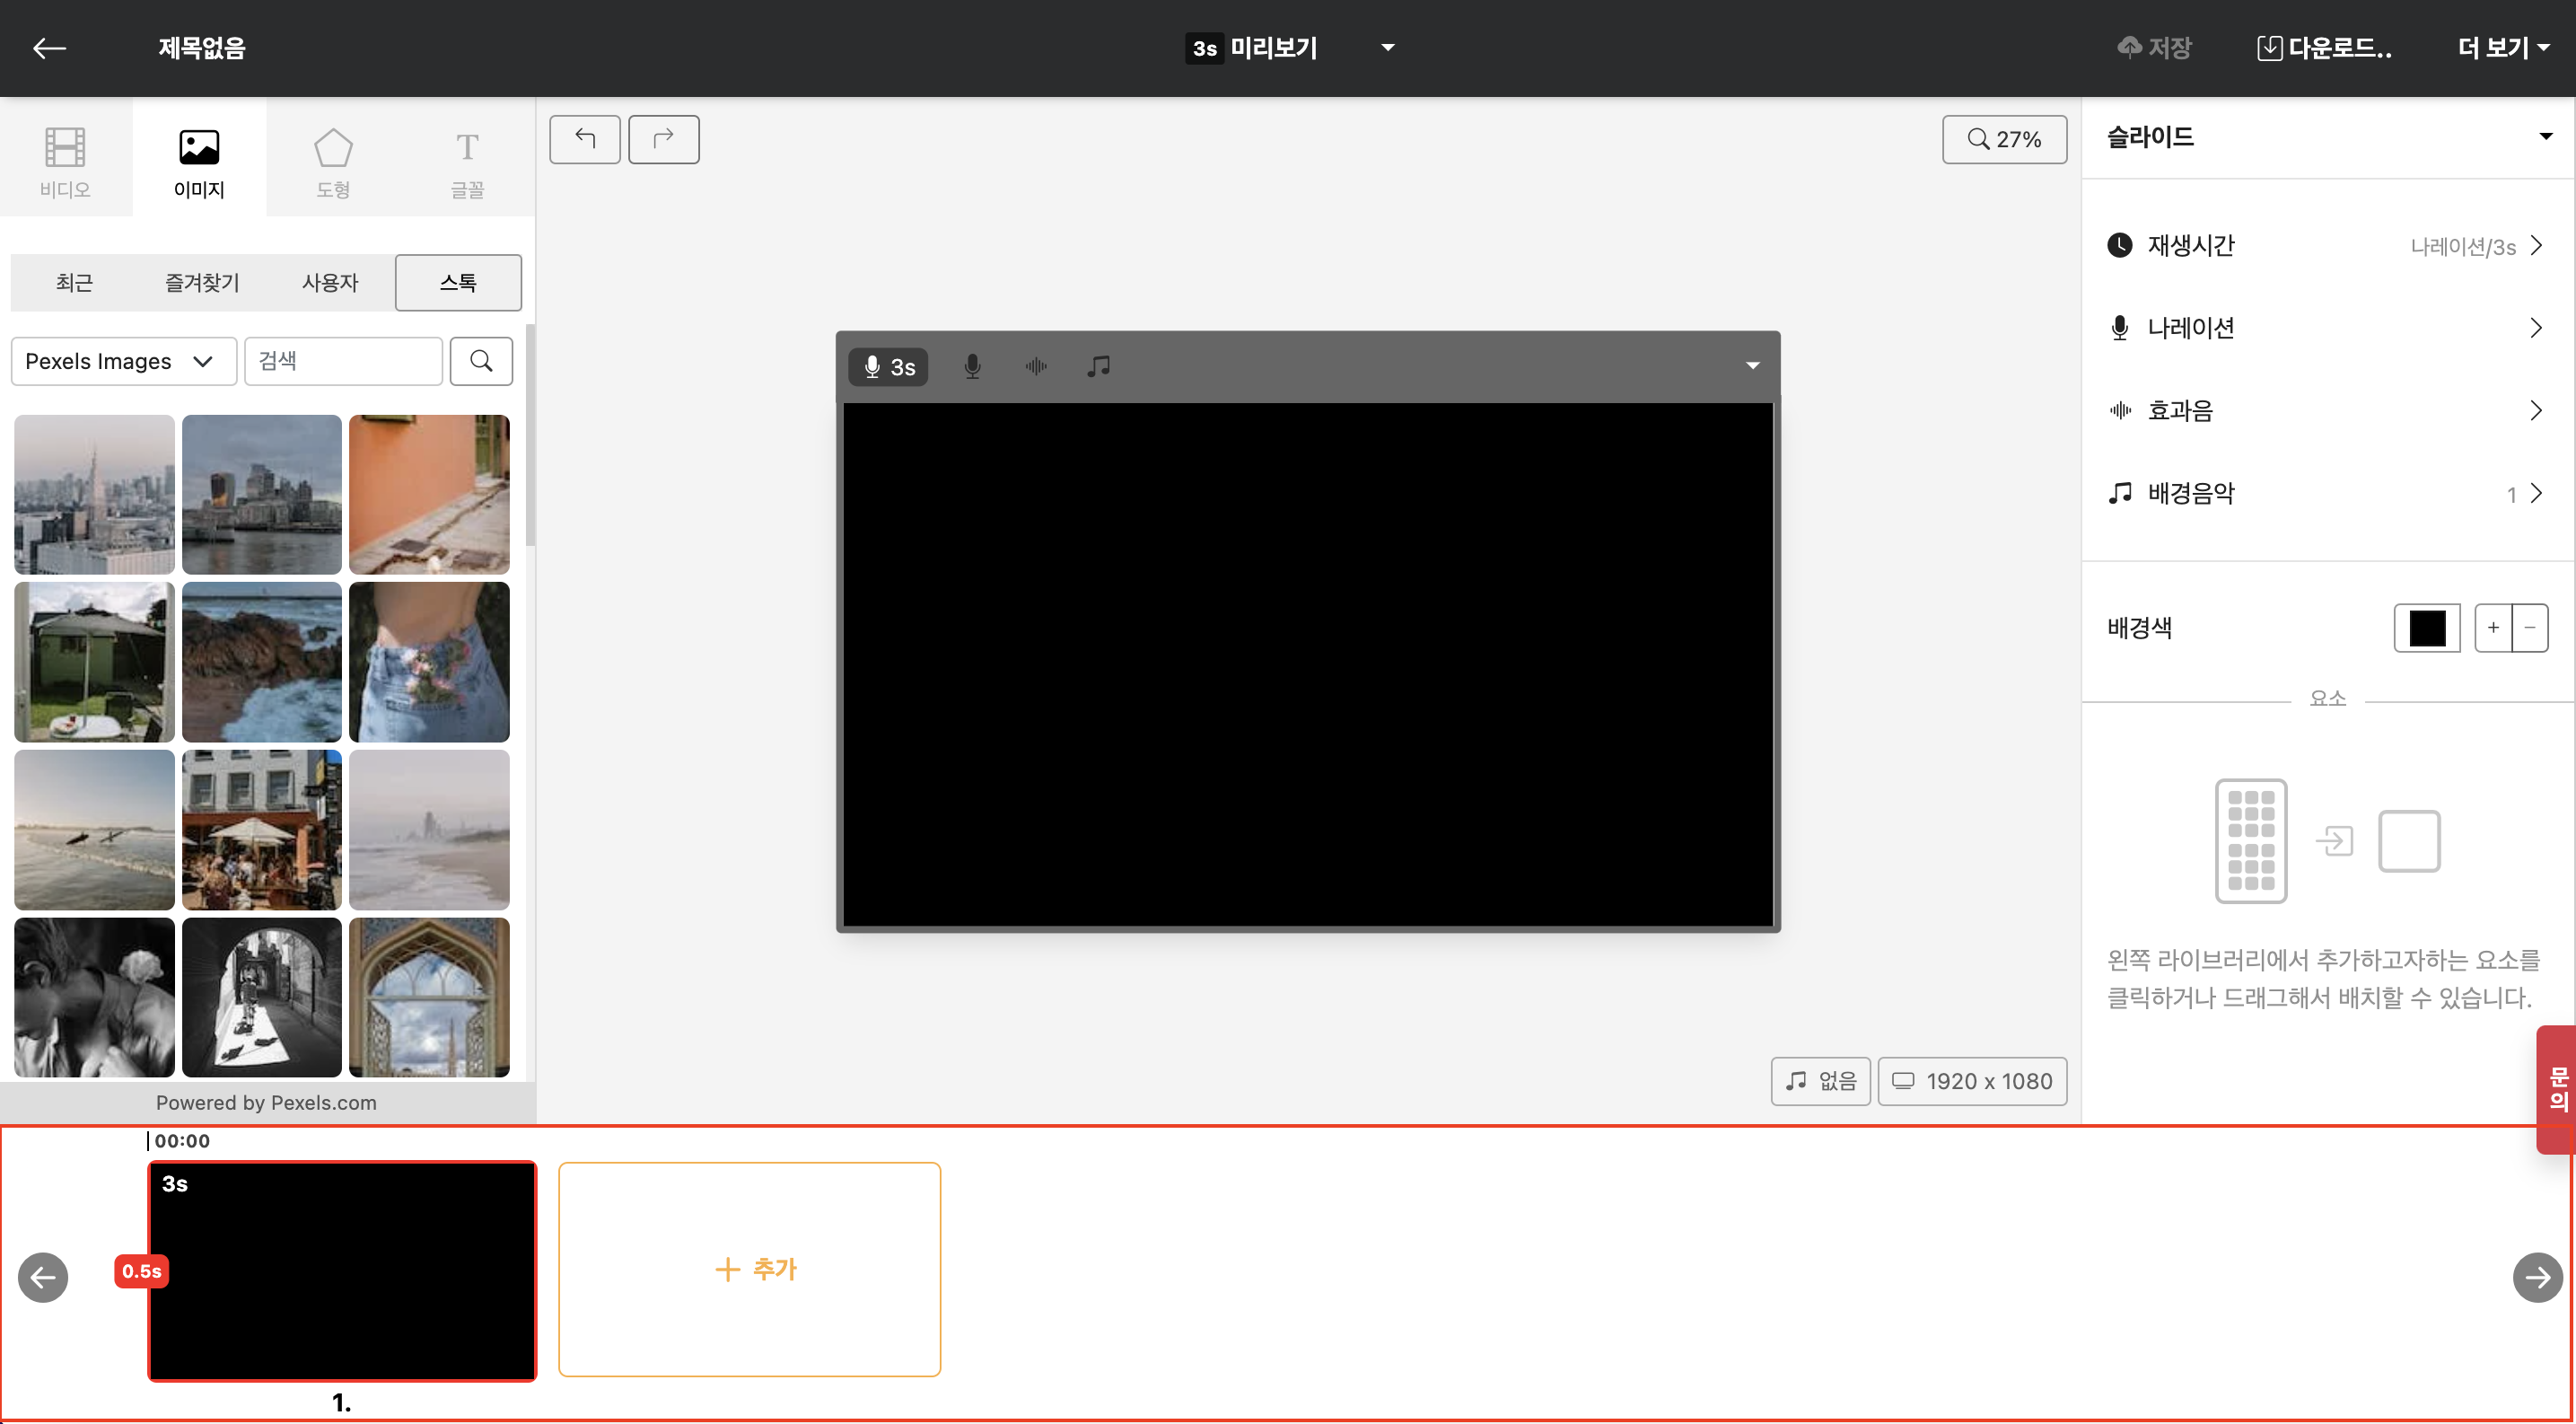
"Add" button allows you to keep adding new slides to create your video. You can select multiple slides at once for editing by holding the shift key and selecting the slides you wish to edit.
문의 (채팅상담)
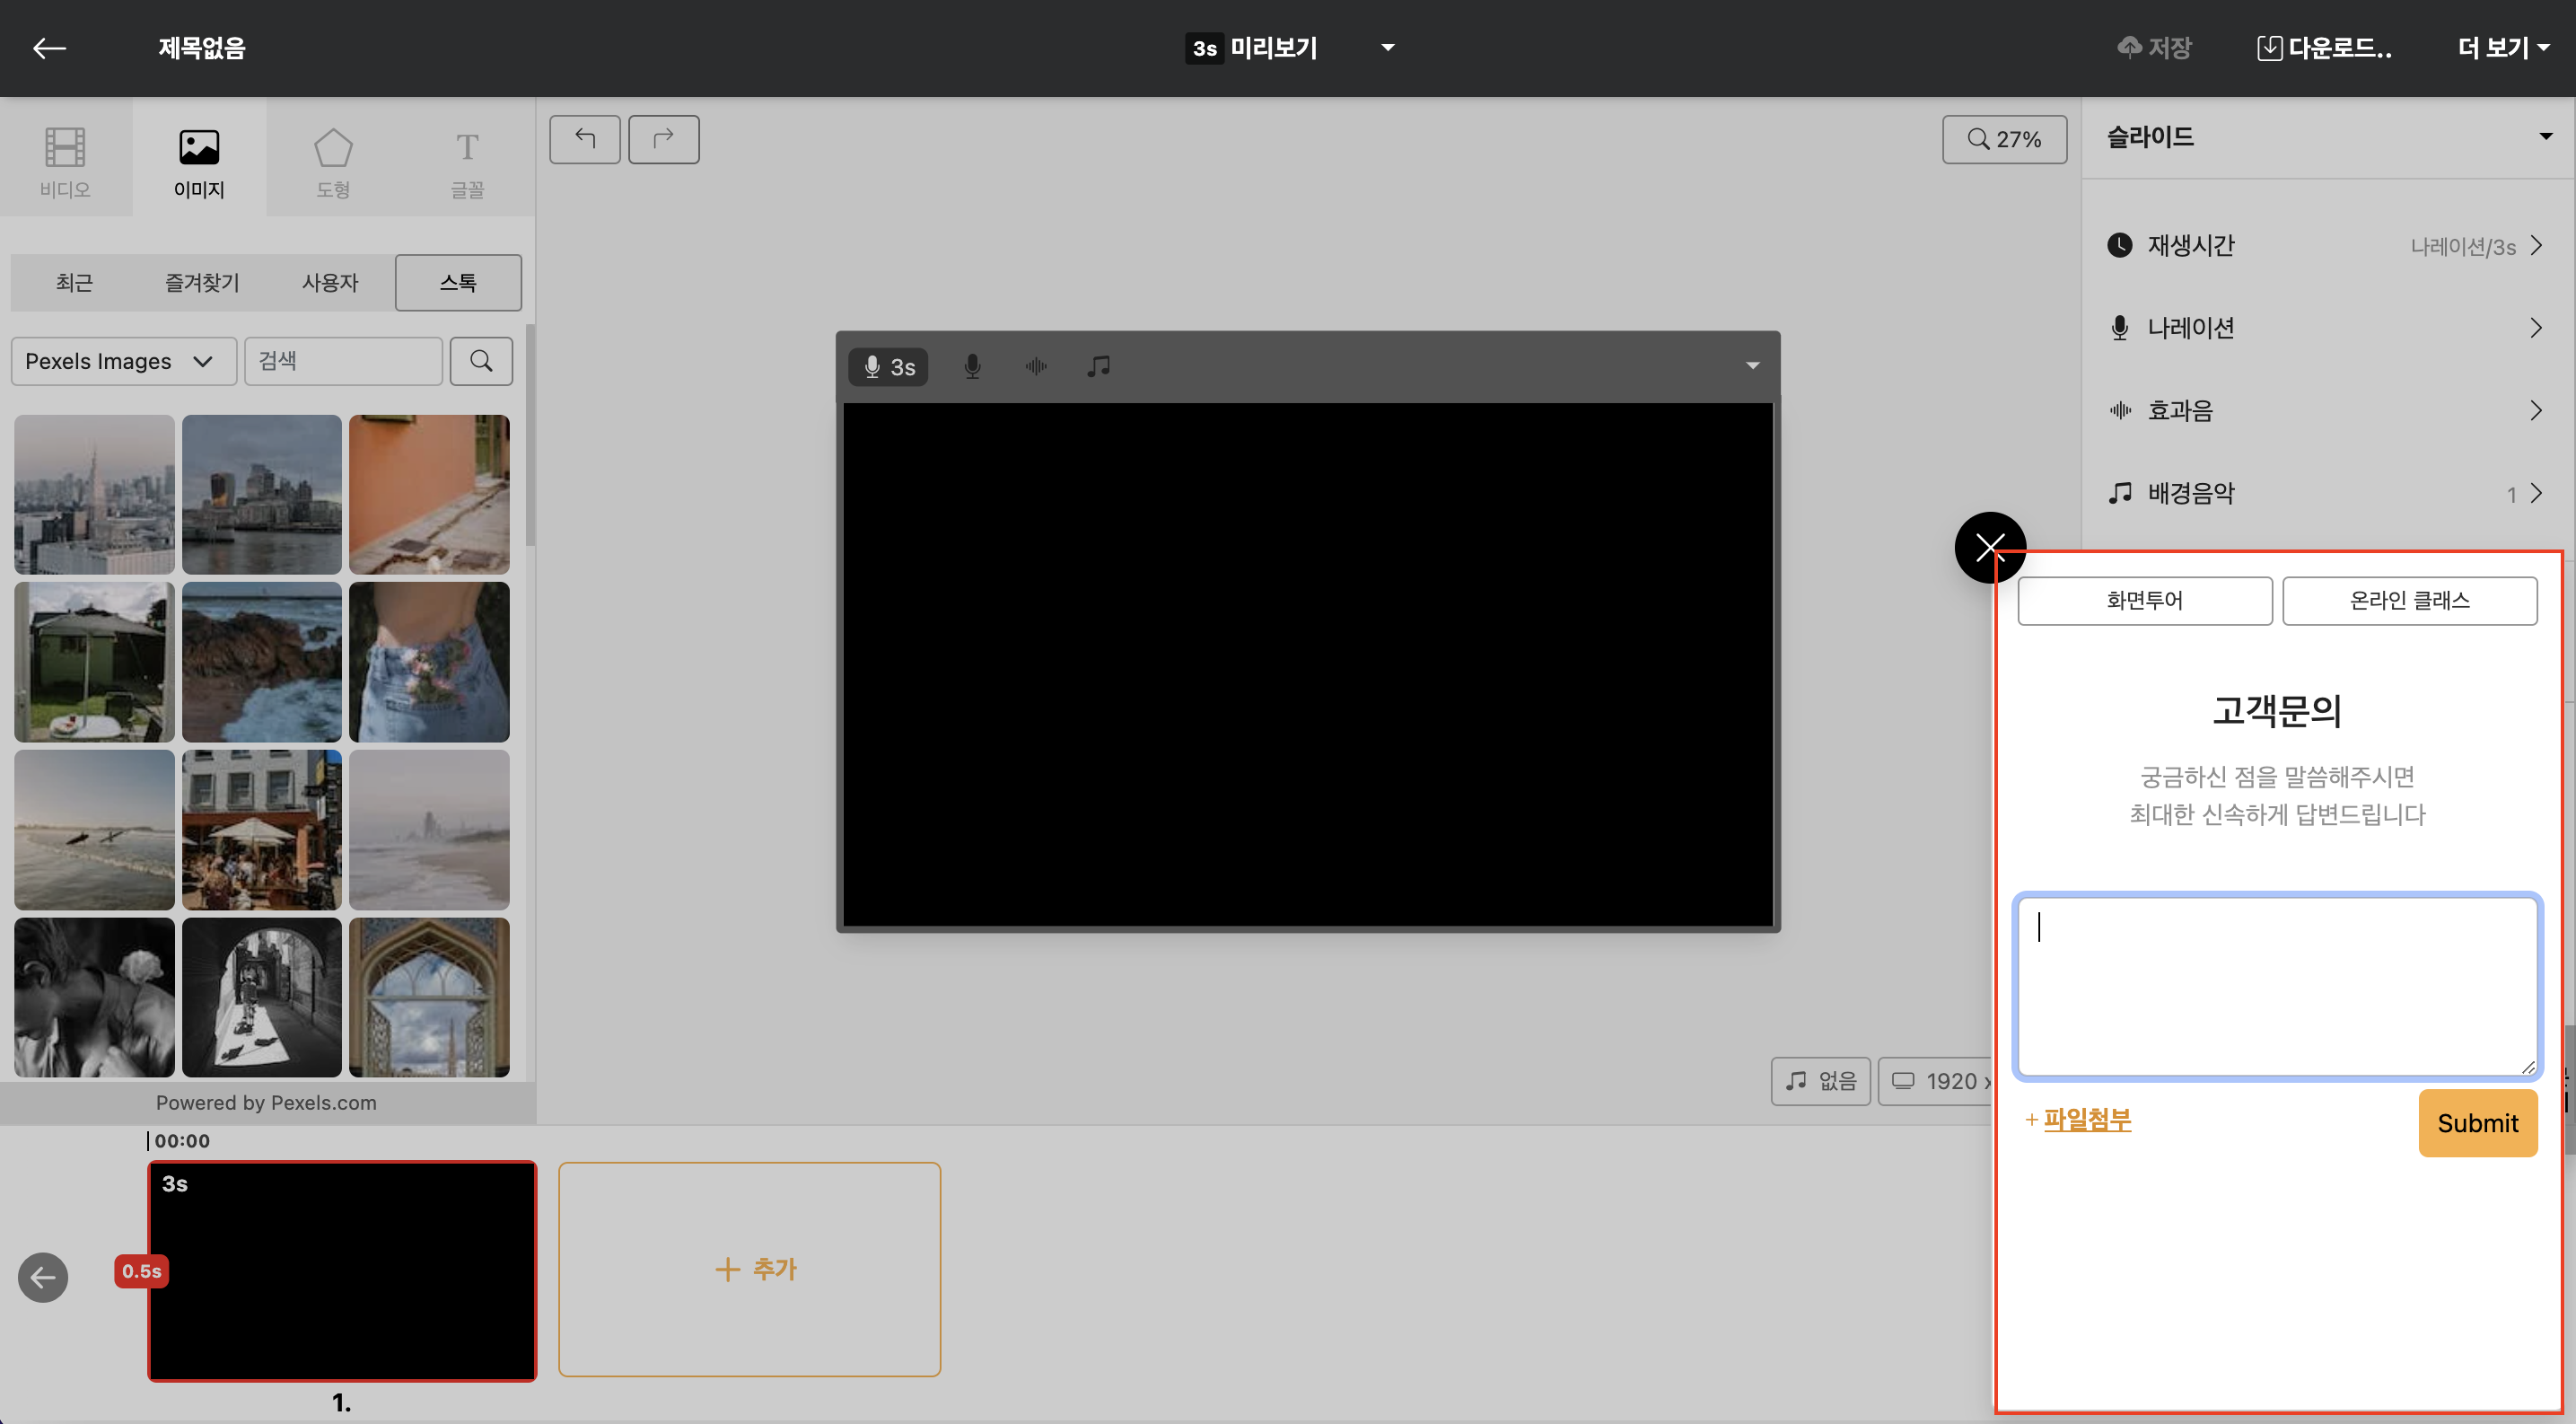
Have questions during your work? Ask us in real-time chat. We'll quickly resolve your curiosities while you're working on your project after customer agreement.
