Guide
Creating My Template
In the editing screen, you can enter keywords like intro or outro into each slide note to create reusable templates. These templates with predefined slide notes will remain as they are when [starting with widget mode], so if you create intro or outro videos that fit my channel in advance, it becomes easier.

< Set layout-specific objectives using slide notes >
Specifying Slide Notes
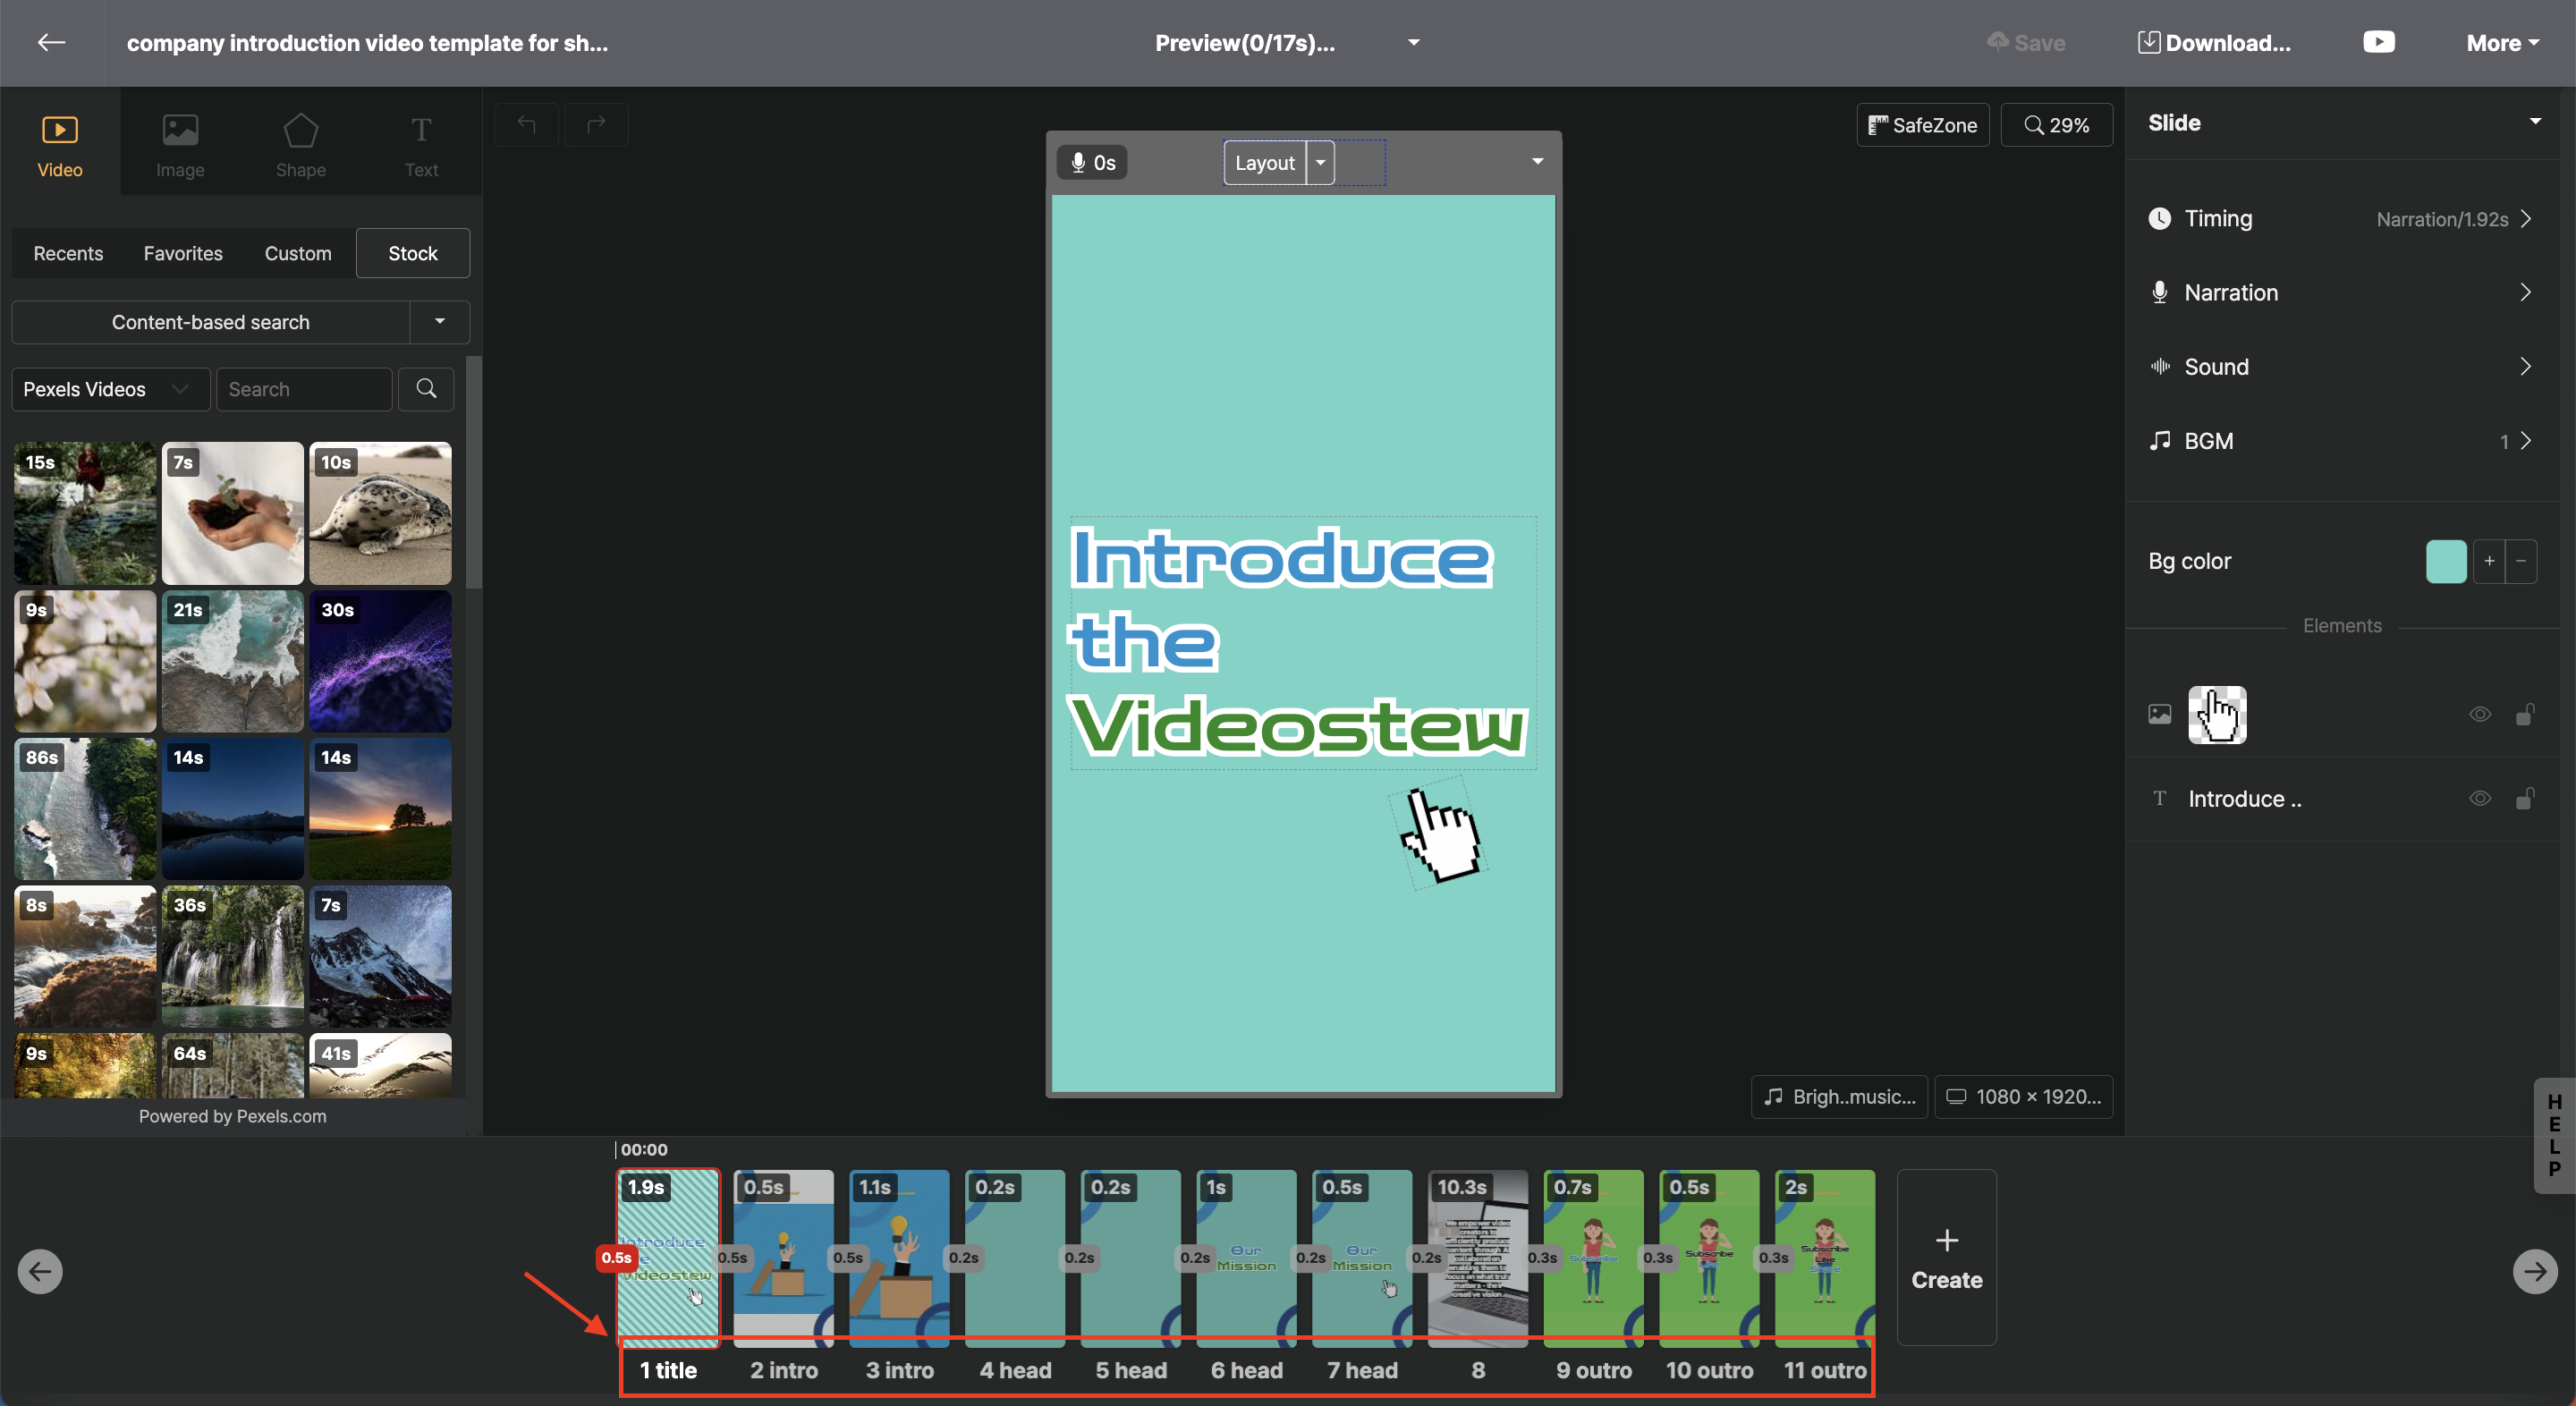
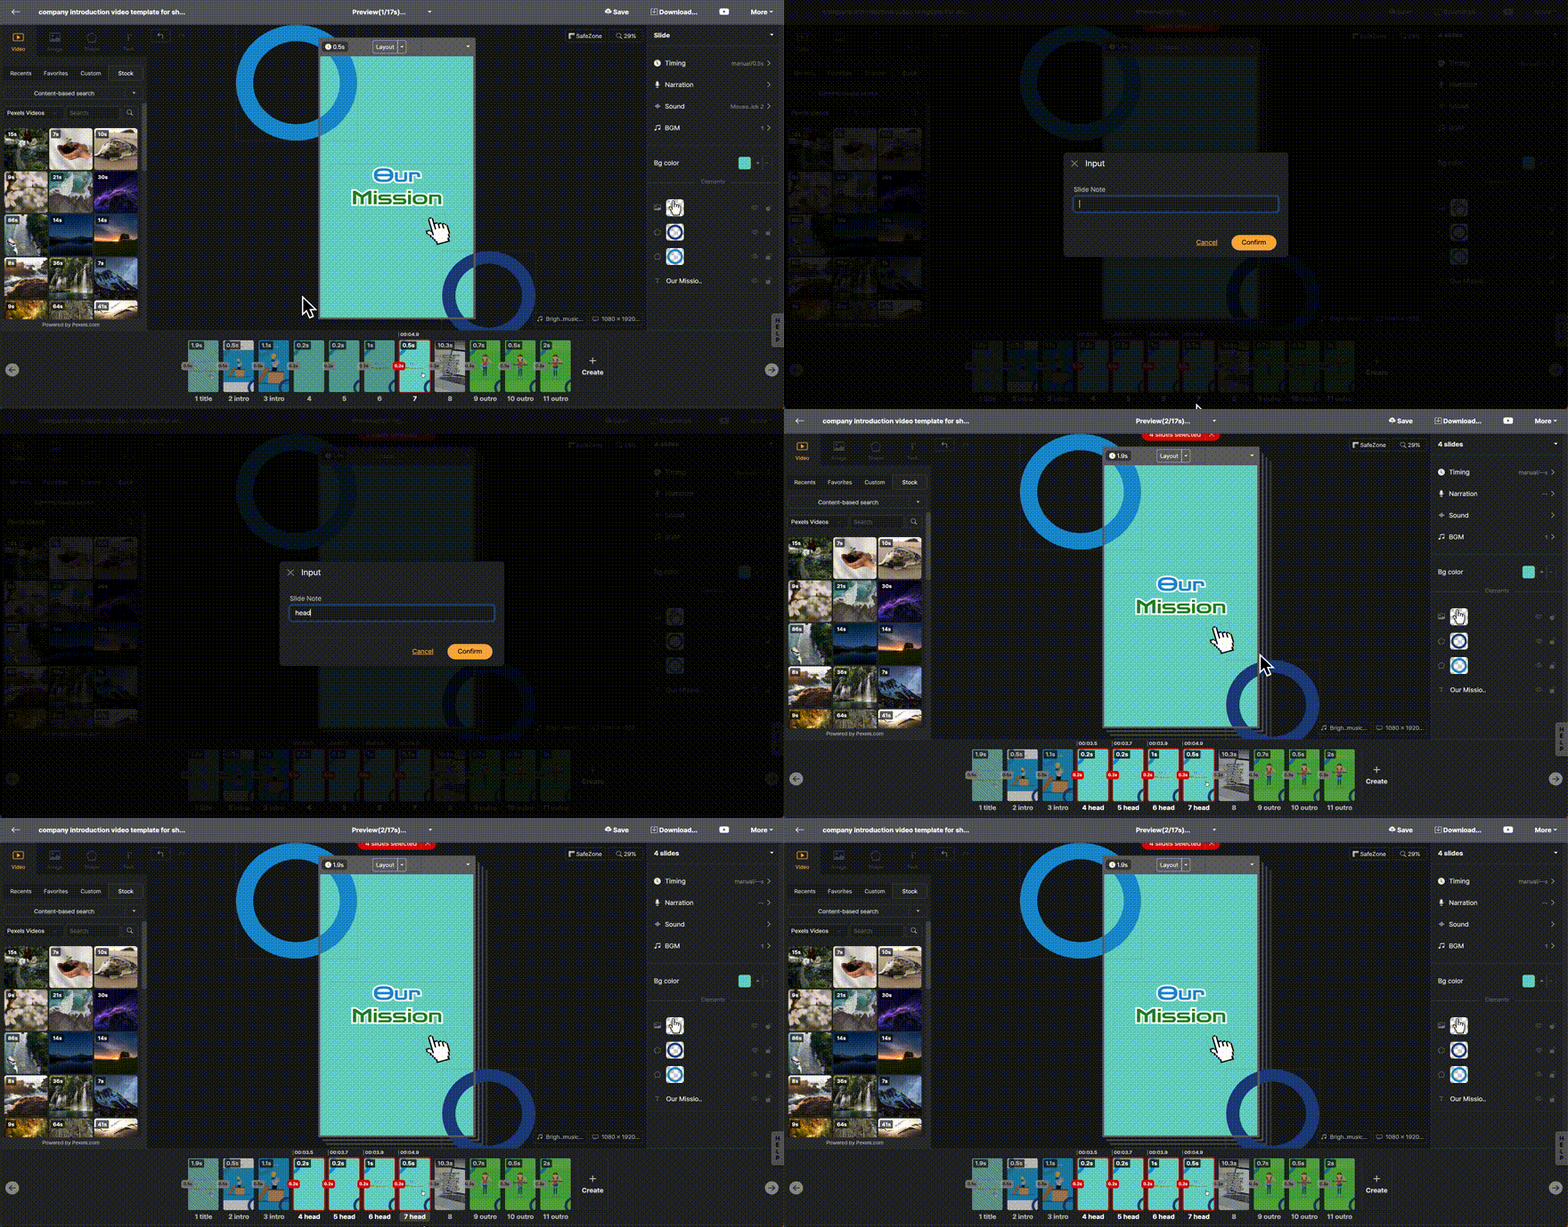
First, create a new project or open a project that you have already worked on. The first thing to do is to specify slides that will be repeatedly used as intros and outros, as well as the thumbnail images. When you click the number in the Slide Window, the 'Slide Note' menu appears. Here, you can assign the role for each slide.
The available slide note types are as follows.
| Code | Role |
|---|---|
| title | Specify the first slide of the project for the thumbnail. It will not be included in the actual video as it is excluded from rendering. |
| intro | Use to display the channel logo or convey important core messages |
| head | A slide for expressing transitions between scenes or the sequence of first, second, etc., in the middle of content |
| body (optional) | A new script will be applied to the slide |
| outro | Placed at the end of the project and used for CTA (likes, subscription requests) |
When using the [start with this template] function from my past works, if no slide note like intro or outro is specified, the [wizard mode] will not be invoked. If it's a template that doesn't use separate intro or outro, a slide named body is needed.

Start editing videos with my templates
The way to start video editing by inserting a new script into a template made just for me is in two ways.
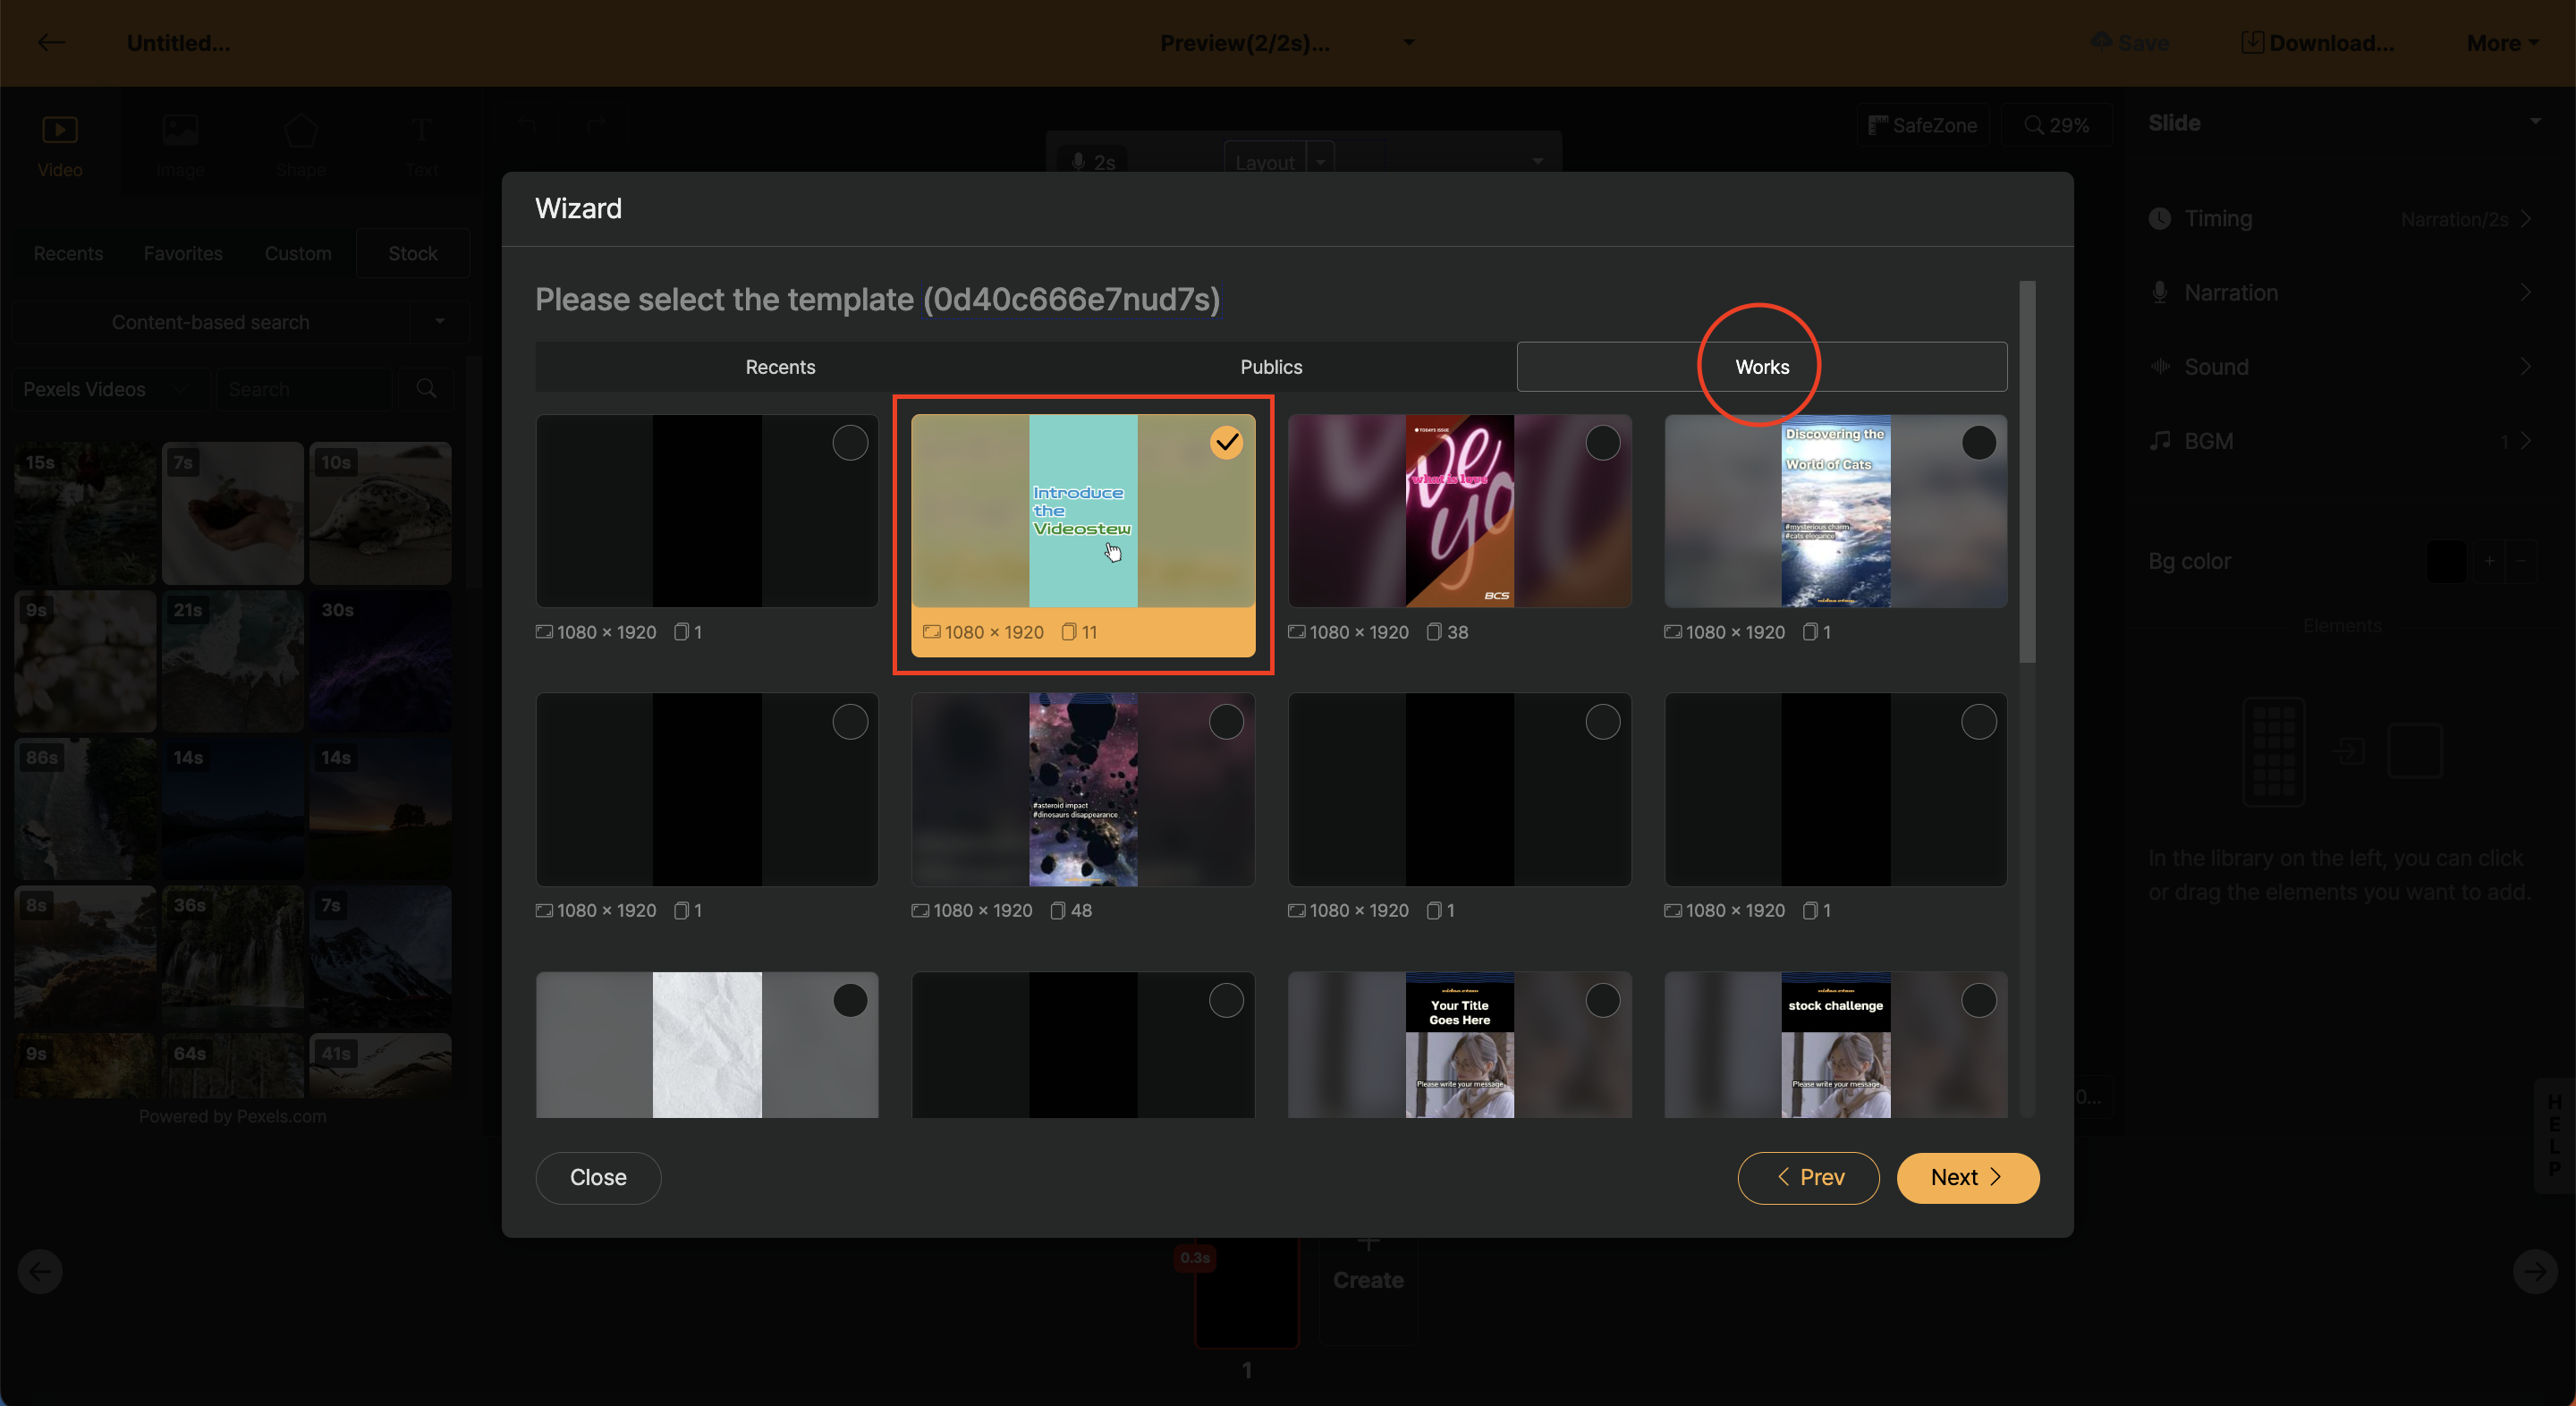
Select My Past Projects in Wizard Mode
When you start a new project, you can begin editing your video by entering the title and content through the wizard mode. At this time, if you select my works in the final step, you will see the projects that you and others have edited in the past.

You can choose a project that will be utilized as a template among these.
Start video editing easily with a template from My Project List
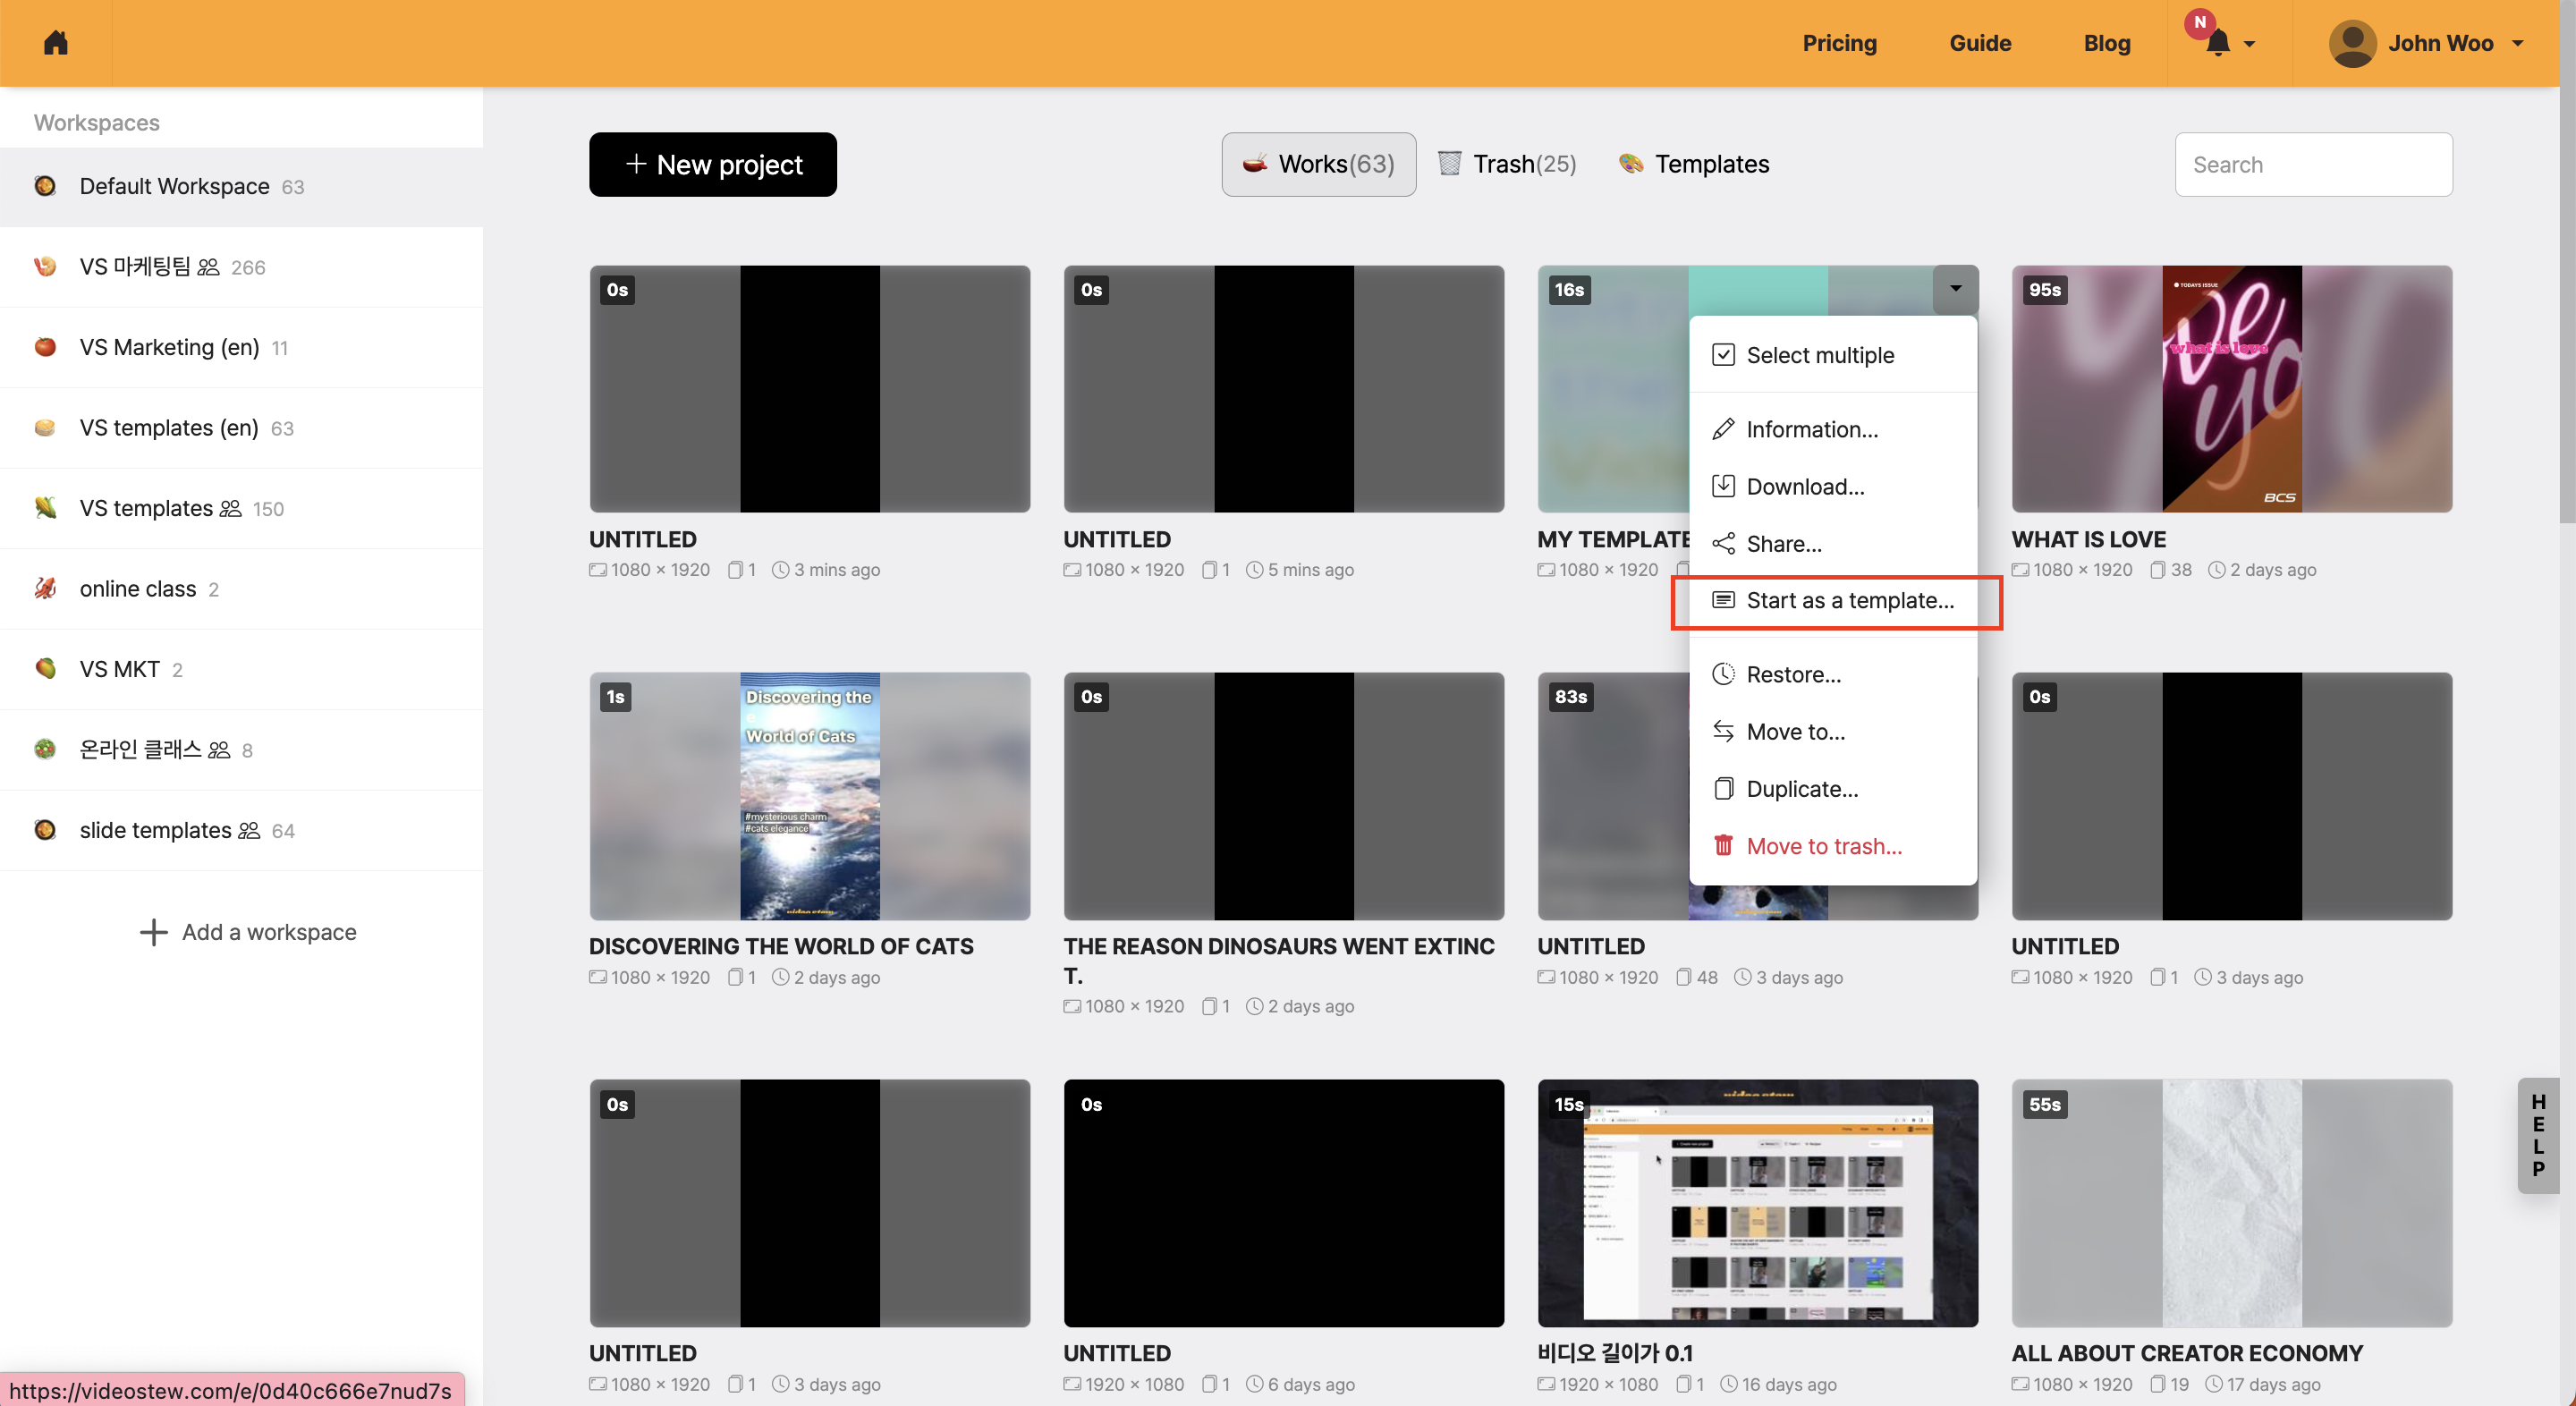
The second method is to open the drop-down menu of the projects you want to use as templates in the project list and start the project immediately with the Start with this template function.

< Start with this template >