Guide
Utilizing Voice Recording Feature
Videostew allows you to record multiple voices directly or upload pre-recorded files for use instead of AI voice. Shall we look at each method?
Record Yourself
Selecting 'Voice Recording' in the narration allows you to record voices immediately through your computer.
<3, 2, 1 After recording starts!>
When recording yourself, you can press the → key on your keyboard to continue recording into the next slide seamlessly. Think of it as naturally narrating while watching a PowerPoint slide. And once the recording is done, you can press the ESC key or click the "Stop Recording" button to finish the recording.
Utilizing Recorded Files
Uploading MP3 Files
If you have recorded using a different solution, you can directly upload the recorded file (MP3) to Videostew for use. After clicking "Navigation > Upload", press "Choose File" to select your MP3 file.

<Add User's Sound Files>
Applying Audio Files to the Entire Slideshow
In this guide, let's assume the MP3 file is not existing separately for each slide, but rather as a complete audio file for the whole presentation. First, select all the slides to edit at once and choose the uploaded audio file. However, the portions to be read for each slide have not yet been set.
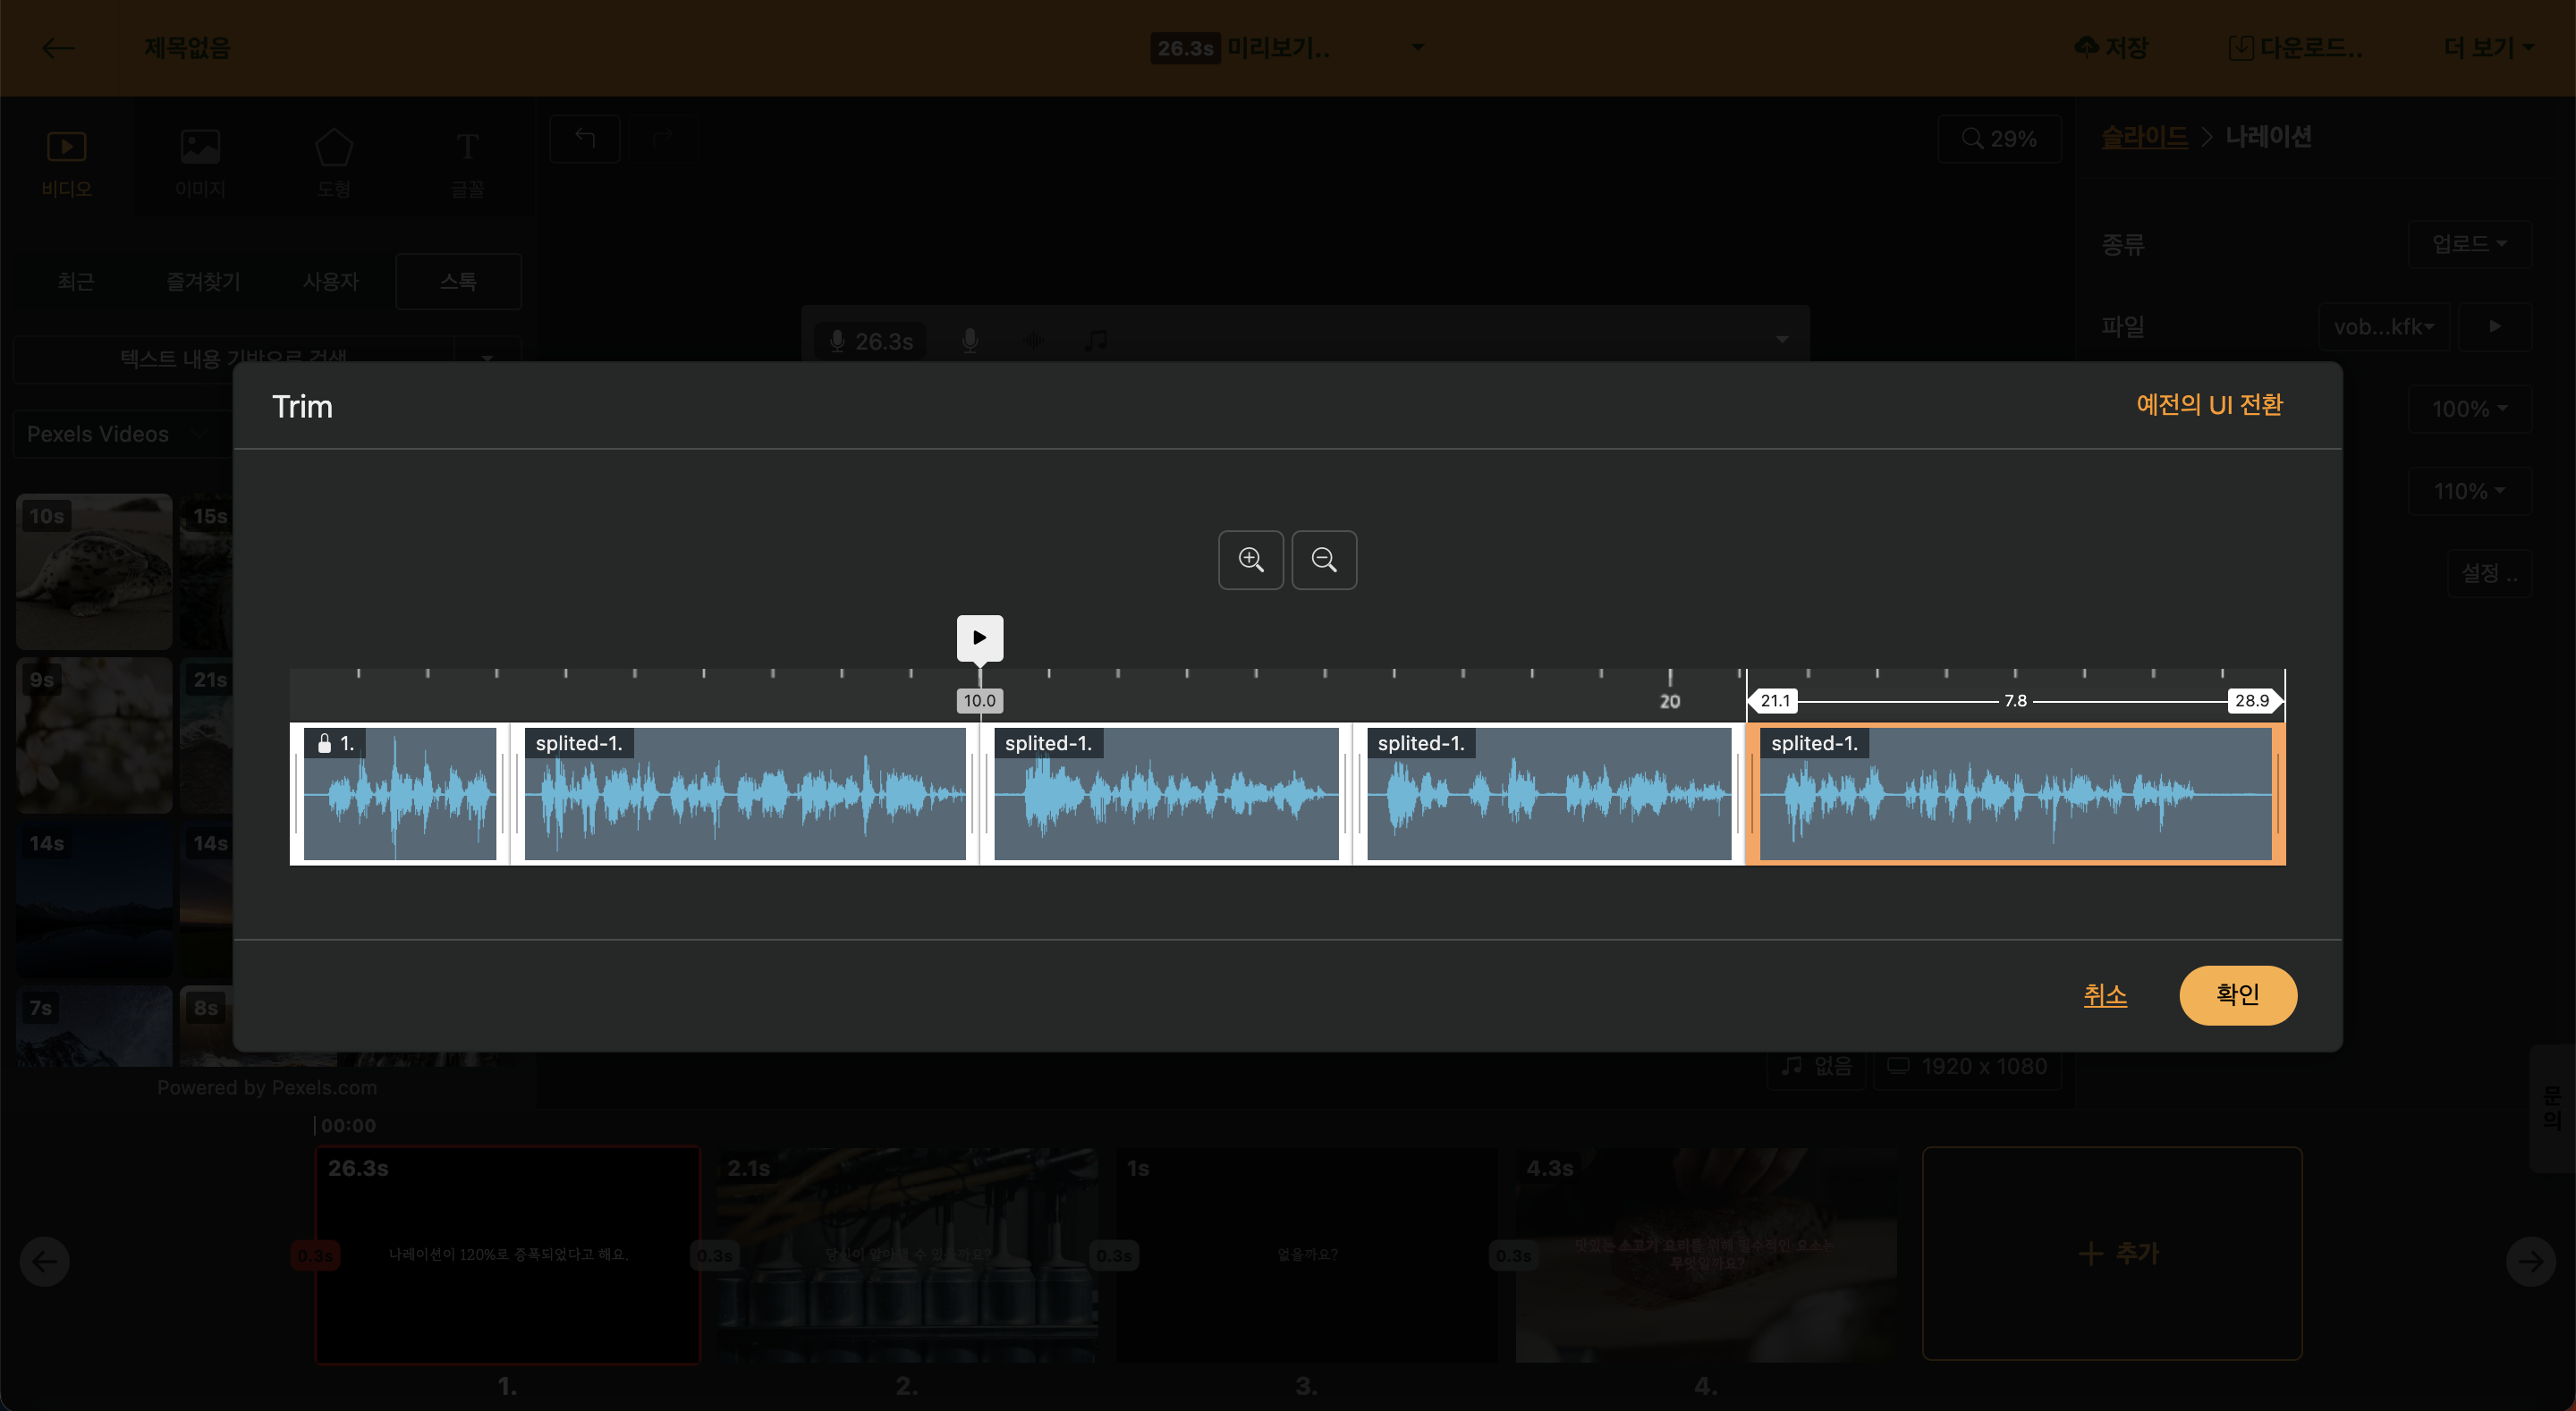
So, for the next step, click 'All' next to 'Narration > Playback Interval' to set the 'Falling Interval' for each slide. Once the work is done, you can automatically check that each slide's duration has changed. The trimming method is detailed in Playback Interval (Video Trim), so please refer to that for confirmation.