Guide
Follow the Wizard Mode
When you first learn computer programming, the very first thing you do is not computer theory or history, nor hardware. It starts with printing the letters "Hello World" on the screen.
< Coding starts with Hello World >
Through this, it's a simple feeling of 'I did something at least.' Let's start this way too. If you're not sure where to start with Starting Tutorial, please prepare by detaching this guide or viewing it alongside while editing in Videostew.
Add Project
First, assume you are on the home screen. Click the 'New Project' button at the top.
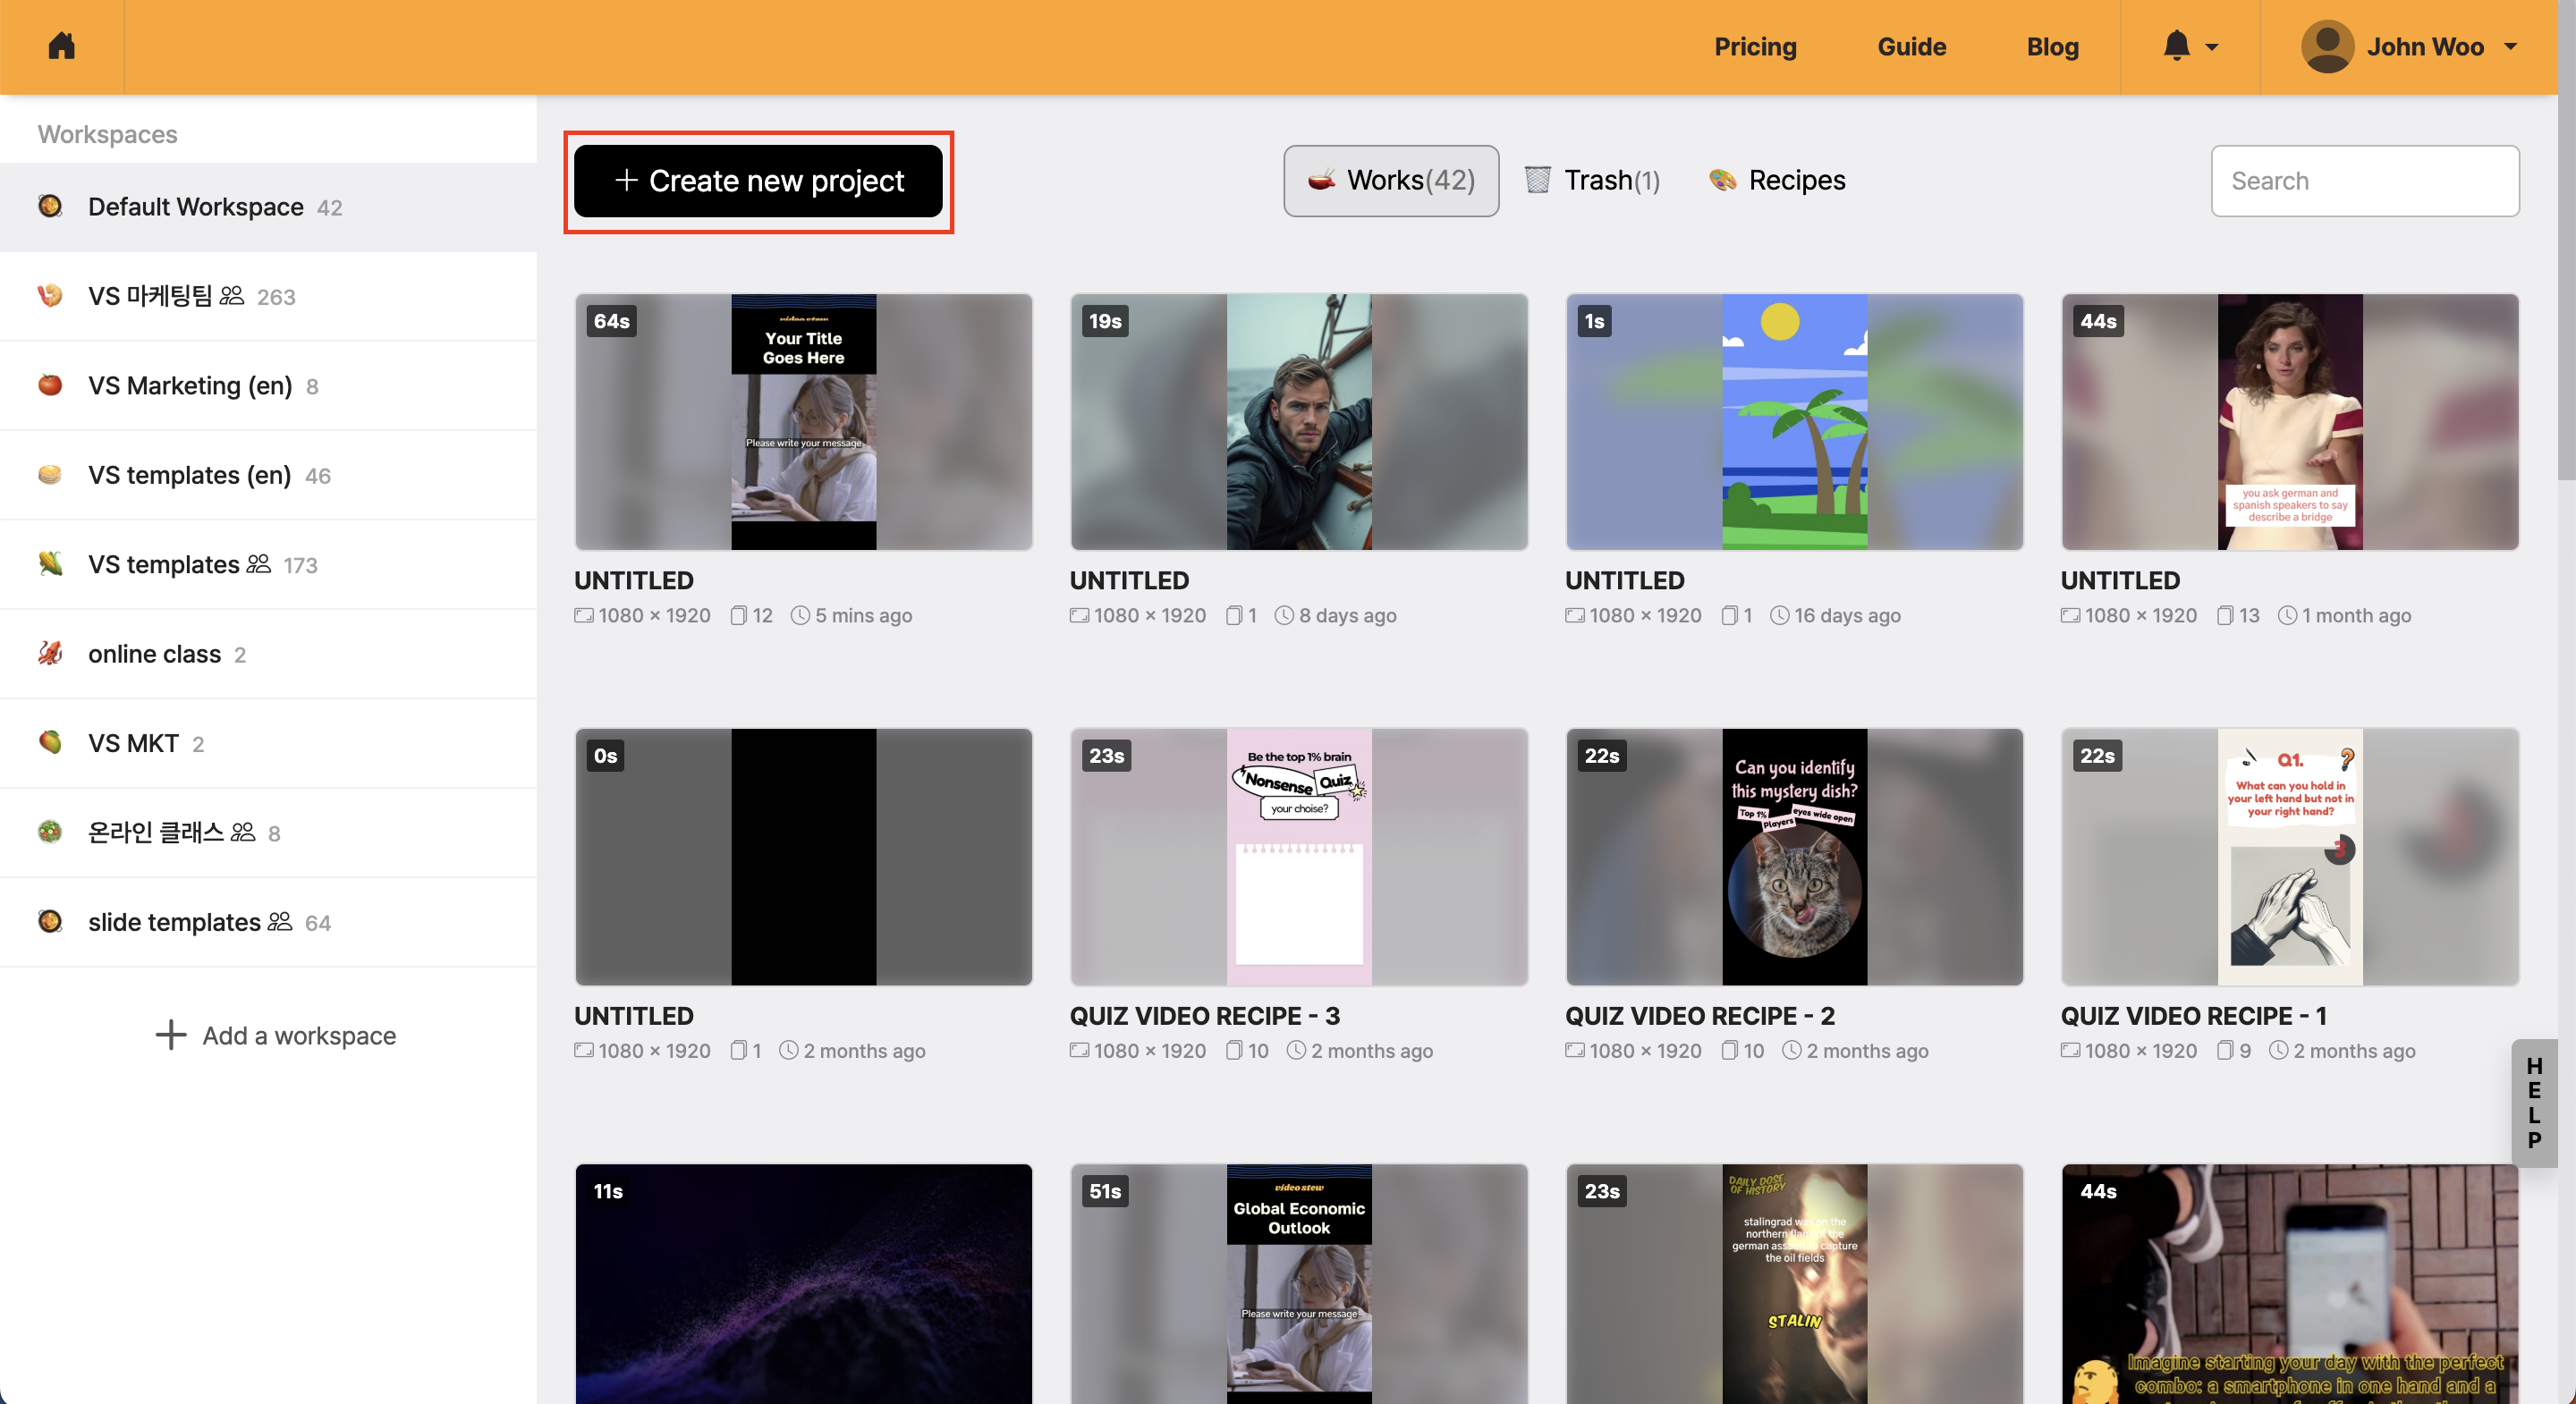
< Create New Project >
Start Wizard Mode
Then the wizard mode will appear automatically. When you add a new project, it will be displayed first. Set the title as "First Project", and then click the "Next" button.

In the next screen, you will adjust the aspect ratio of the video you are going to make. For now, select Short video and proceed to the next step.
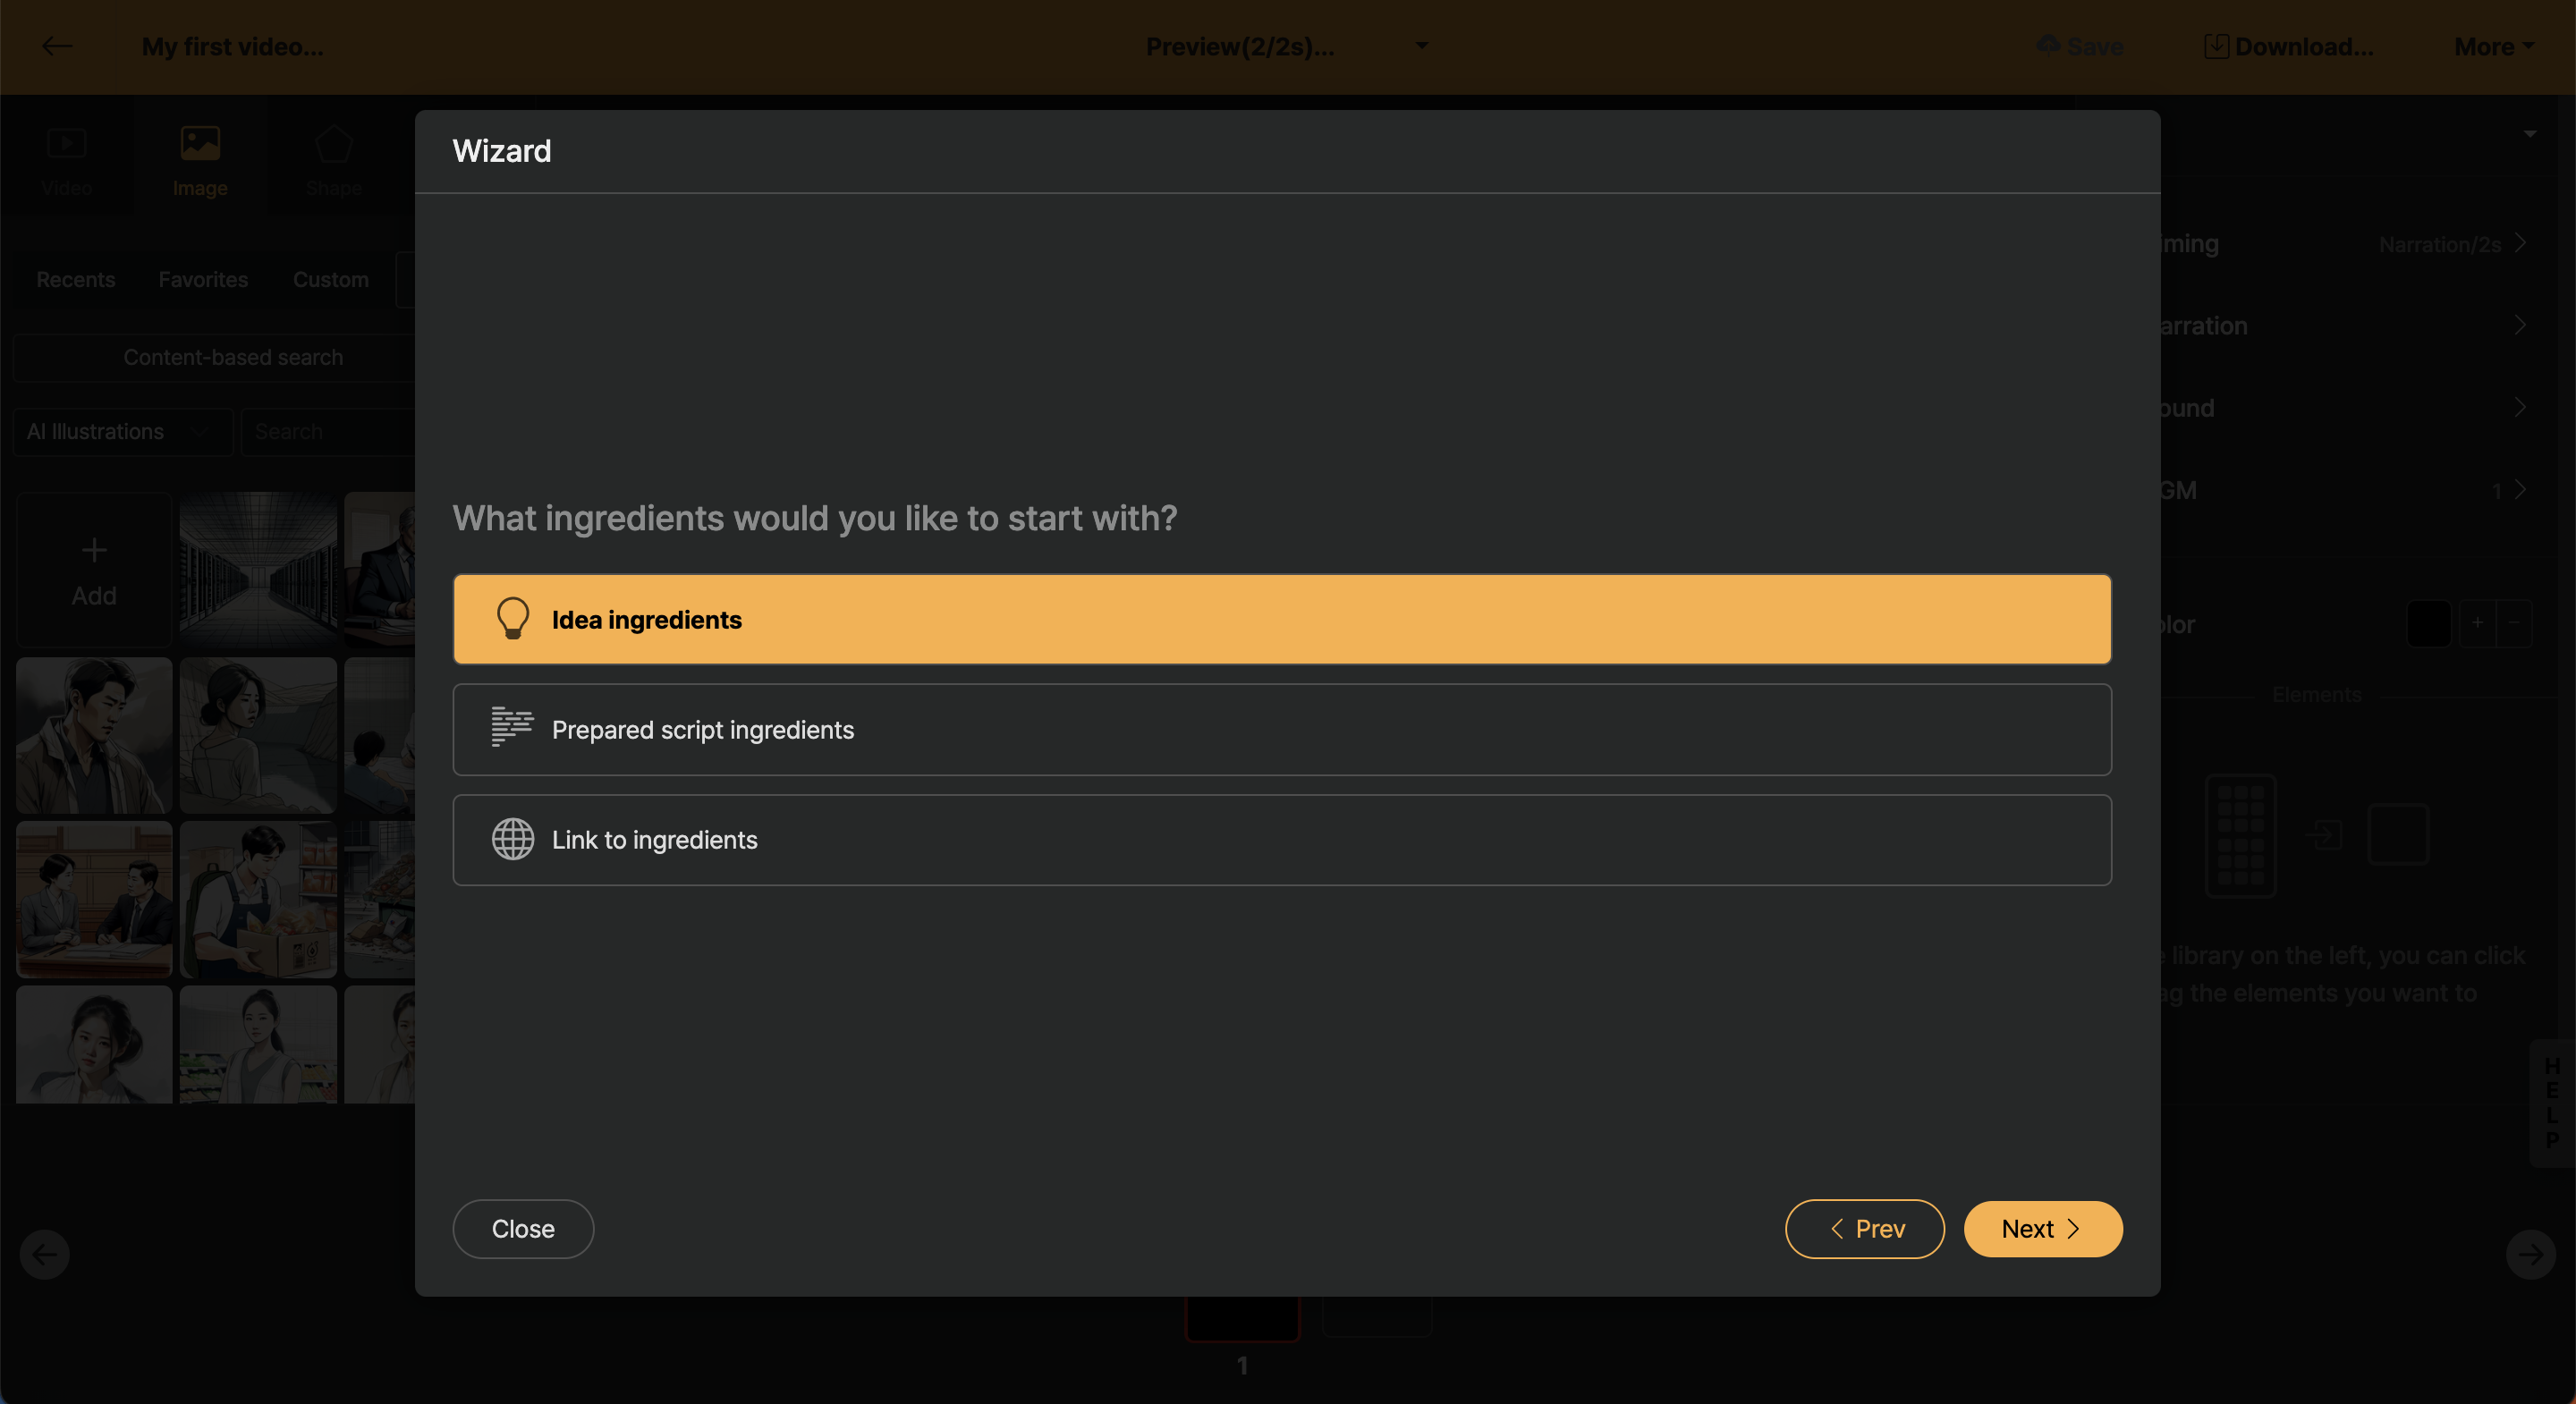
In the next screen, you will find various methods to start editing your video. Now, in the tutorial, select Idea Ingredients to create a script to be used in the video in one go.
Creating a Script
Now, let's create the script that will be used in the video. Set the style to Informational content and create information to refer to, as shown below.
What is well-being?
Definition
Daily tip for it
The script will be generated in each language according to the language entered here.
< Script is automatically generated in text editor >
If there is a part you want to edit additionally, you can edit it. For example, you can use the # key to set subtitles in the middle.
< Directly editing the script >
Select Template
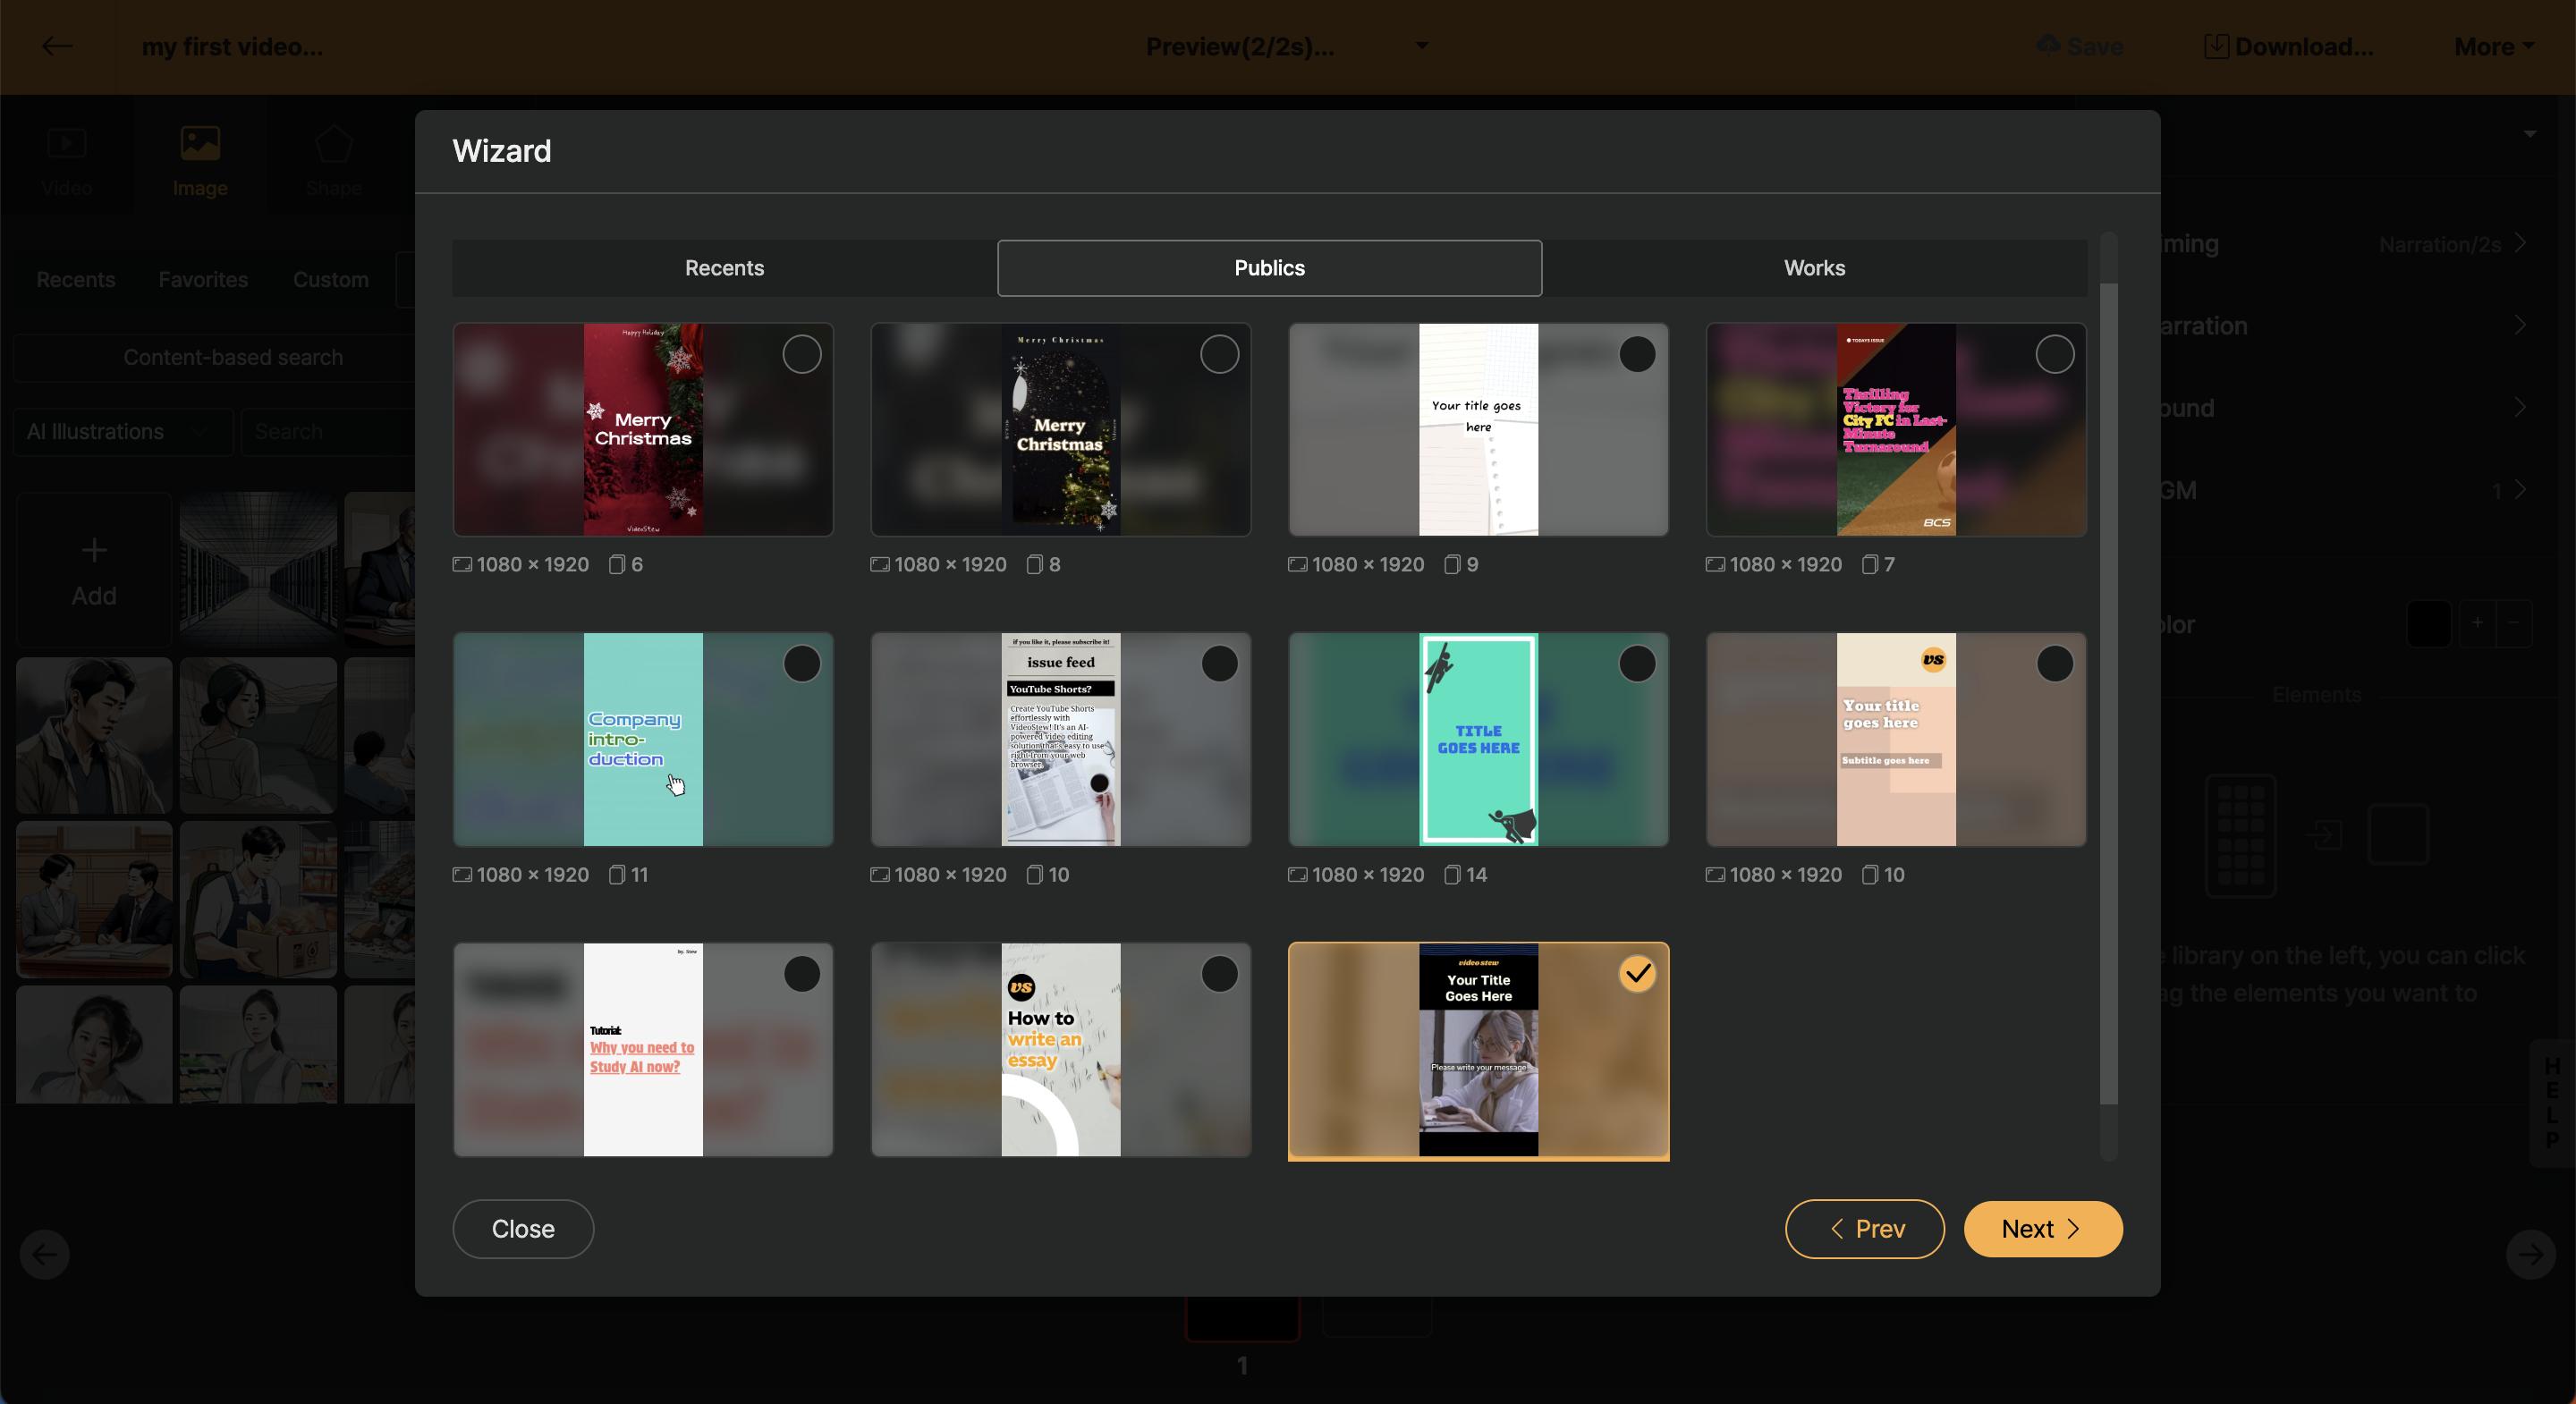
Now my script will be applied to the template, i.e., collage. If the mouse is hovered over, you can check the feeling through the preview.
Mouse Settings
On the final screen, you can briefly review the unique features of the applied template. Here you can configure details such as background music, AI voice, stock library auto-matching, or AI image generation.
Since all of these can also be edited, please make sure to press Done here.
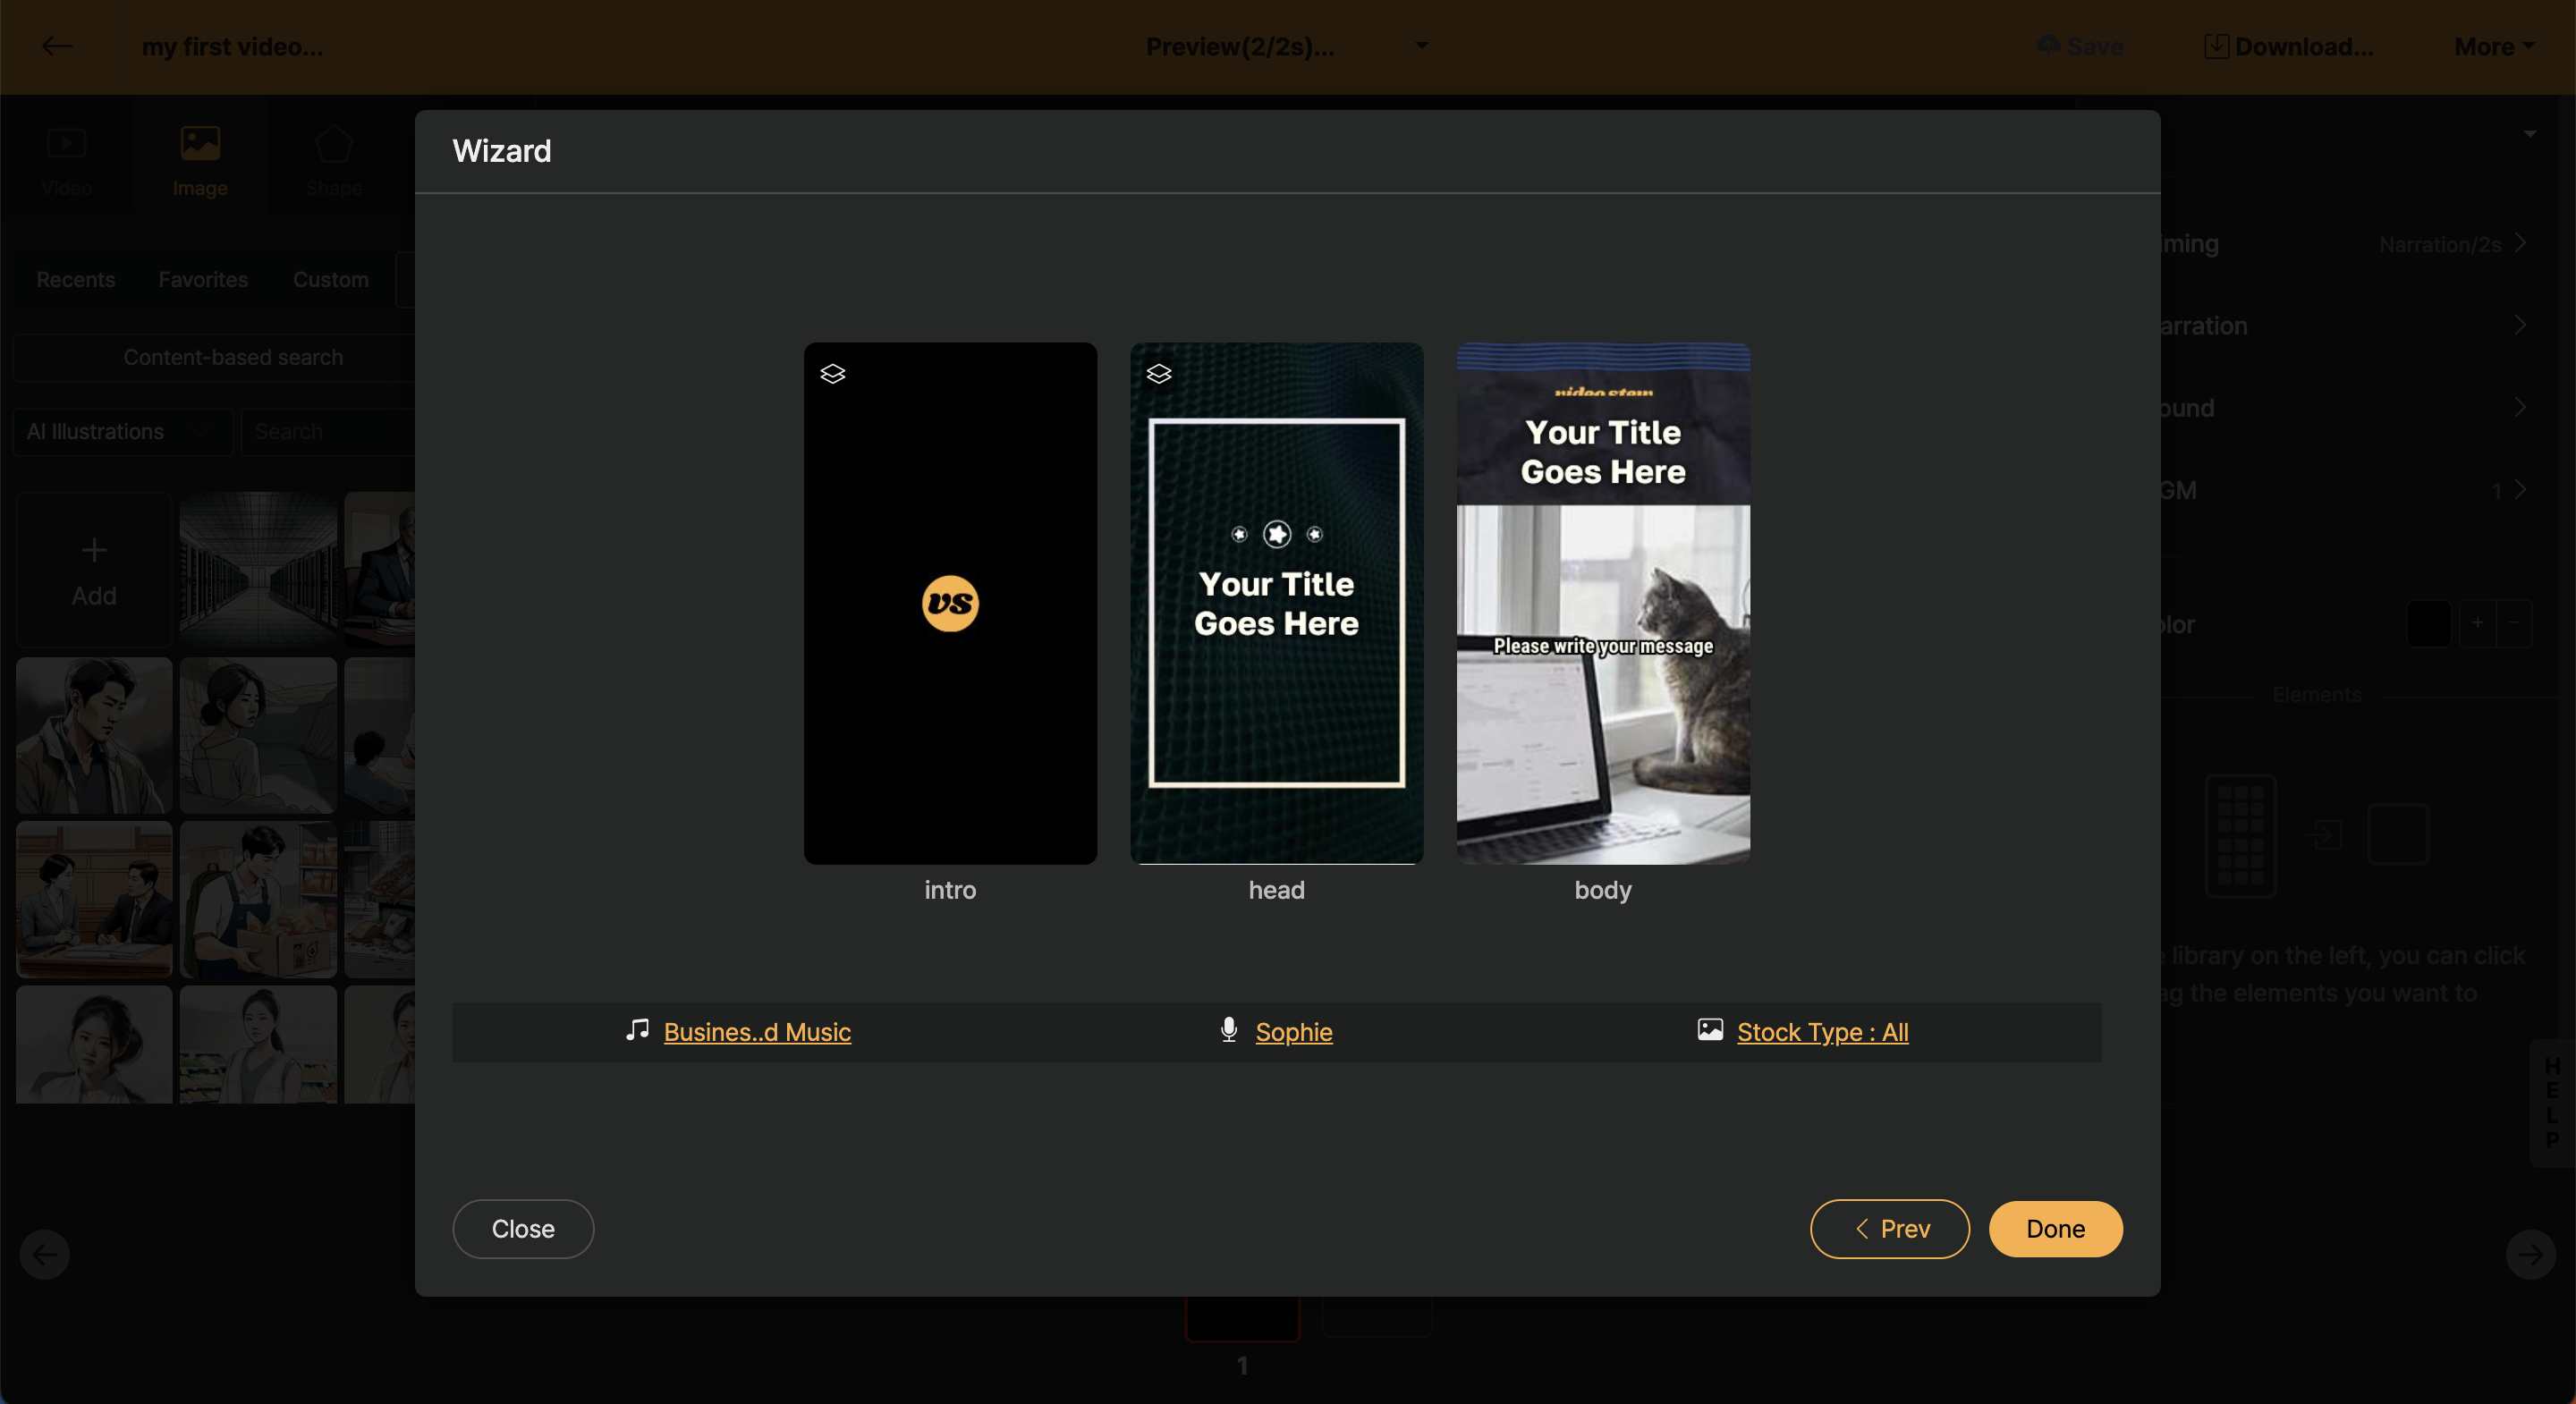
< 위자드 모드 마무리 설정 >
Create Project Draft
Now, based on the input content and selected template, a video draft will be generated.
< Video draft is generated automatically >
Preview the Entire Video
Now you've come to the stage where you can edit without any worries. Shall we try previewing the entire project without touching anything? You can preview the entire project through the dropdown (▼) icon next to the top center Preview button.
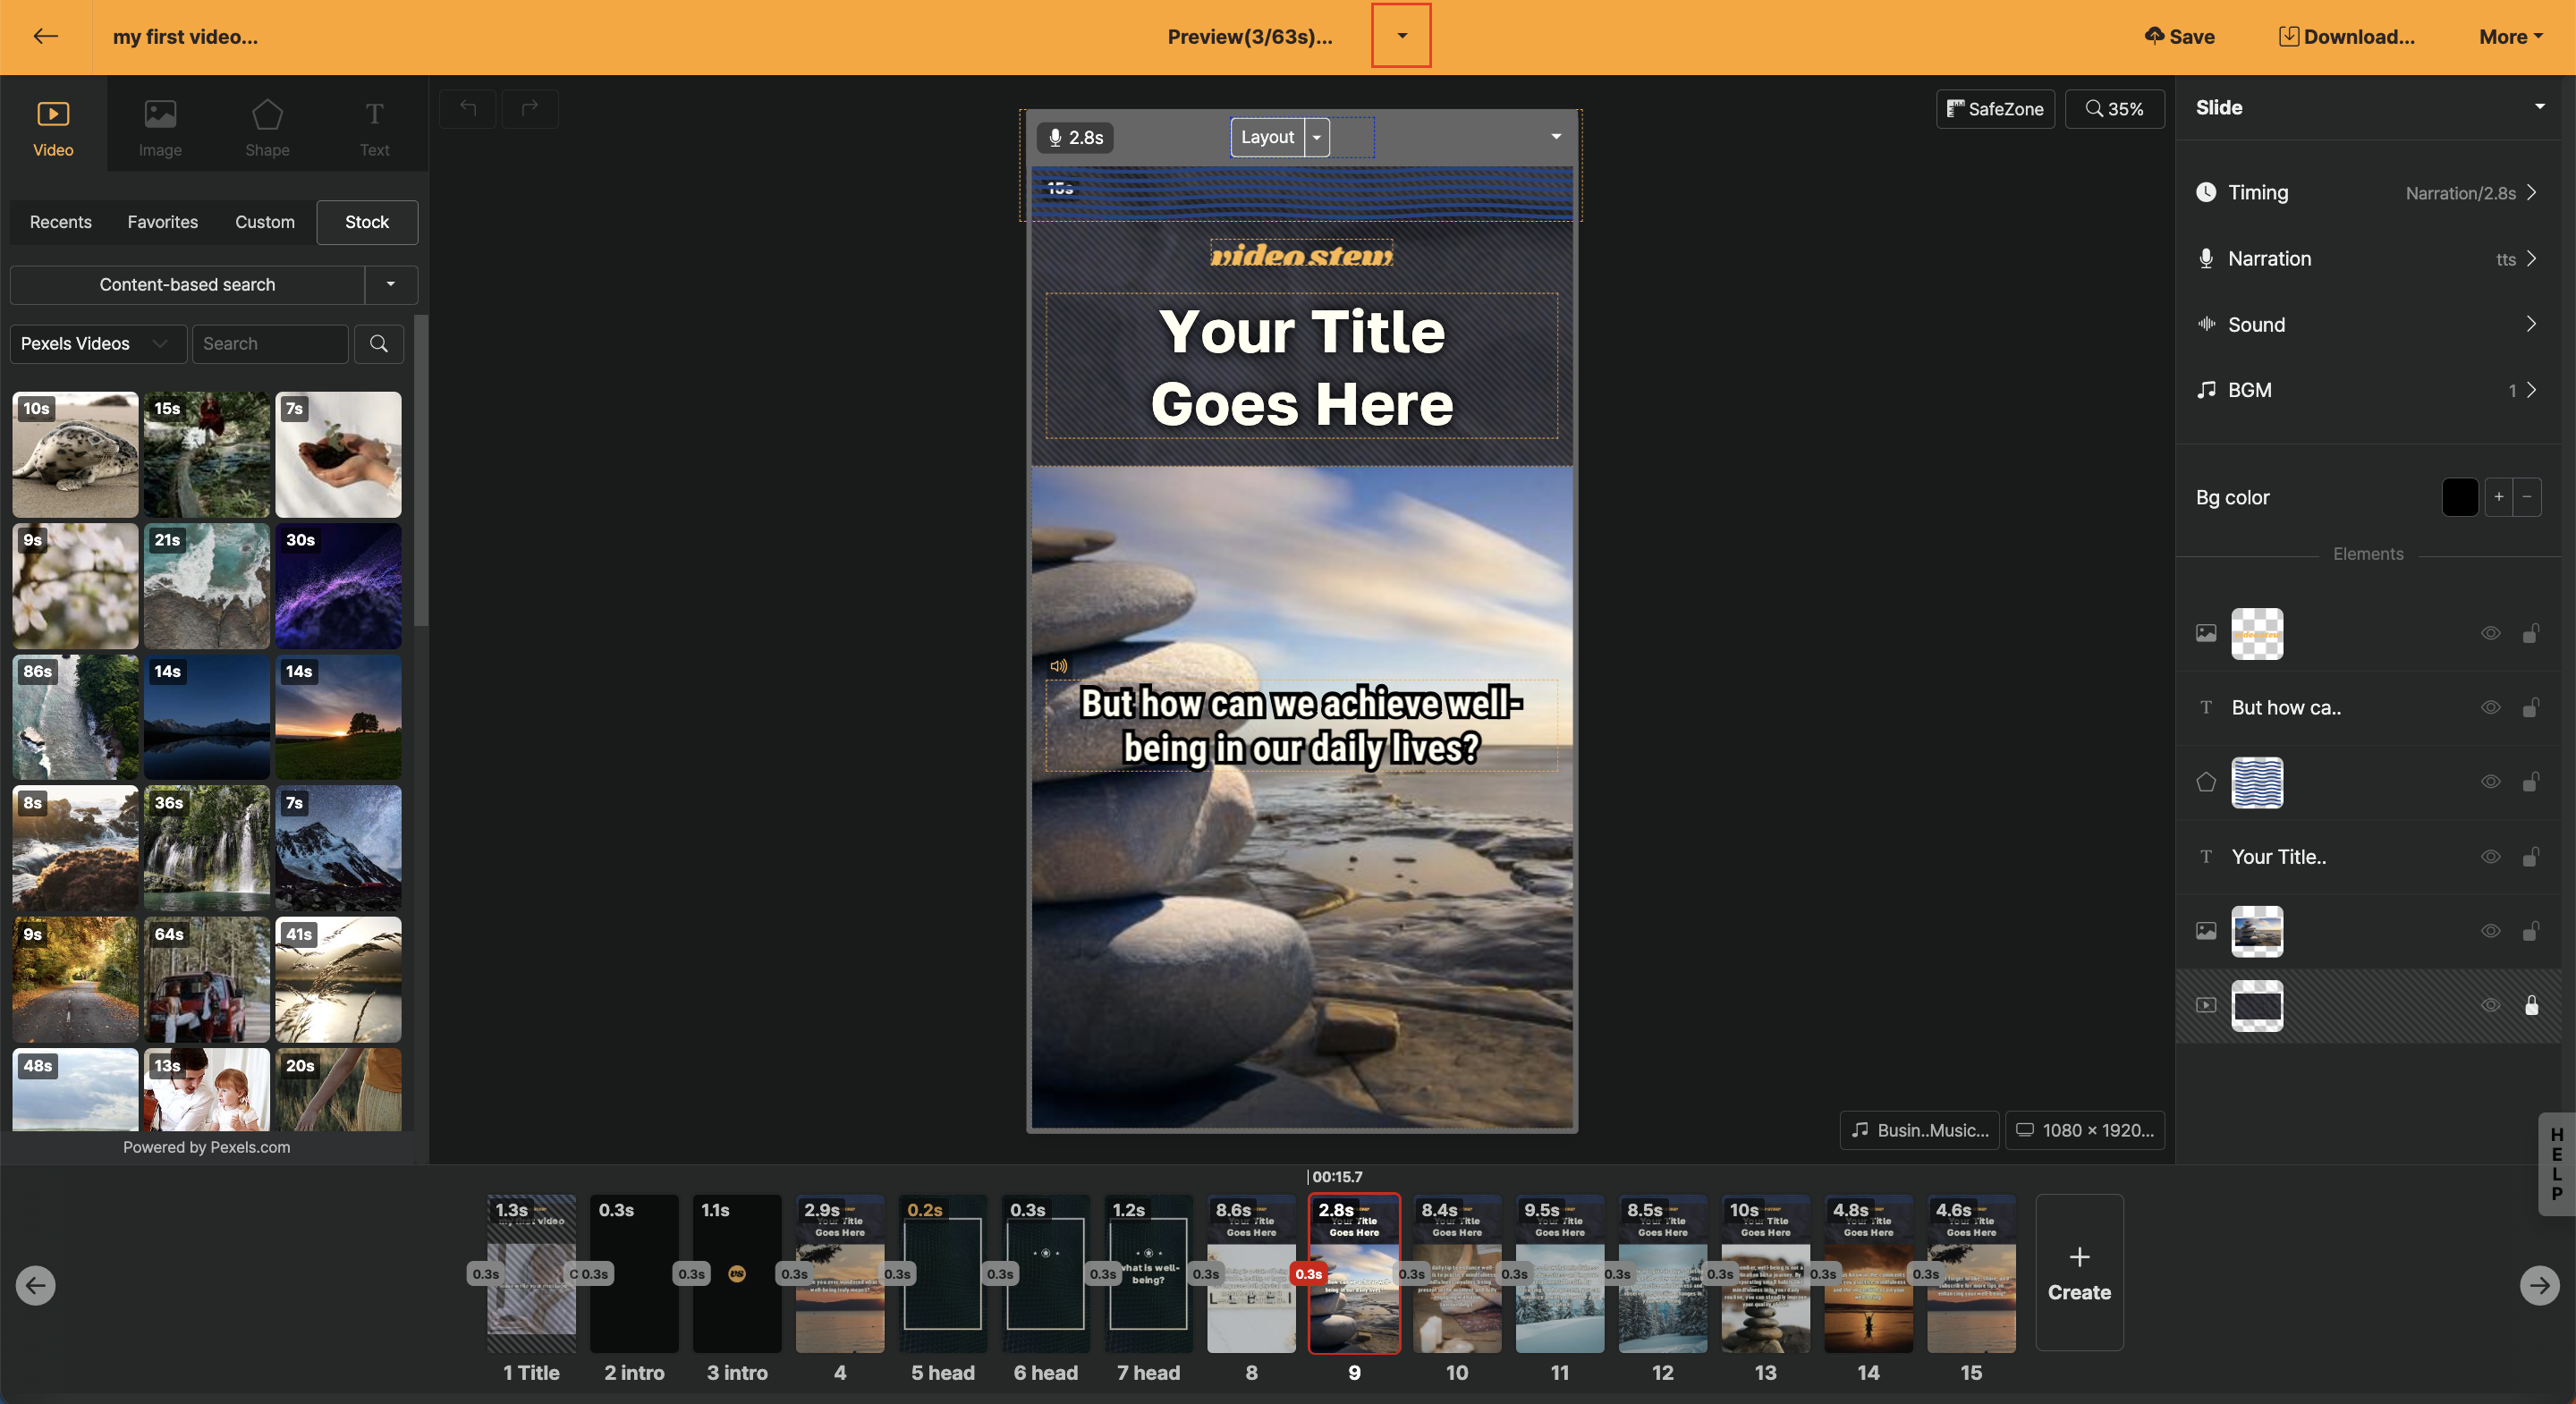
< Real-time Preview >
If there is a part you want to modify by adding at this step, refer to the [Edit all slides at once] section, assume it is complete, and move on to the next step.
Rendering and Download
So far, your project only exists on the Videostew server. Now it's time to render it and download it to "My Computer".
Do you see the "Download" button on the right side of the screen? Click it. A download window will open below. Click "Rendering" on the far left there. It is the process of converting the worked item into a video.
< 동영상 렌더링 및 다운로드하기 >
If you wait for a few minutes, you will see the Download button activated next to it. If you click on it, the completed video (mp4) will be downloaded to "My Computer". Open the explorer (or finder) and go to the download folder to replay it!