Guide
How to Use Auto Animation
Videostew recognizes changes between each slide and creates animations. Generally, you can utilize this when creating intro or outro templates that require flashy movements. Please refer to the following two videos for how to use auto animation.
< Creating an animation like flipping through photos >
< Making a typographic video >
Shall we take a closer look at how to use auto animation?
Add Project
First, click the Add Project button at the top left of the home screen.
< Click the Add Project button >
[Wizard mode] will skip the setup and start "Immediately".
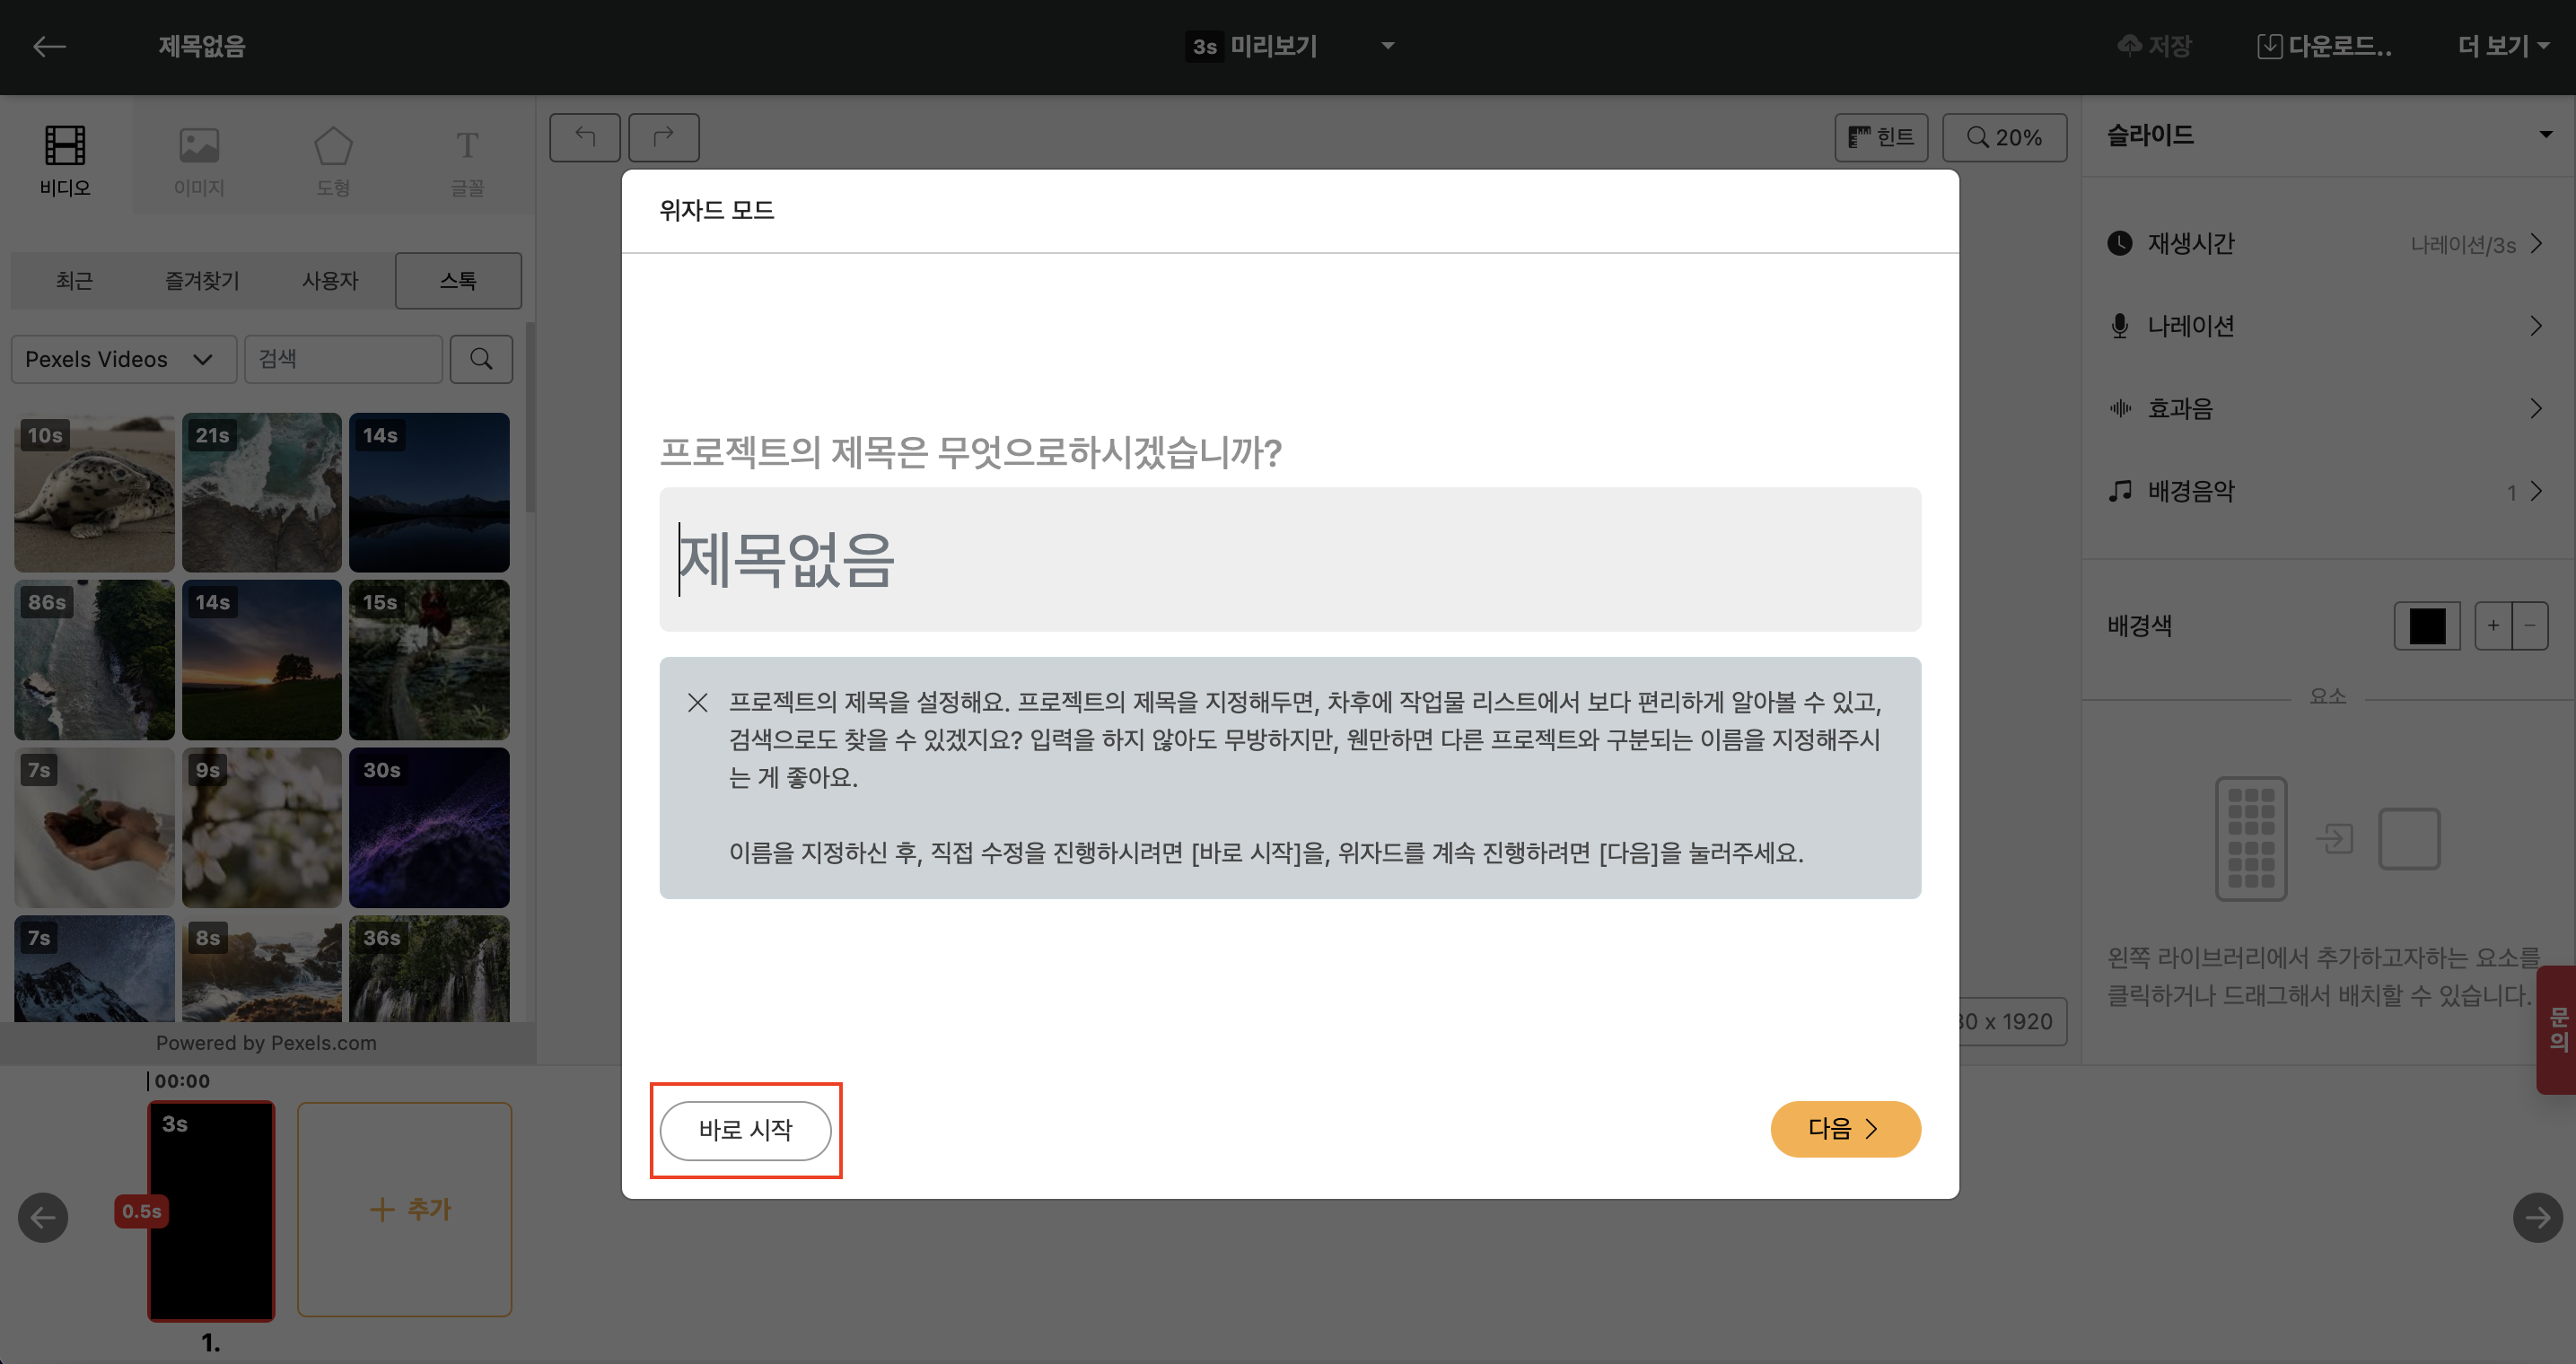
< Click Start Immediately on the bottom left >
Inserting an image into the first slide
You'll see an empty slide like the screen below. Let's insert a "shape" element here. After searching for any element, click it to insert into the Editing Window.

< Click to insert element >
Adding a Transition to the Second Slide
Now, click the "+ Add" button in the Slide Window at the bottom right to duplicate the first slide. Then, we will reduce the size of the elements in the second slide and arrange them in a grid.
Setting Transition Effects and Duration
Next, set the [Transition Effect] to "Auto" and the [Transition Duration] to about 2 seconds. When in "Auto" mode, the auto-animation will be generated because the system operates the animation automatically. Here, applying 2 seconds means that the movement for the second slide will be created over the duration of 2 seconds when it starts.
![]()
And if you try the preview in advance, you can confirm that the image element shrinks and moves towards the bottom right over 2 seconds in the animation that has been created.
Animations only operate when the same element is on multiple slides. Even if it's the same image, if you have uploaded it several times, it may be treated as a different element, so please be careful. If you are sure that it is the same element but the movement is not applied, please check if the [Transition Effect] is set to "Auto" or if the [Transition Duration] is more than 0 seconds.
Apply Easing
You can try out various "transition effects" from simple movements to common animations. If you look at the bottom of the "Playback Time", you will see a message that says "Transitions are applied to the entire project, currently [OutExpo]," along with a "Change" button. Here, you can set up different movement effects.
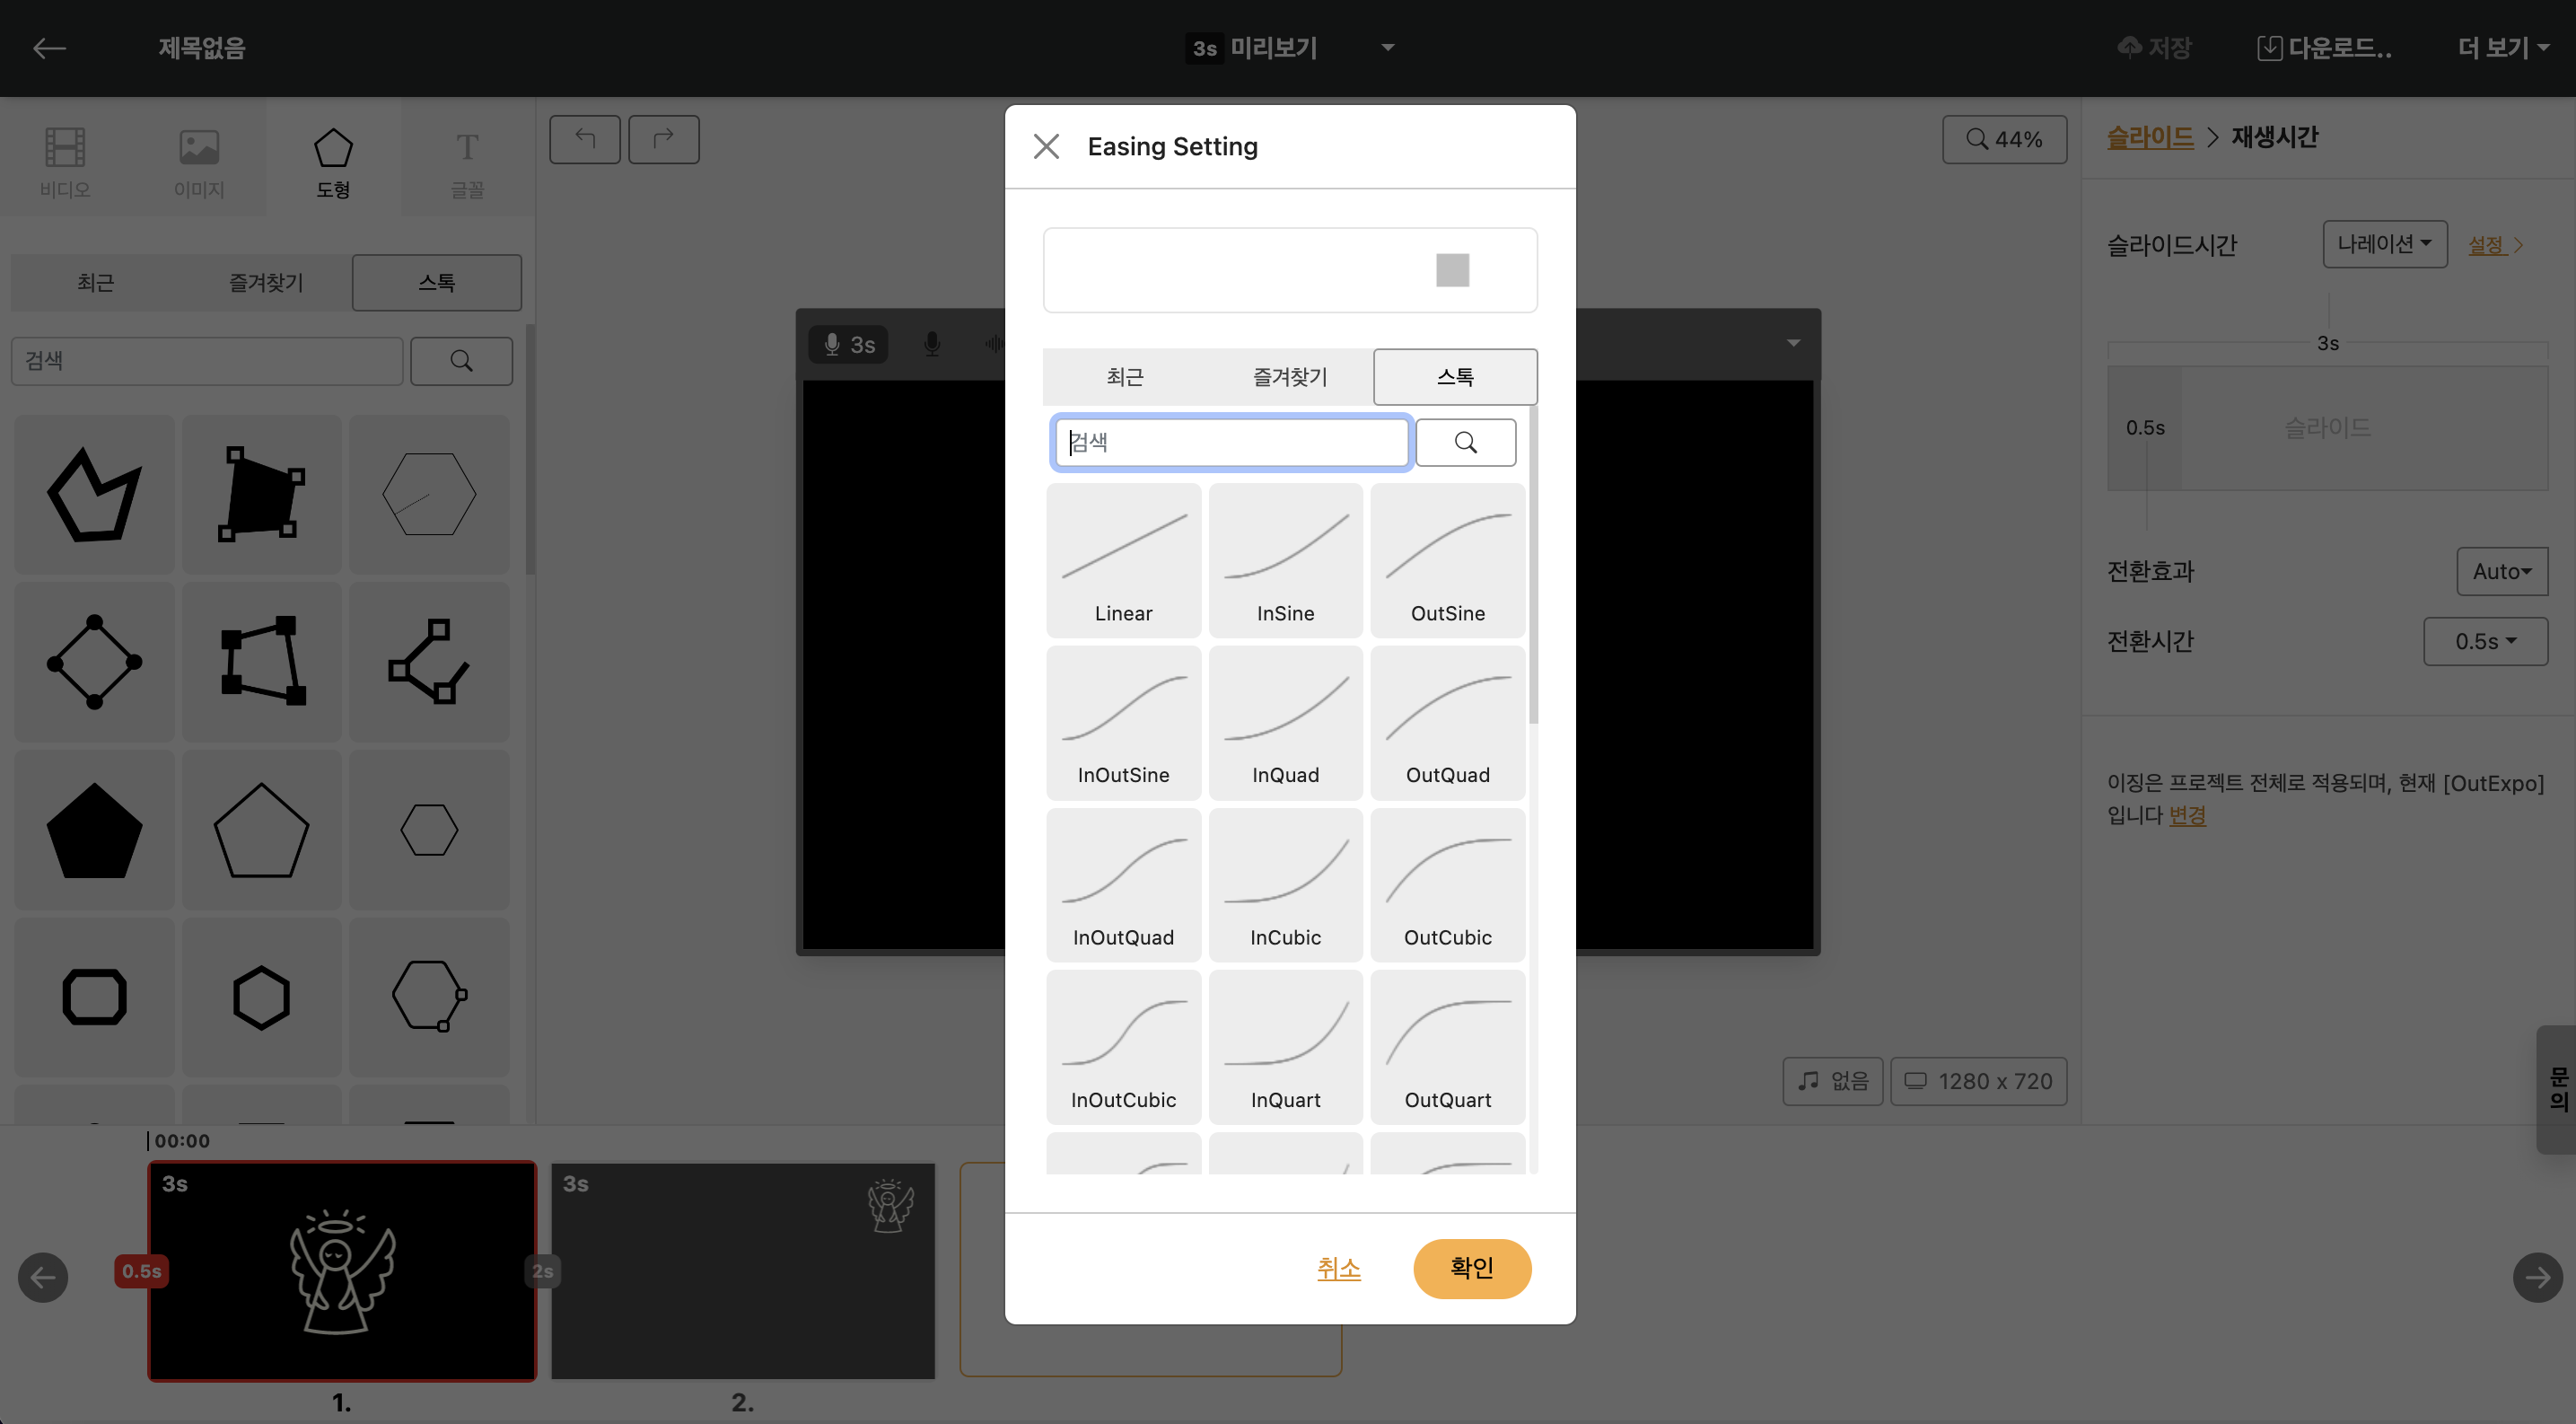
While holding the mouse, you can preview how the movement will be realized. Try setting different effects and previewing them to find the movement you want.