Guide
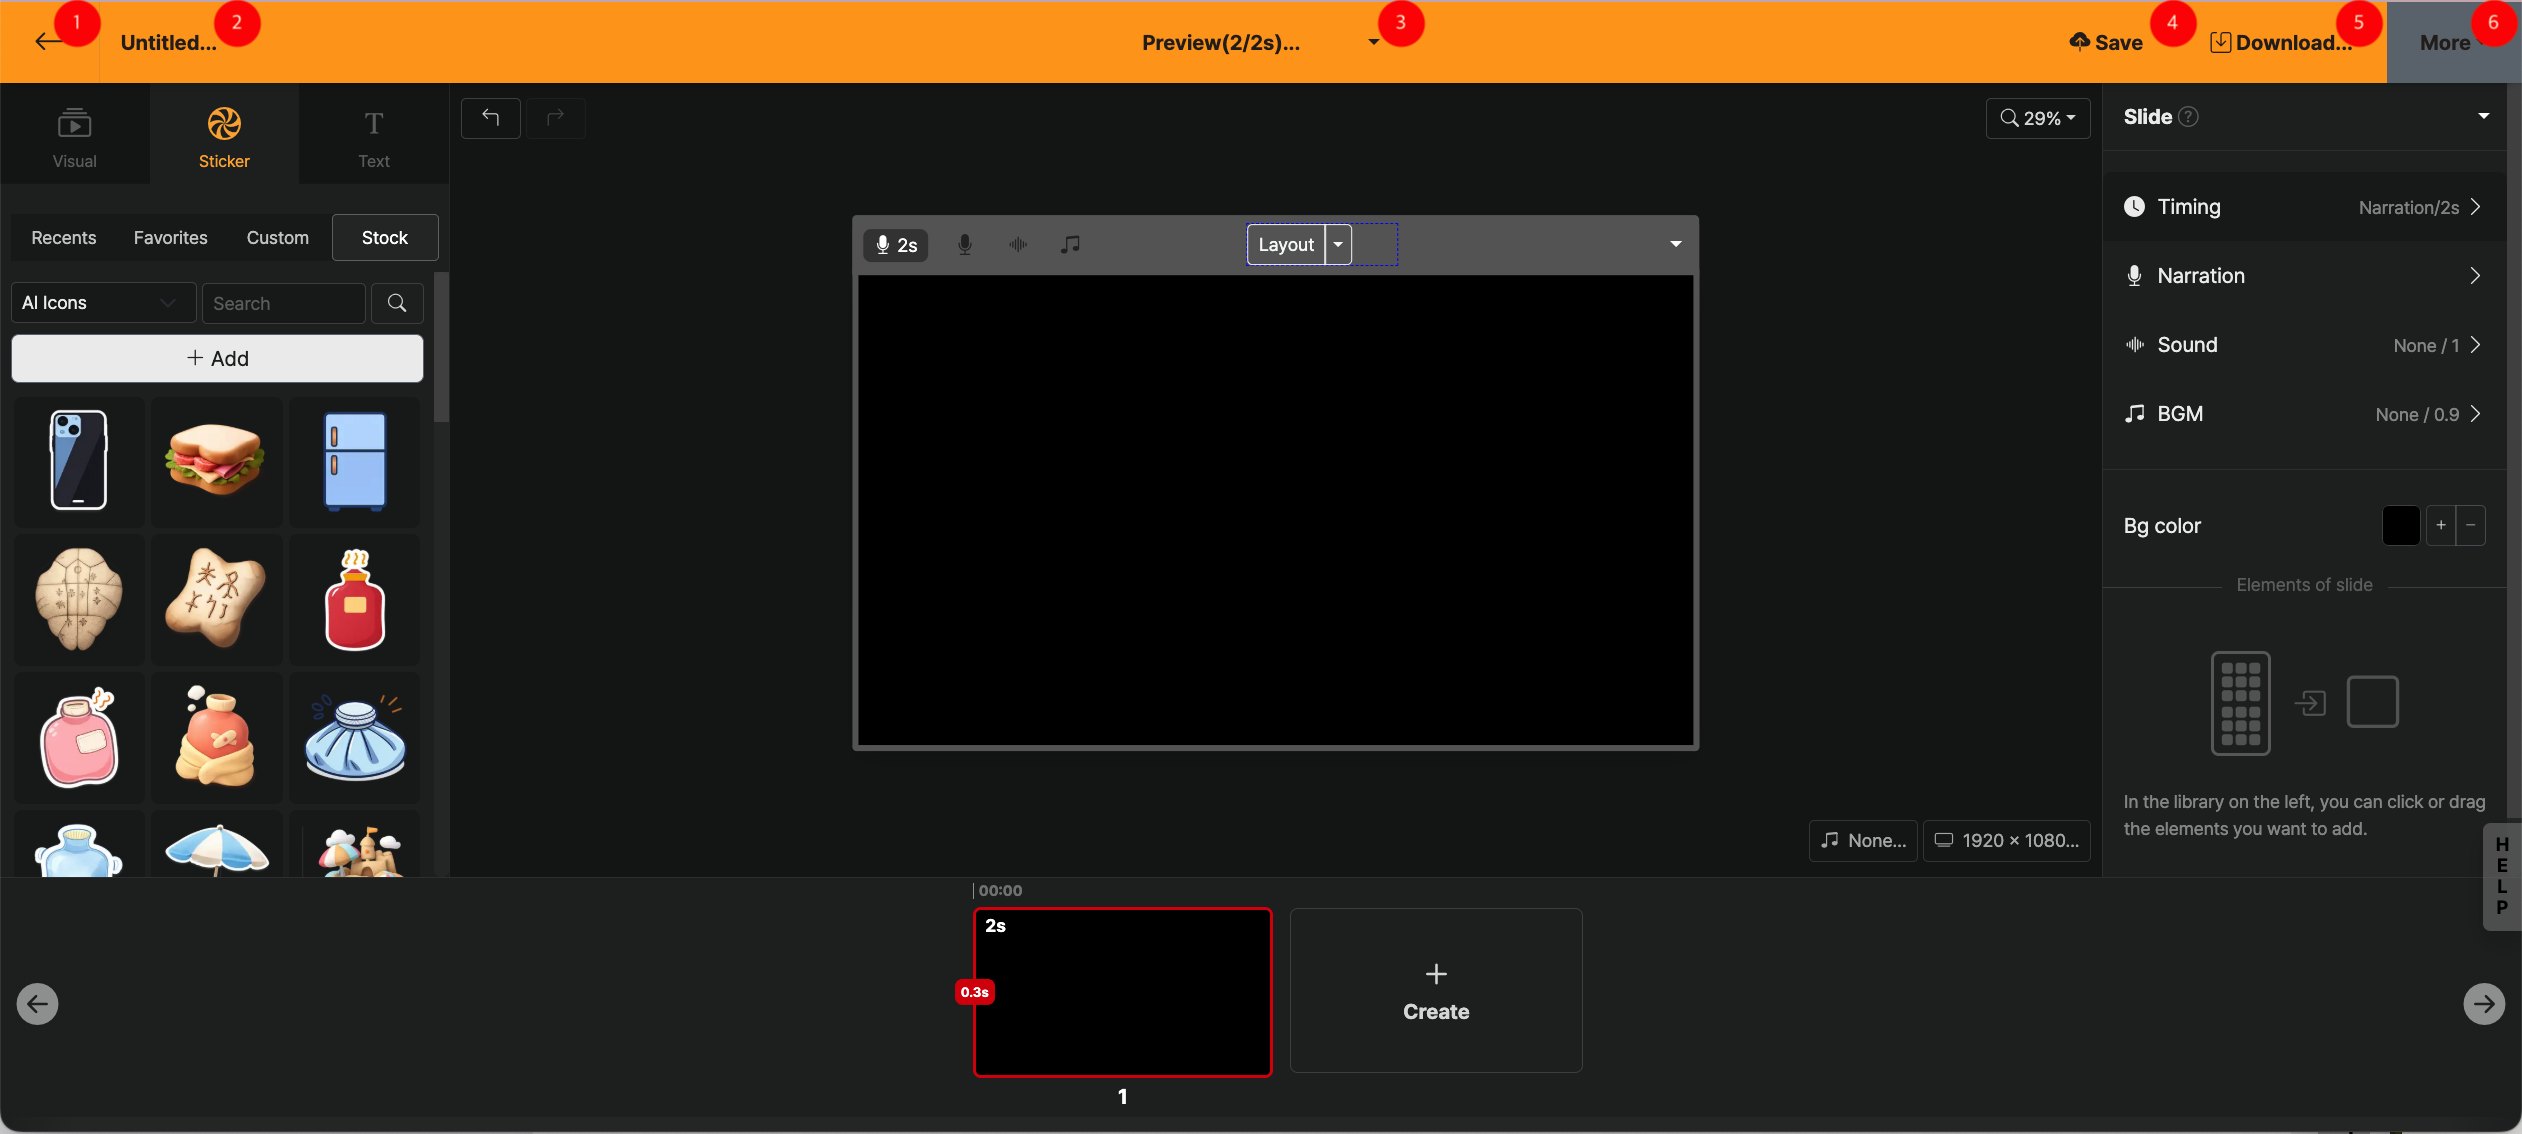
Editor Screen Top Navigator
The editing top panel contains tools for general management of the project.
Return to Home Screen (←)
Pauses the work and returns to the home screen. If there is unsaved content, a warning window appears. In such cases, click [Cancel] then Save to save all work progress to the server.
Changing the Title (No Title)
You can set the project title and description. If you insert a URL into the description field, it can be used as a link in the Share screen. Also, the title and description fields are automatically generated according to the content of the created project.
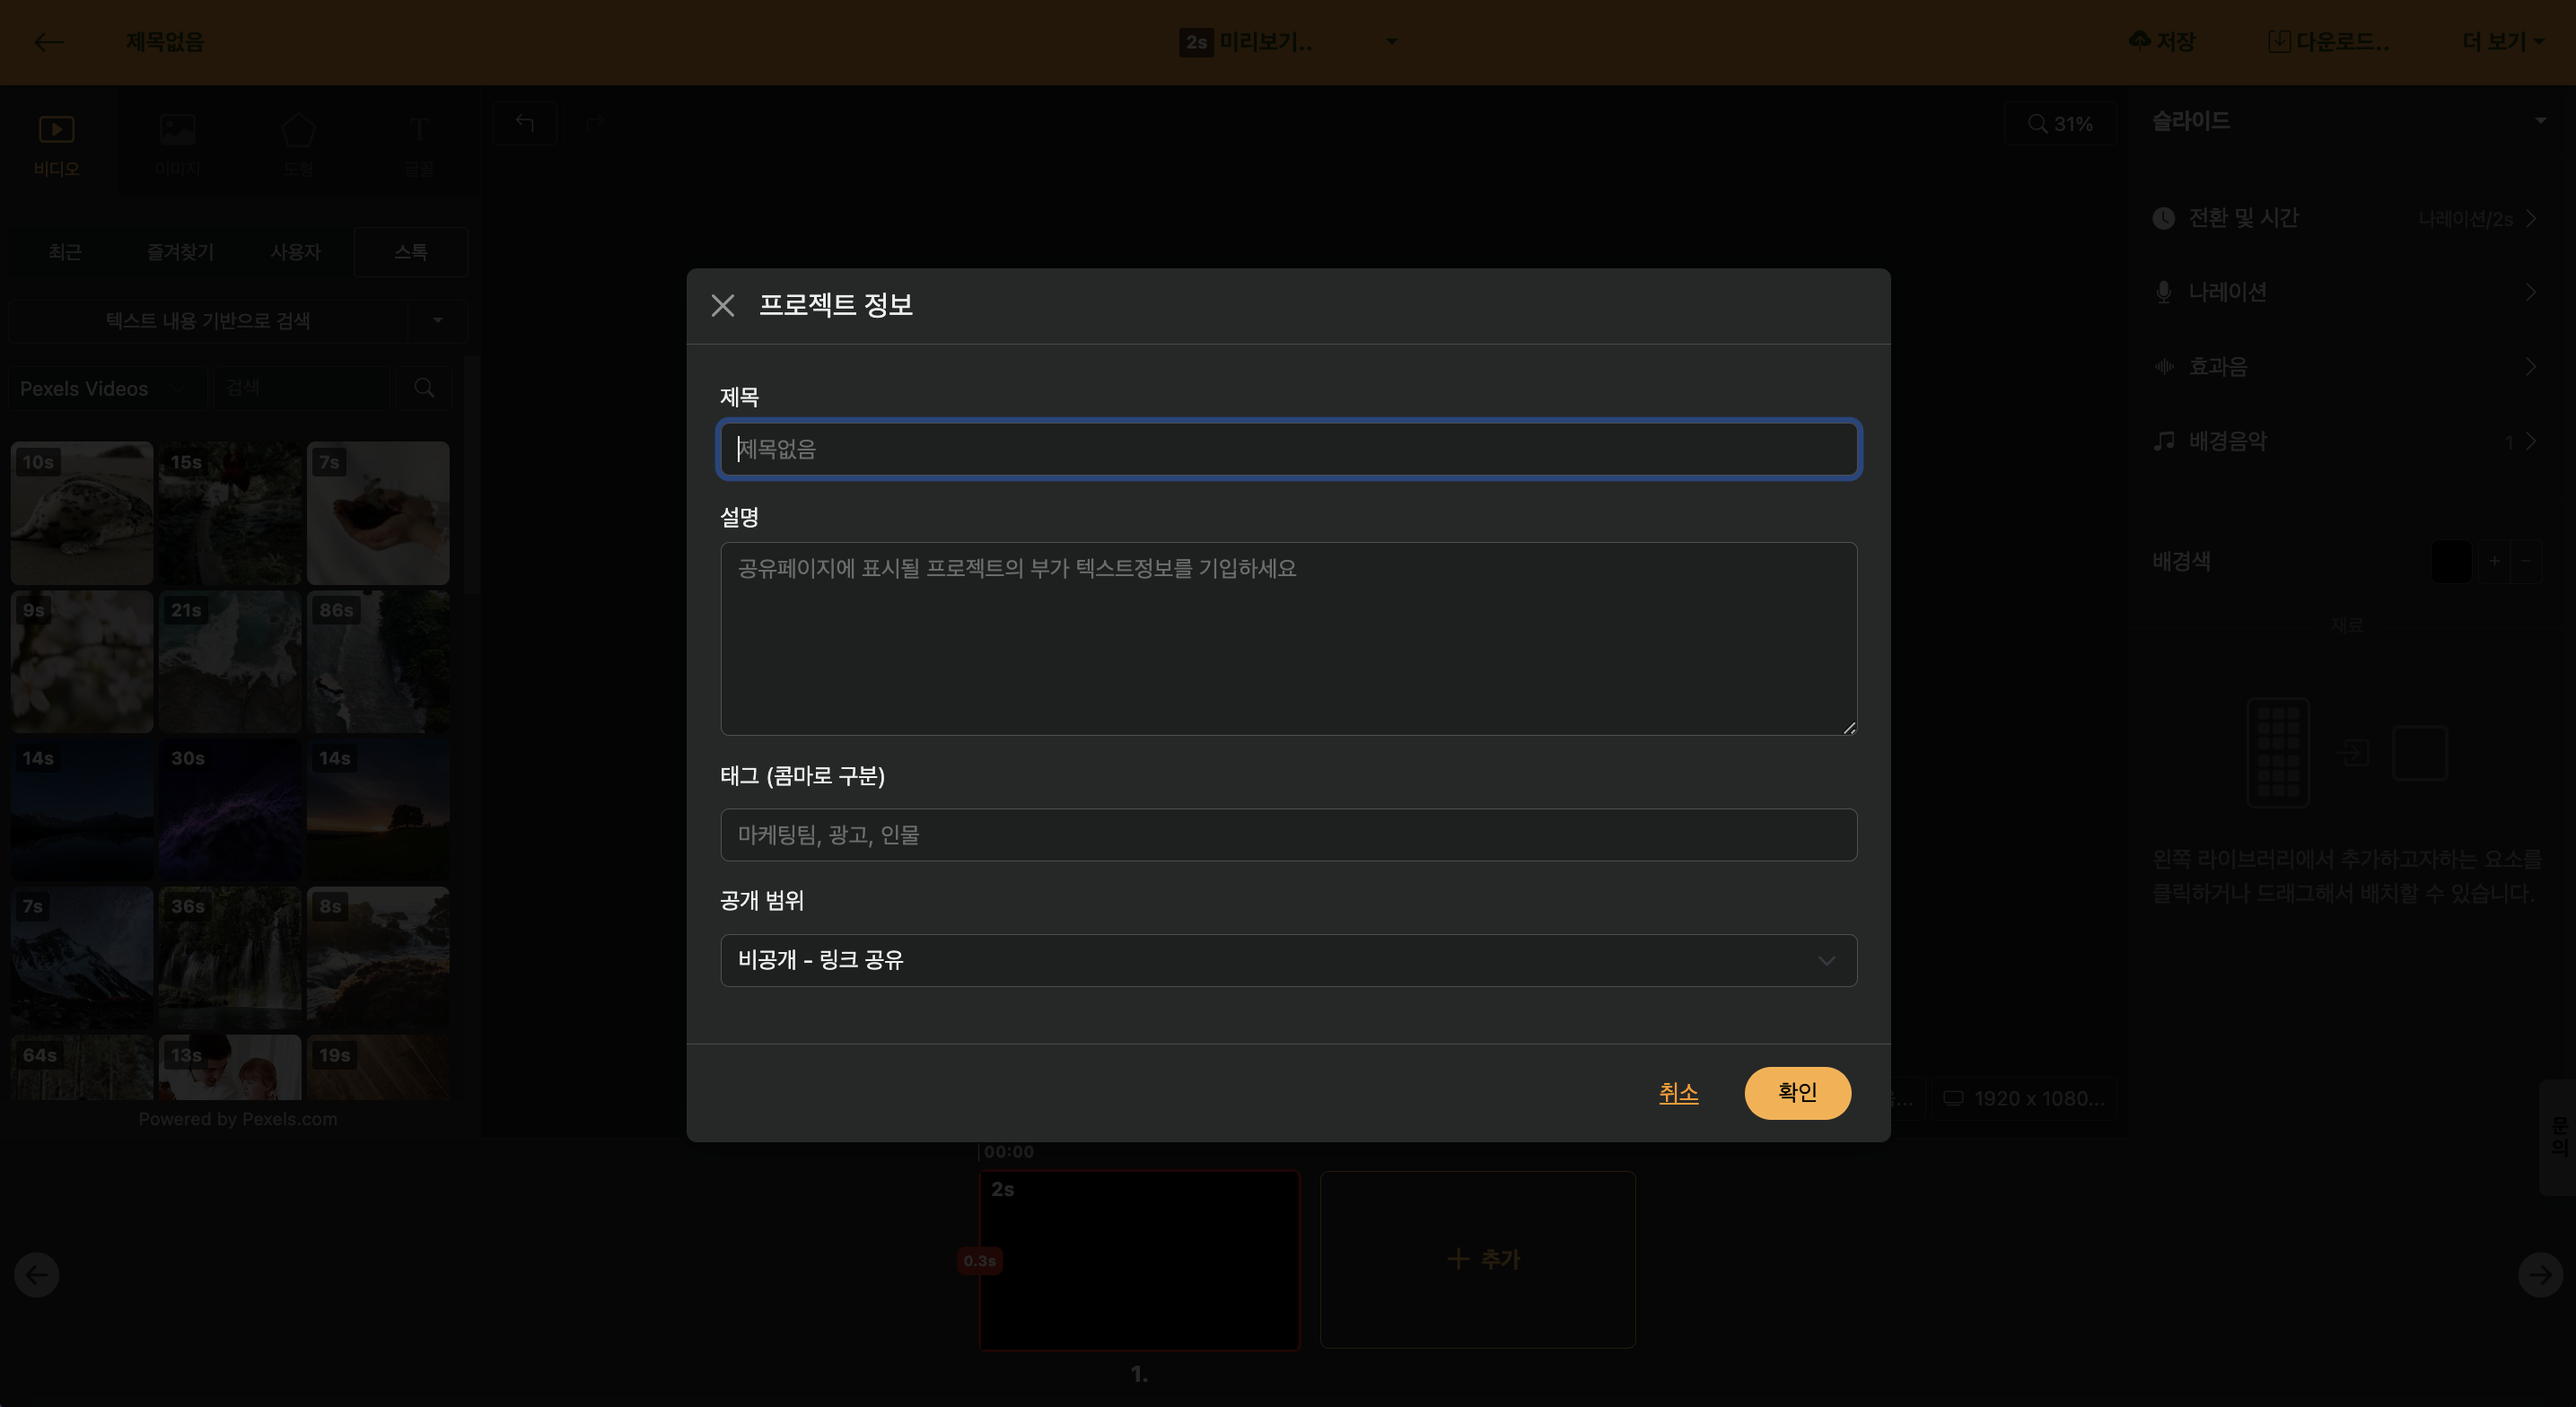
< Edit Project Information >
Description
Editing screen > Click project info in header
You can add a brief summary of the project content; when the project is published on the web, this information will appear on the website.
Time Information Included
Editing screen > Click project info in header
When you upload a slide-based script, the slide’s duration is automatically added to the description. If you embed it on a replay platform like YouTube, you can click the time to change the replay point, and the functions are linked.
Tag
Editing screen > Project info in header
When you enter tag information separated by commas, you can use it conveniently by tag when searching on the home screen.
Publish Scope
Editing screen > Project info in header
All projects are created in a private state by default, where they can only be accessed if the address is known. When this setting is changed, it can be configured to appear in web search results.
To use it as "My Own Template", you must set it to the "Published" status; for instructions on creating a template, please refer to the [Create My Own Template] guide.
Preview
Editing screen > Preview in header
You can preview the currently selected slide. When you select multiple slides, only that section will regenerate. Click the play settings (▼) button to preview the entire video.
Save
Editing screen > Save in header
Saves the content of the project that is in progress to the server. Even if the user does not manually press it during the work, if a modification is made, it will be automatically saved to the server. For those who do not feel comfortable not pressing save manually, we also provide the option to manually save.
Shortcut key: Ctrl + S
Download
Editing screen > Download in header
You can render the completed project into a file.
Video File (MP4)
Editing screen > Download in header > Download video after rendering request
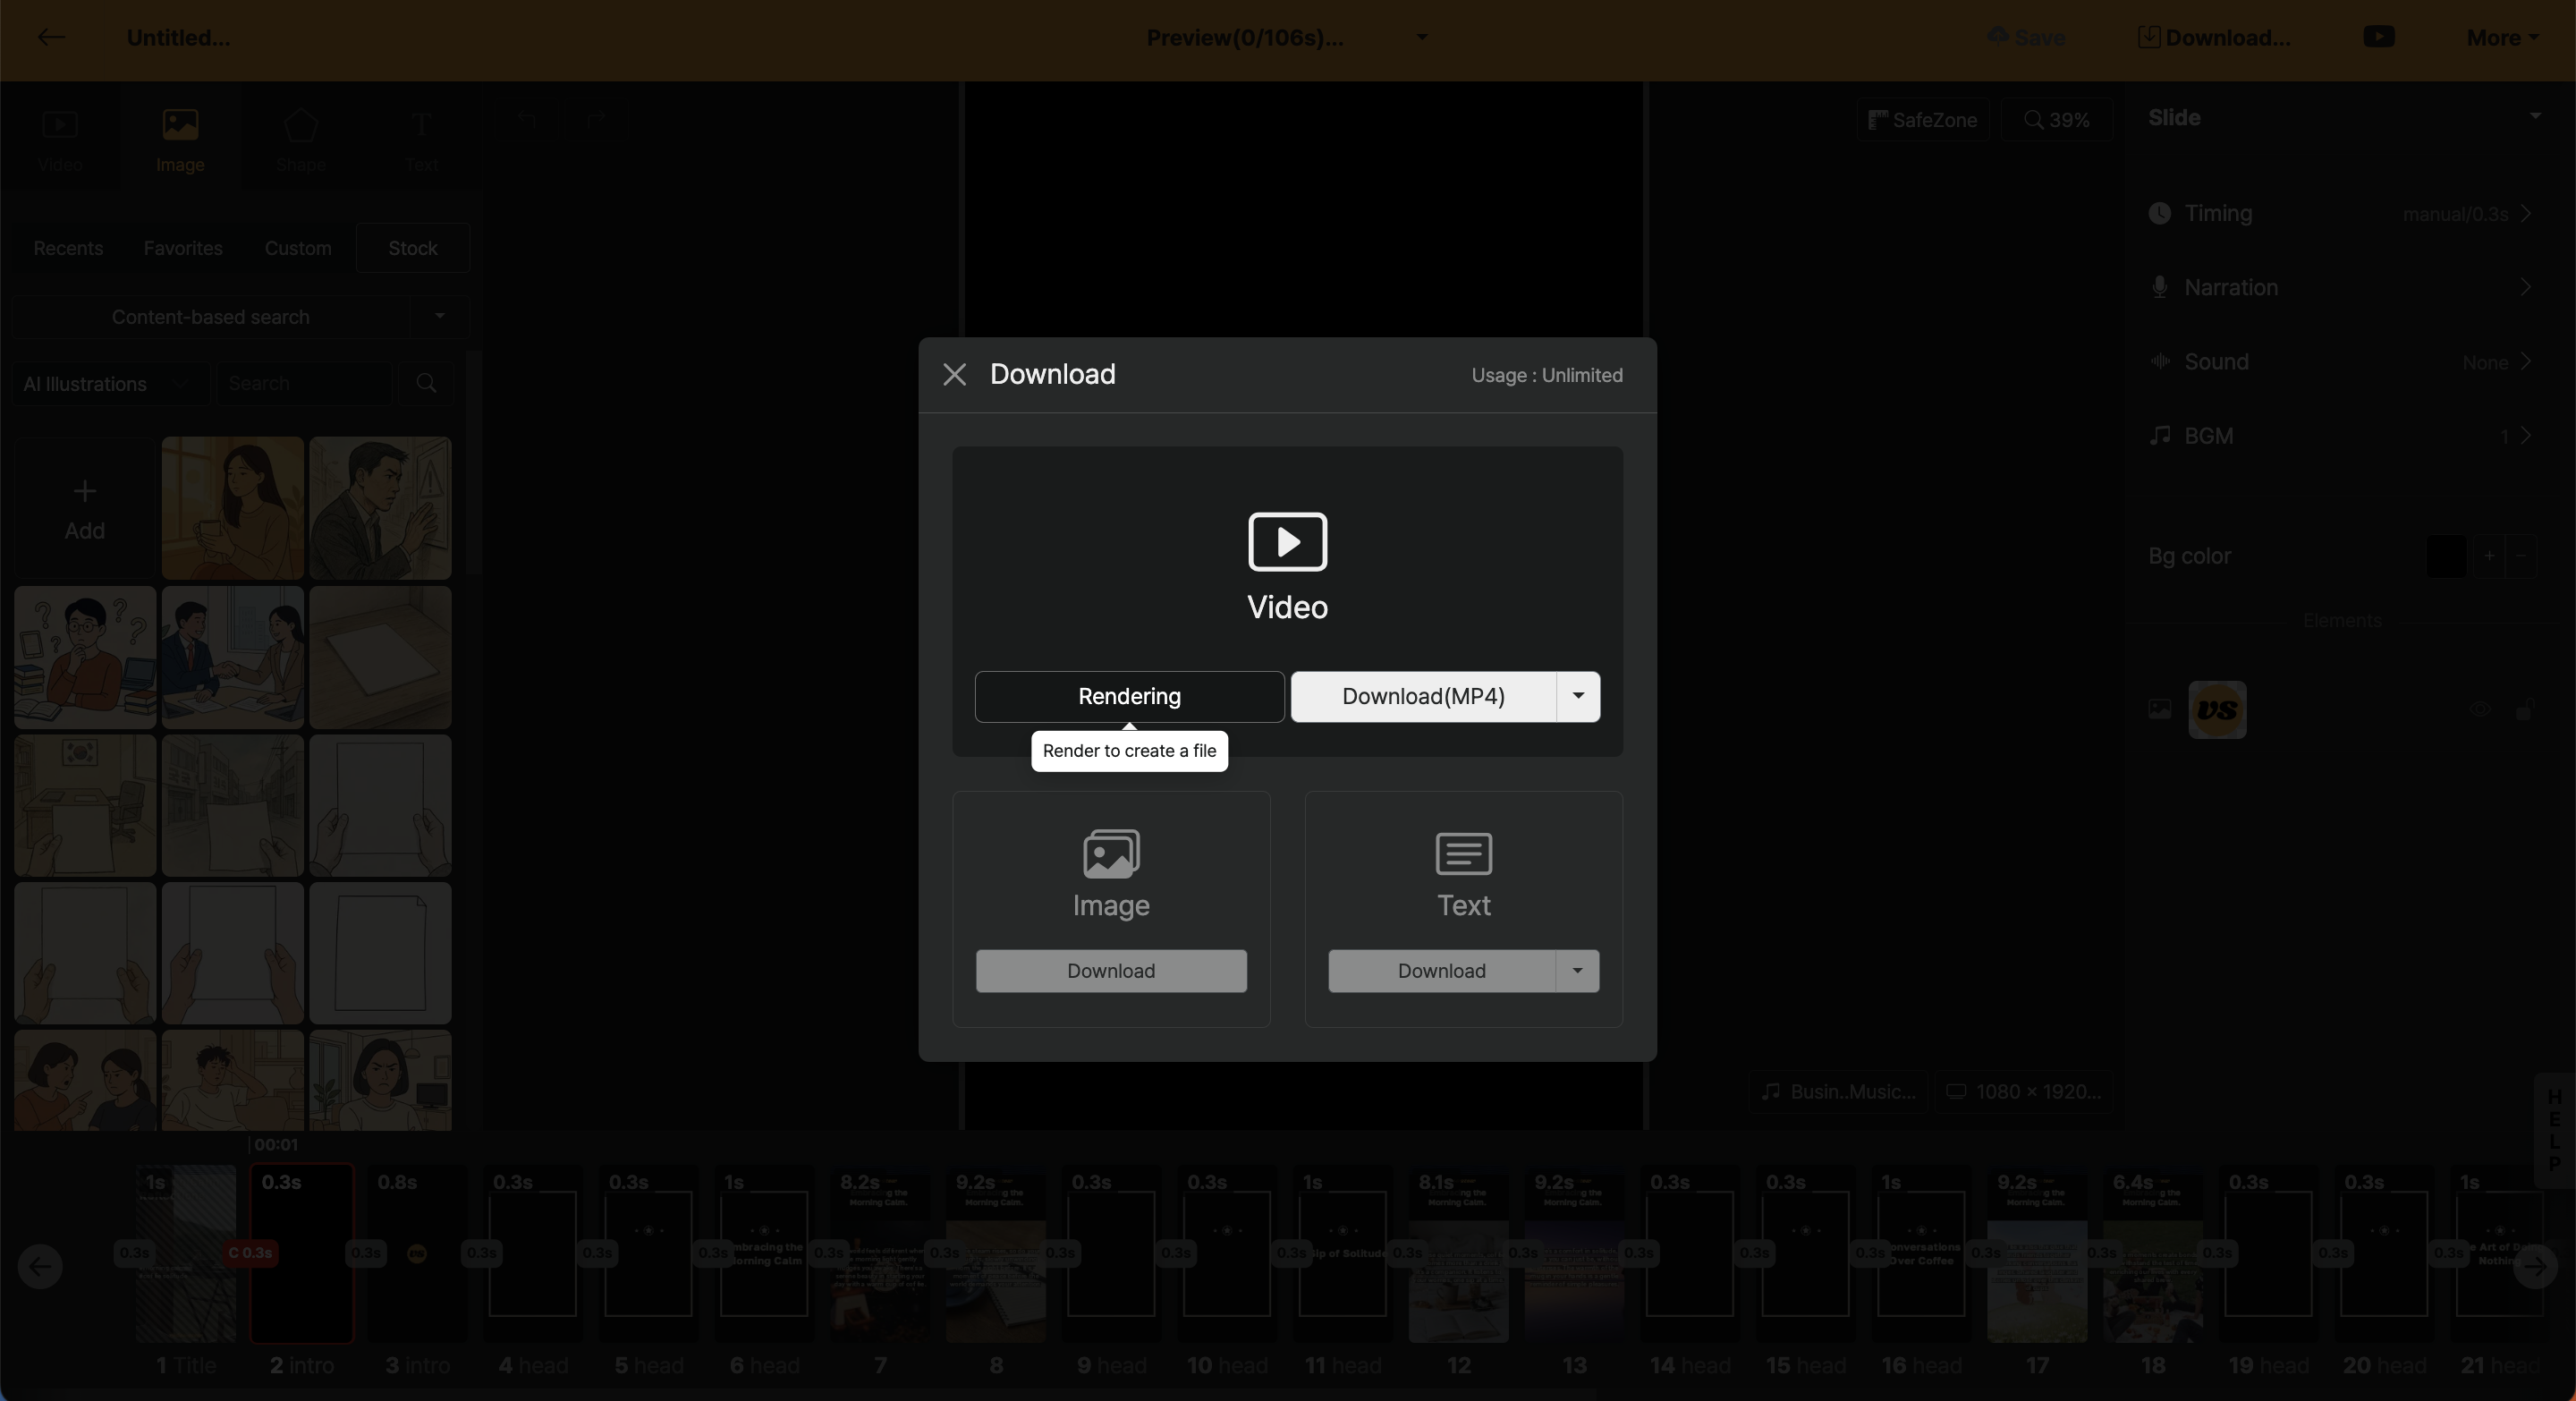
First, press the "Rendering" button, then a rendering request is submitted. Rendering request means converting the project you made into a video file. After a while, once the file is added, the Download button becomes active, and by clicking the button, you can download the MP4 file to your computer.
Audio File (MP3)
Editing screen > Download in header > Download audio after rendering request
You can click the drop-down (▼) button at the top of the download button to download as an MP3 file. All sounds included in the video are included as is.
Image File (PNG)
Editing screen > Download in header > Download image
Saves every slide as individual image files. You can use this to download results in a card news style that are not videos.
Text File (TXT)
Editing screen > Download in header > Download text
You can download all texts used in the project as a document format. It is useful to save as a text format again when the content has changed a lot during the work.
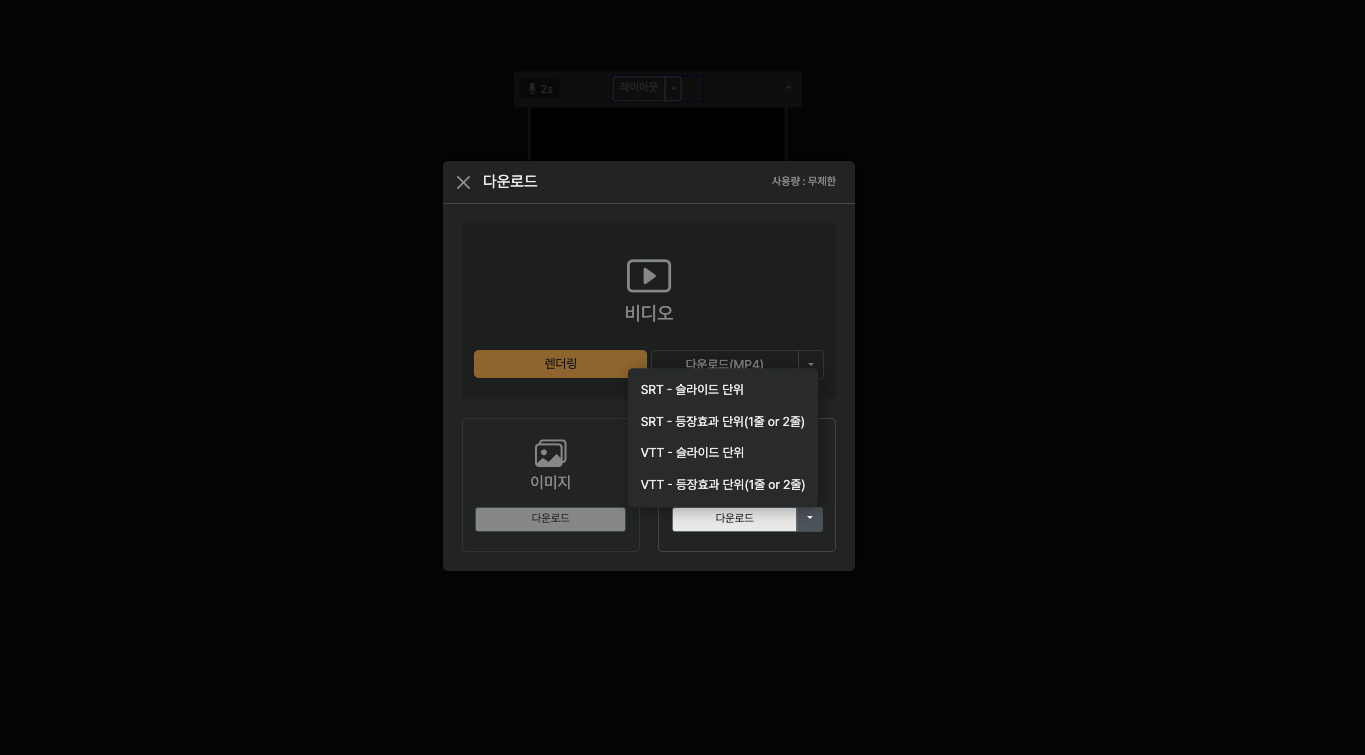
Additionally, by clicking the settings (▼) button, you can download subtitles in SRT and webVTT file formats.
| Section | Detailed Description |
|---|---|
| Slide Unit | Add subtitle files based on all text within a slide in the project |
| Application Unit | Add subtitle files including timeline information when line breaks are applied within slide text |
More
Share
Editing screen > More in header > Share
You can share the rendered project on the web. You can copy the address and paste it into messengers such as KakaoTalk, and you can check the rendered video by [Open in new tab].
If you've inserted a link in the project description field, you can click on the link address to utilize it as a Call To Action (CTA) button.
The sharing feature is valid for one month after video rendering, and the saved video will be deleted after one month. Therefore, please be sure to download the rendered video file within the period from Videostew.
Start with this template
Editing screen > More in header > Start with this template
Delete the selected project as a template, then create a new project with fresh content. By reusing the layout of the intro and outro, etc., according to the project settings, you can build a new-content project.
To create a template that keeps the same tone and manner and reuse it easily, please refer to the [Create My Own Template] guide.
Restore
Editing screen > More in header > Restore
You can revert the project to a previous point. Refer to 'Save view' and 'Slide number' in the list and use 'Restore' to call up the project from a past point.
Copy
Editing screen > More in header > Duplicate
The current project you are working on is copied exactly as it is in the current workspace.
Send to Trash (Delete)
Editing screen > More in header > Send to trash
Deletes the current project. Projects moved to the trash can are not completely deleted until you empty the trash can.
Environment Settings
Editing screen > More in header > Environment settings
You can change settings for dark mode and the style of thumbnails, as well as the wizard mode.
General
Editing screen > More in header > Environment settings > Common tab
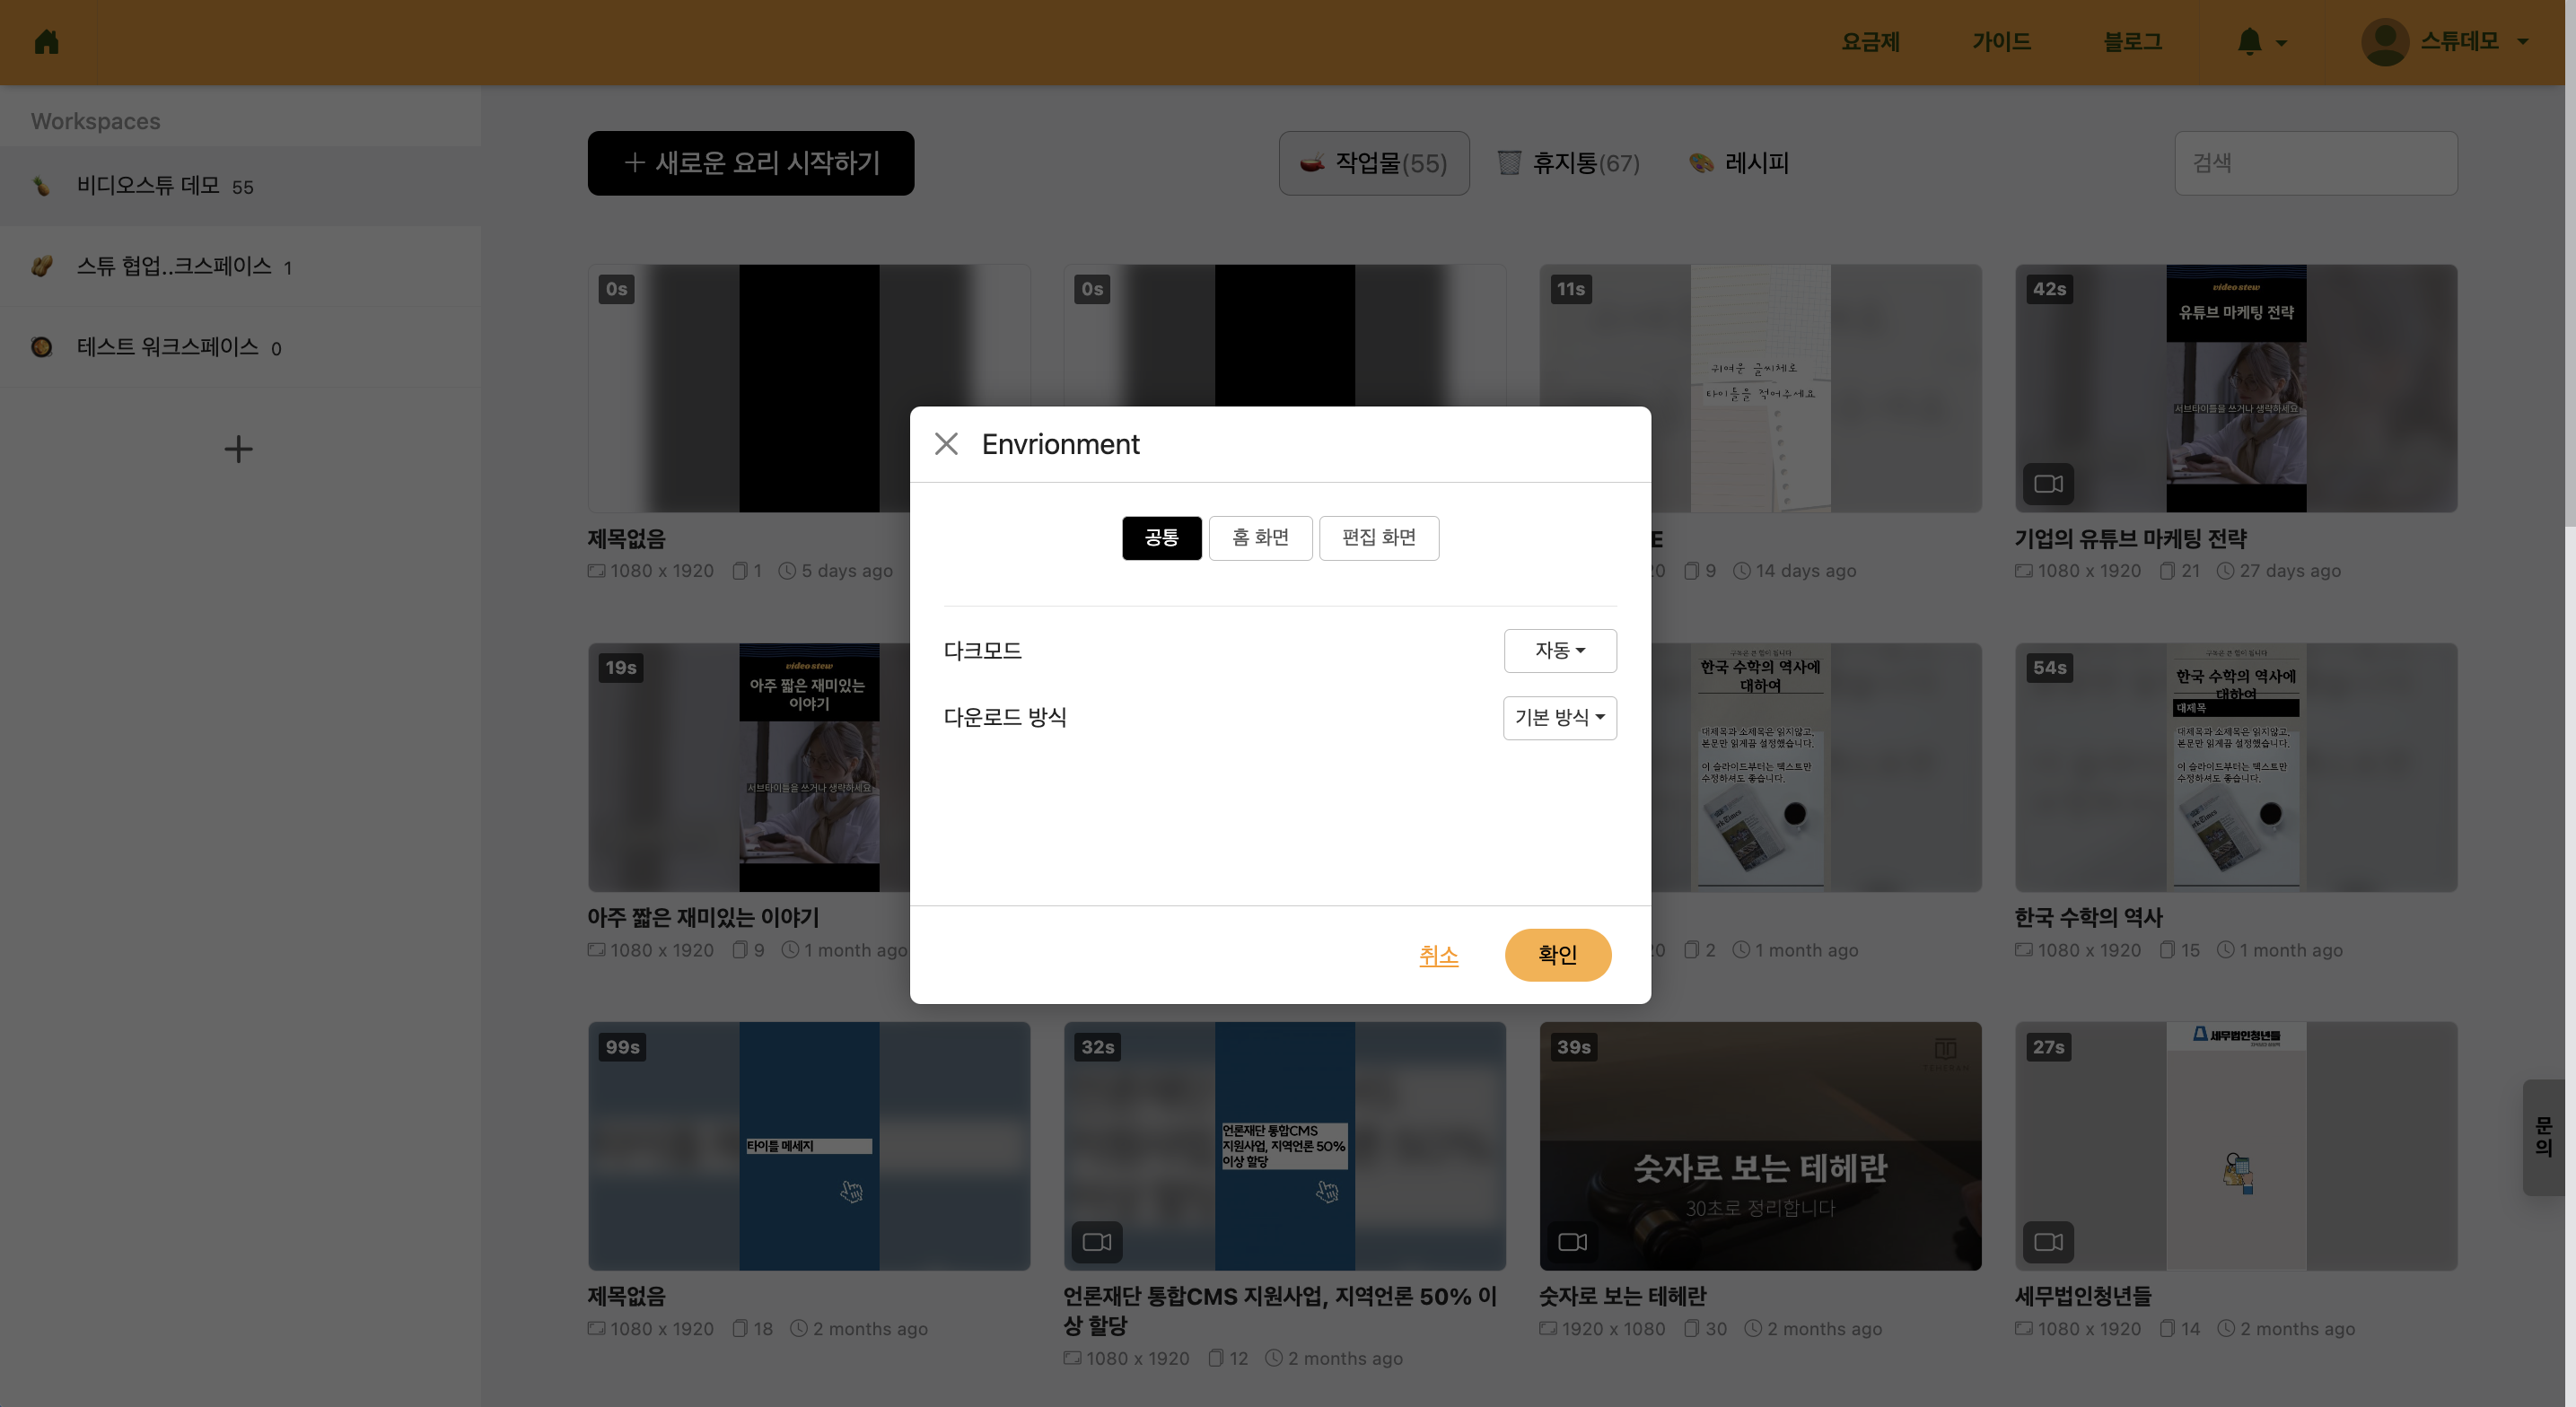
< Environment Setting Common Menu >
Dark Mode
Editing screen > More in header > Environment settings > Common tab
You can change the dark mode settings. 'Auto' changes the screen to dark at night and to light during the day automatically. You can always set it to 'Light' or 'Dark' as well.
Download Method
Editing screen > More in header > Environment settings > Common tab
Change the method when downloading the rendered video. If the default method does not work, you can switch to the legacy method.
Home Screen
Editing screen > More in header > Environment settings > Common tab
You can change the style of thumbnails that appear on the home screen. You can choose among 'Horizontal', 'Square', and 'Vertical', and if you often make portrait videos, 'Vertical' is recommended.
Edit Screen
Editing screen > More in header > Environment settings > Common tab
You can change whether to activate Wizard Mode when creating 'New'.
Upload via YouTube

When video rendering is complete, the YouTube upload button becomes active.
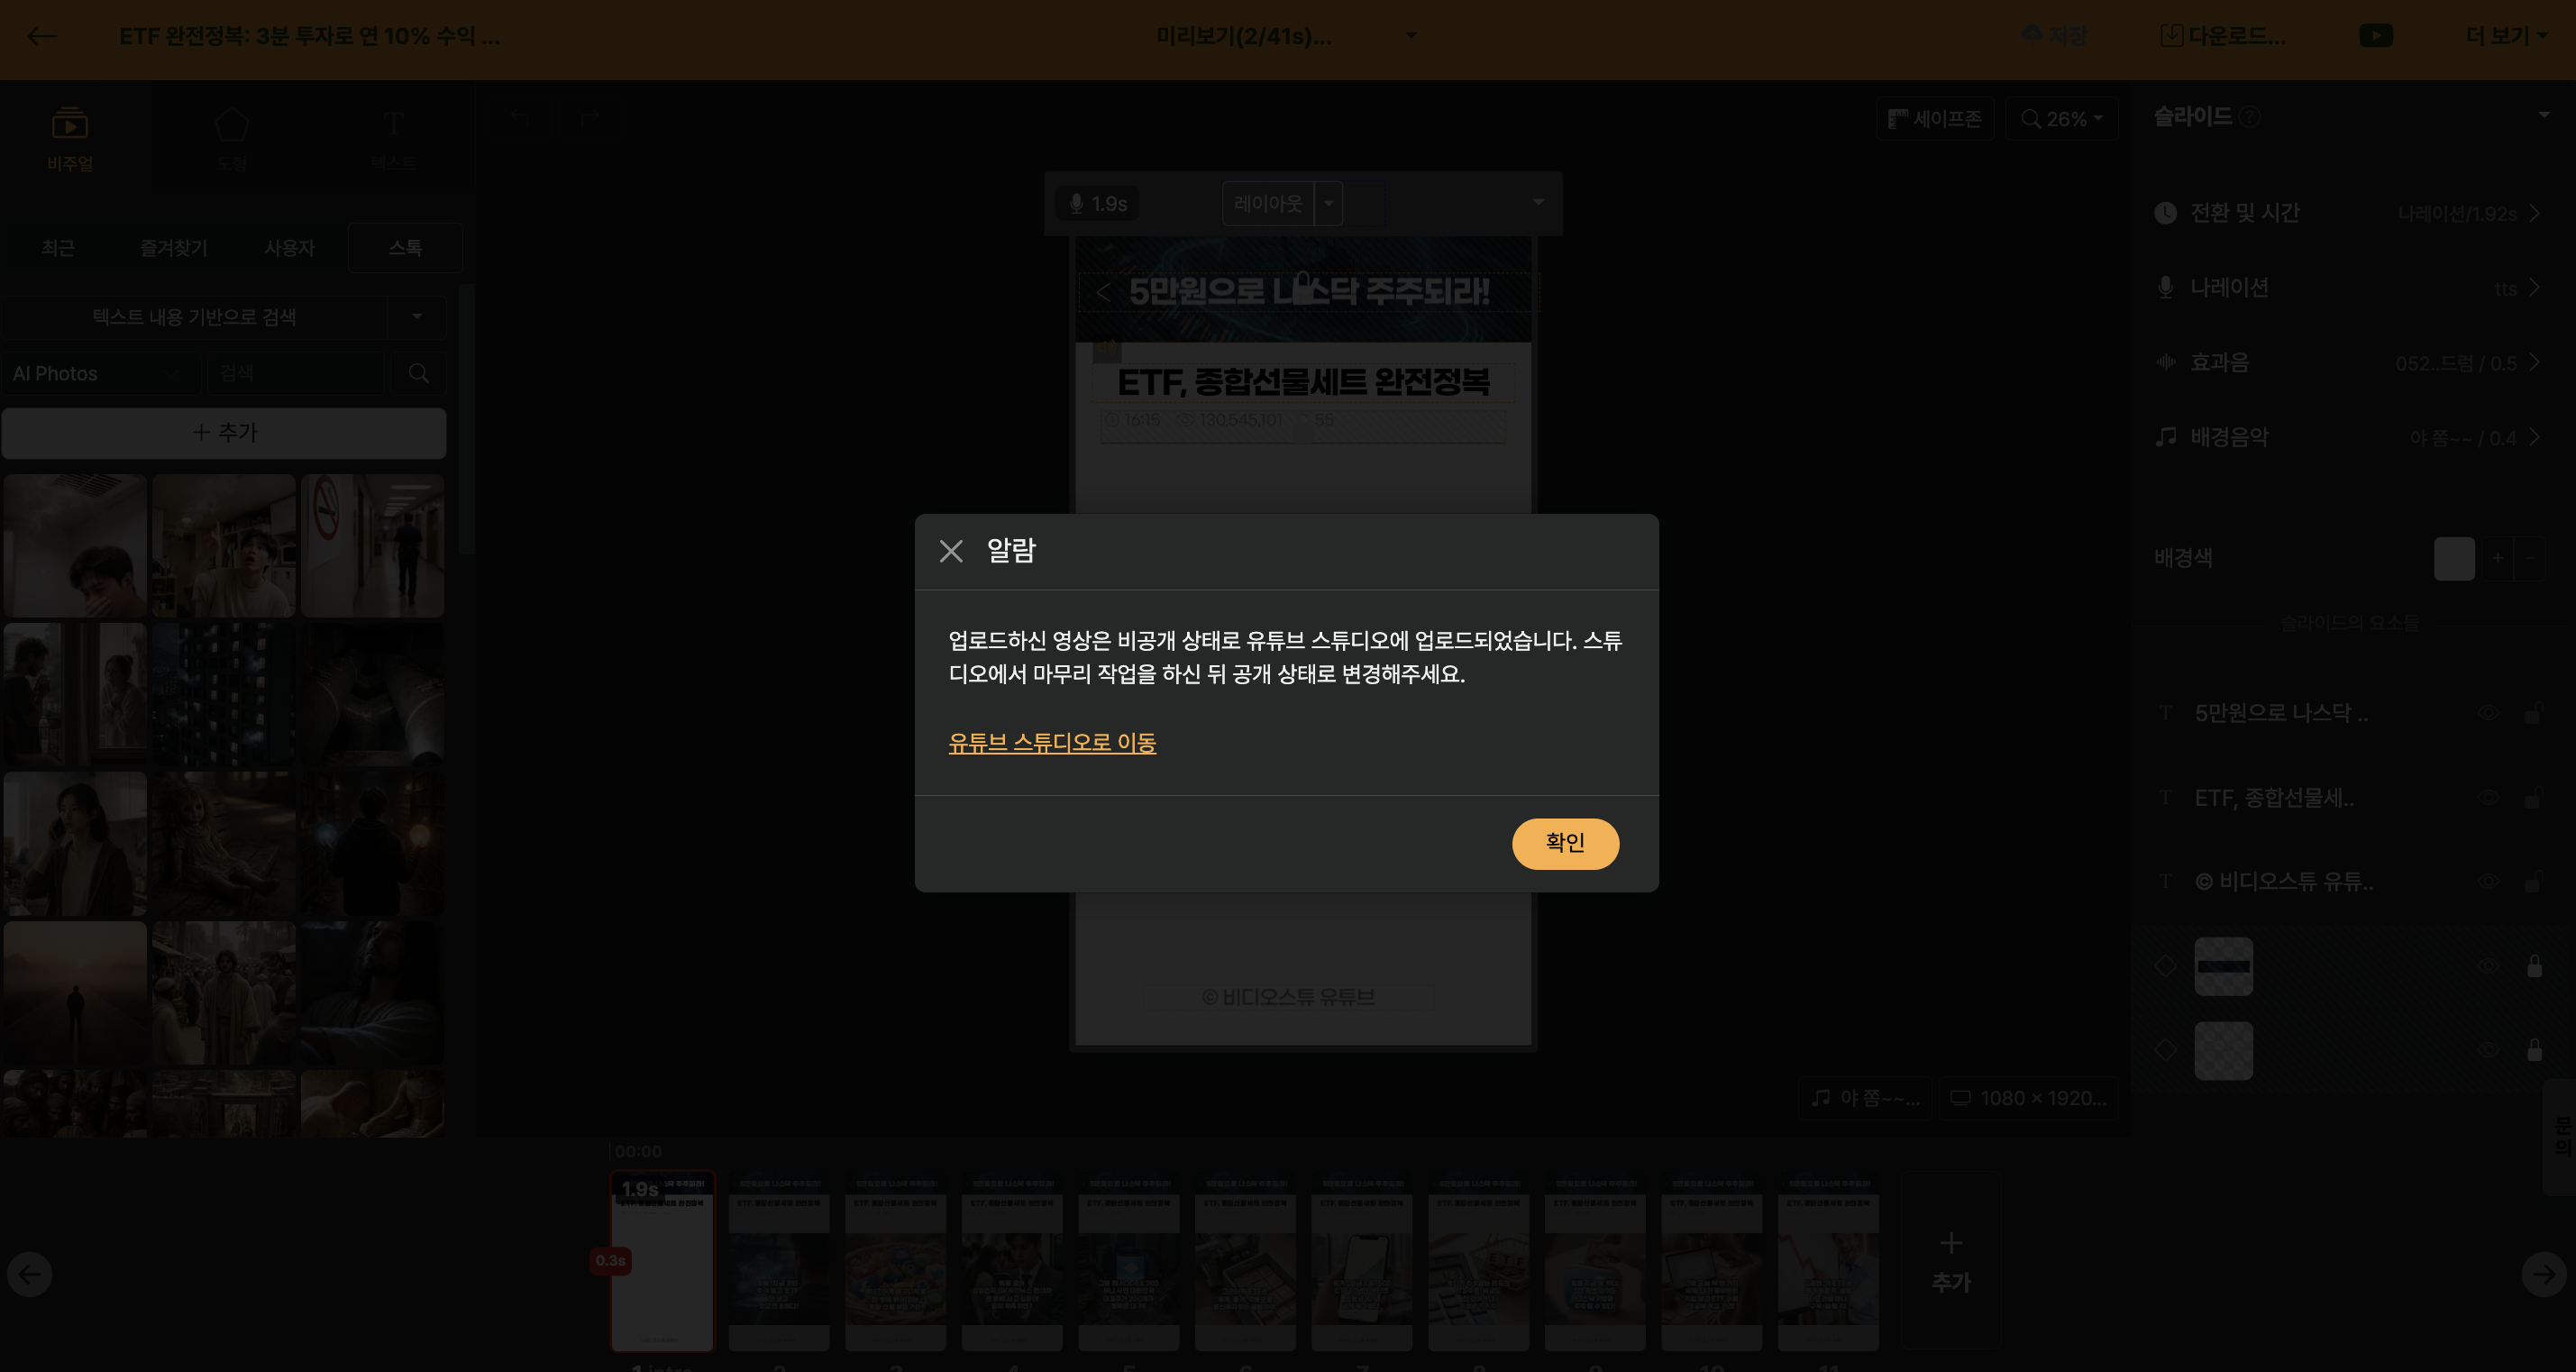
Click the button and select a YouTube channel, and the video will be uploaded as an unlisted status. If the video is uploaded successfully, a notification message appears that allows you to move to the YouTube Studio.